12. Fitting Stringers, Fore Transom Riser to Side Panels & Fore Transom
i've been copy pasting for an hour and a half now
407 words 2 minutes
Slots
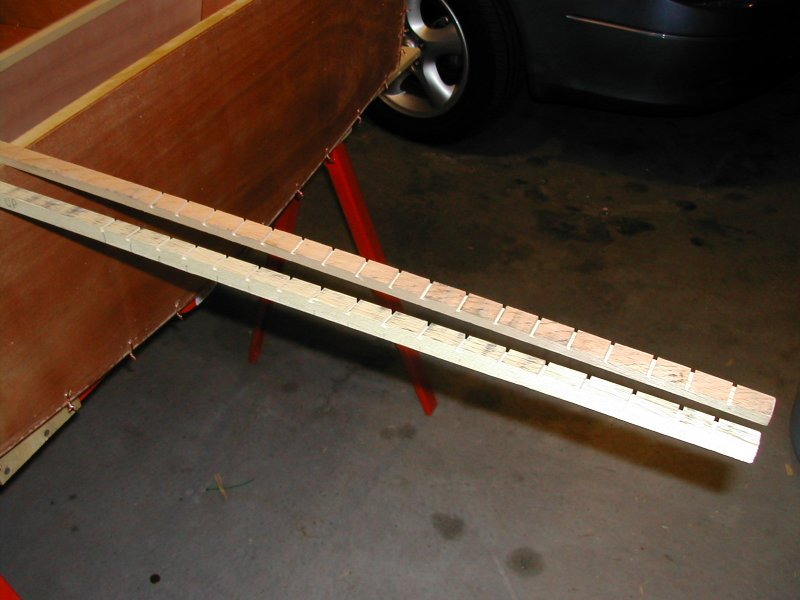
To the right are the saw slots that are cut into the forward 18" of the transom risers.
The slots allow the risers to bend more easily as they approach the fore transom.
The forward deck is later installed on top of the risers, hiding them from view.
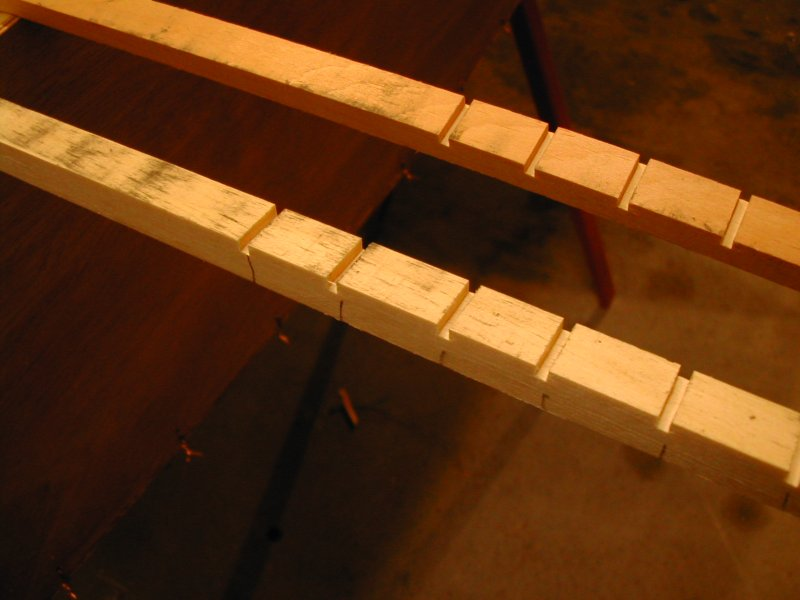

Here is a better picture of the slots. A table saw is very convenient for cutting them.

Clamping Stringers
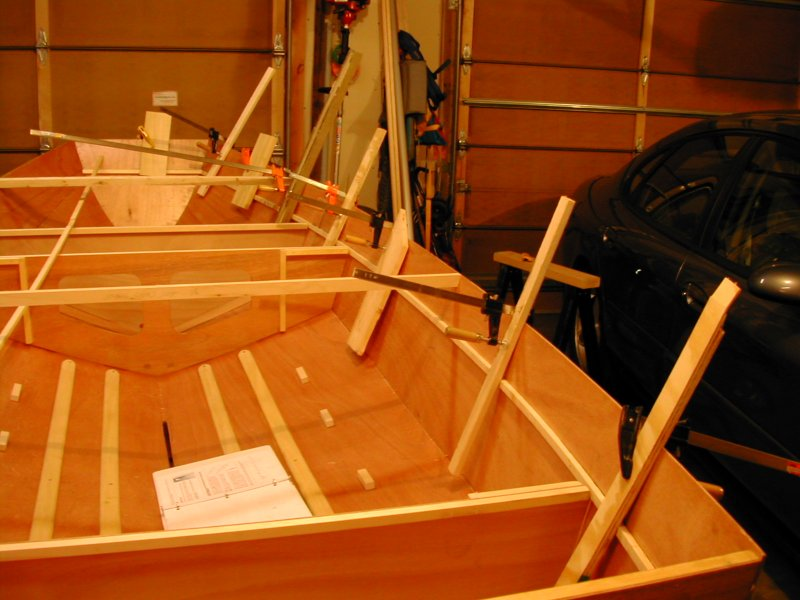
At the right is a neat method for clamping the stringers using some spare wood to effectively extend the length of the clamps.
The bulkheads, shown in this photo, were simply placed to fit up against the stringers. They are installed with epoxy at a later step.

Stringer Pictures
Here’s about 10 pictures of stringers, exciting stuff…
This is a shot of the stringers on the left side of the boat, again with the bulkheads only set in place and not yet epoxied.
Note the bevel, so that the top of the stringer is level, and flush with the bulkhead.

This shows the notch that must be cut in the stringer so that it fits around the butt-strap.
(The sketch in the text instructions shows this badly out of scale.)
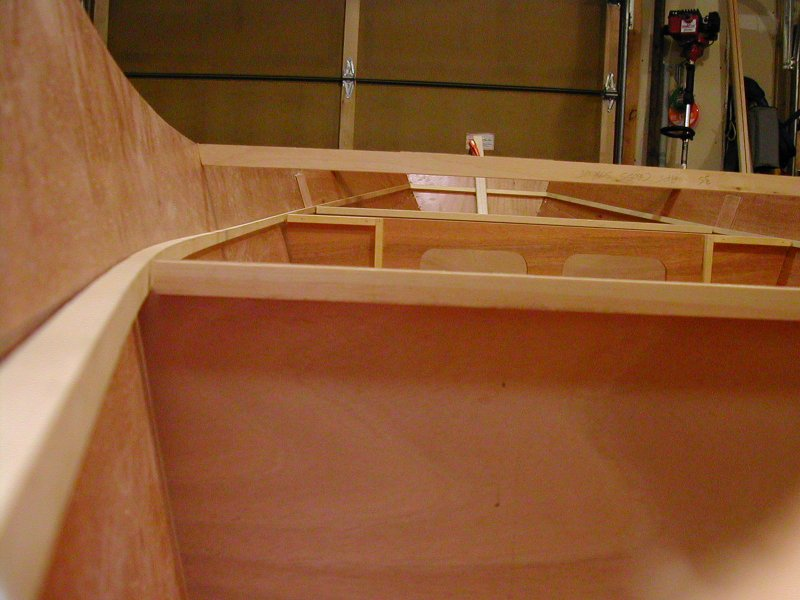
Again, I installed (temporarily) the bulkheads for fit; the stringers should be roughly at the same level as the bulkheads.
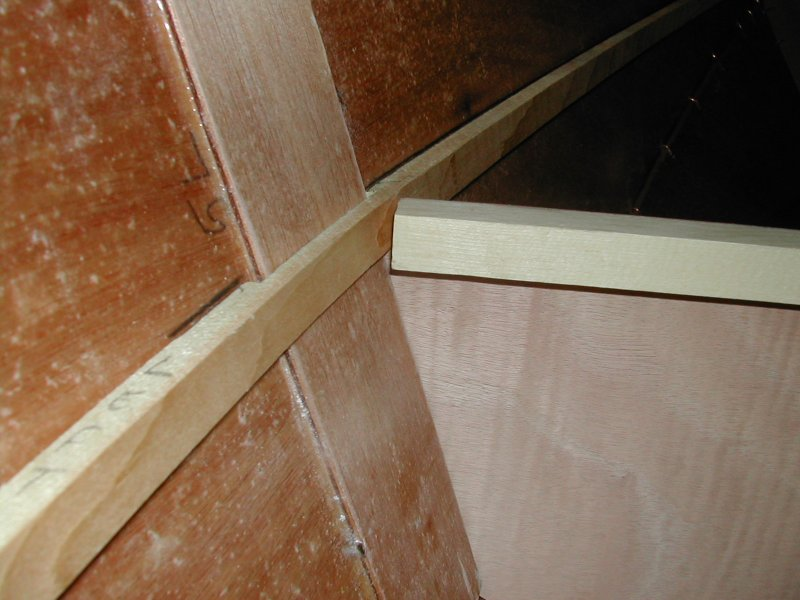

Remember, those are “guidelines”, and the actual fit of the stringers should make sense when rough fitting the bulkheads.
This is a top view of the stringers as they are attached at the butt-strap.
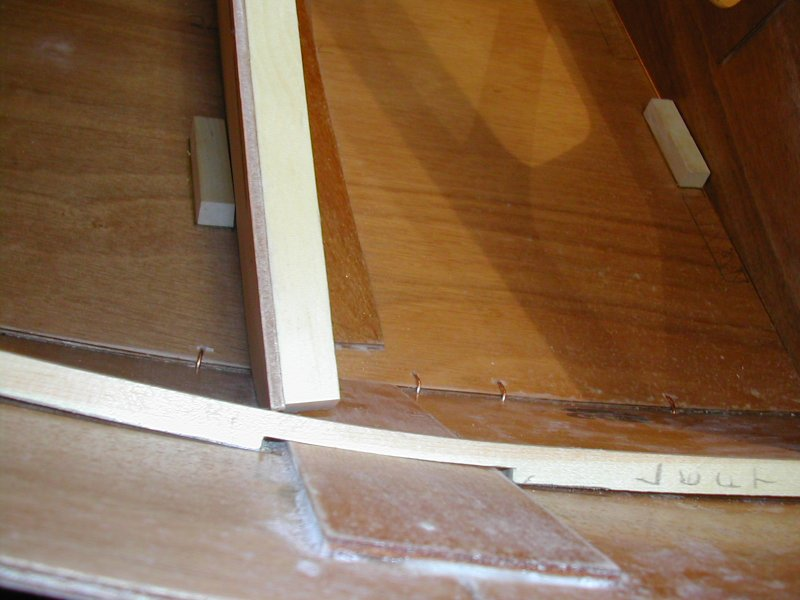

The stringers as they are installed over the aft bulkhead to the aft transom.
Notice that they are level with the top of the pre-installed stringer on the aft transom.
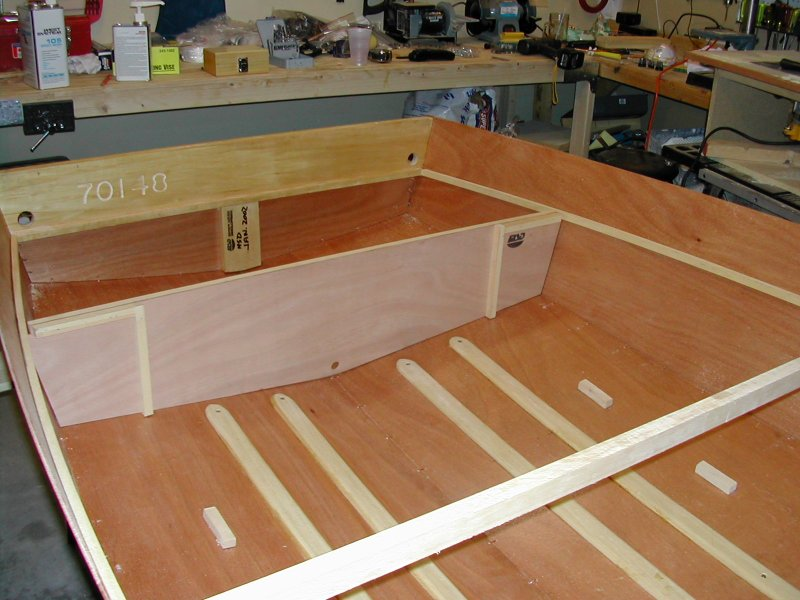

The stringer on the right side of the boat, also with the bulkheads set in place, but not yet glued.
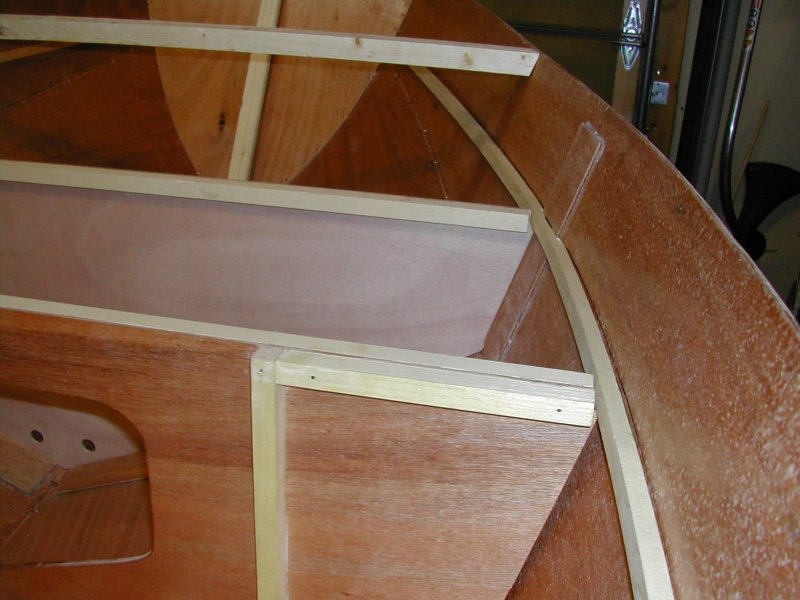

This shows a close-up of the stringer as it meets the aft transom. They should be level, or you will have to sand them level later.
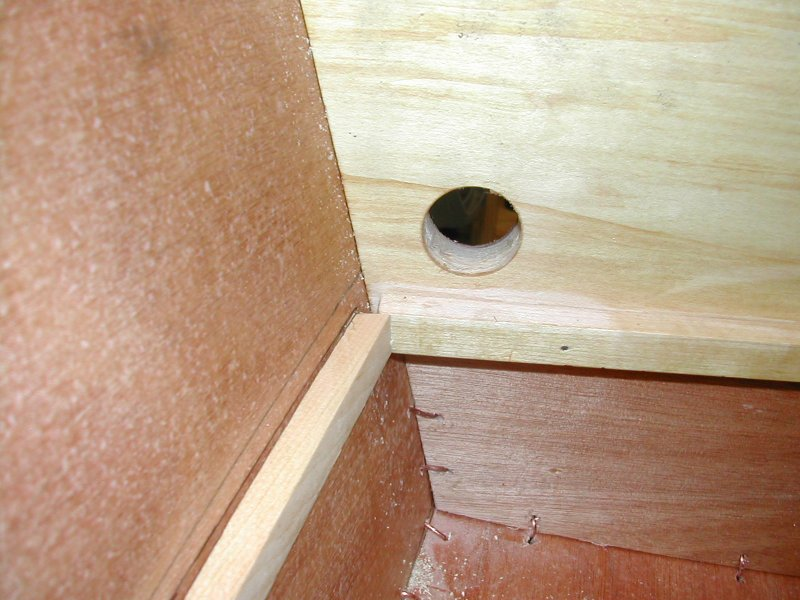

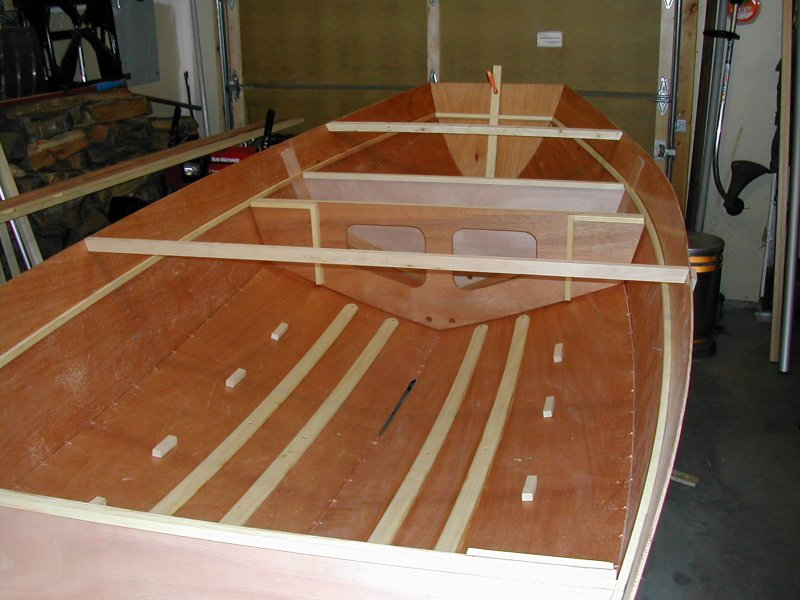
Picture showing all stringers positioned, and the bulkheads rough positioned.

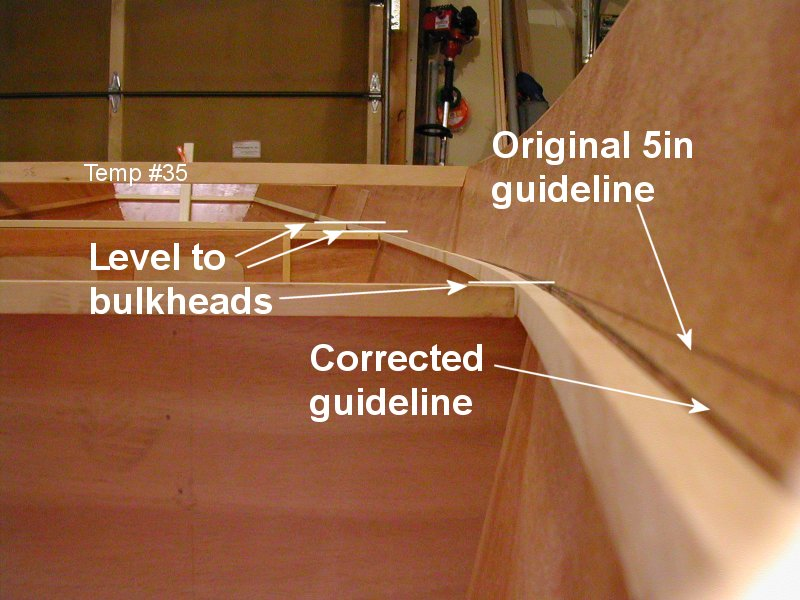
The stringers are installed slightly lower than the guideline, as they approach the aft transom.
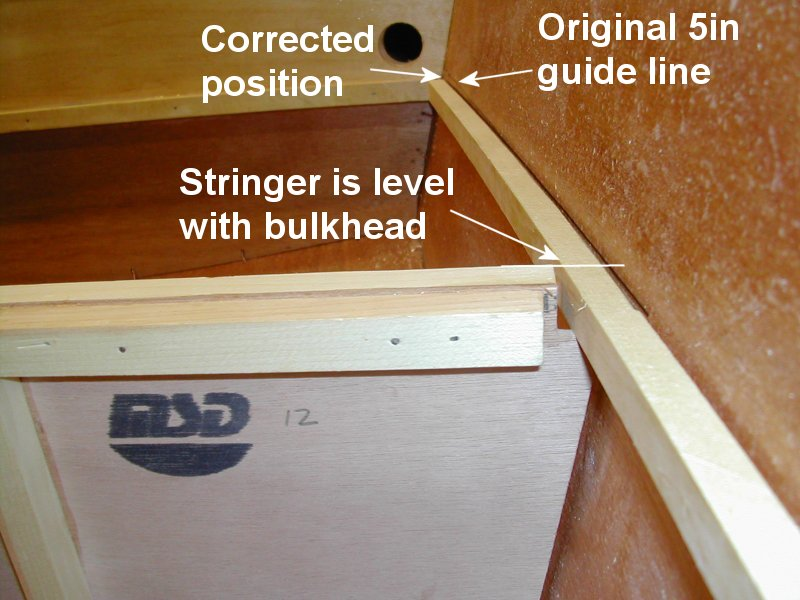

Stringer at bulkhead and transom
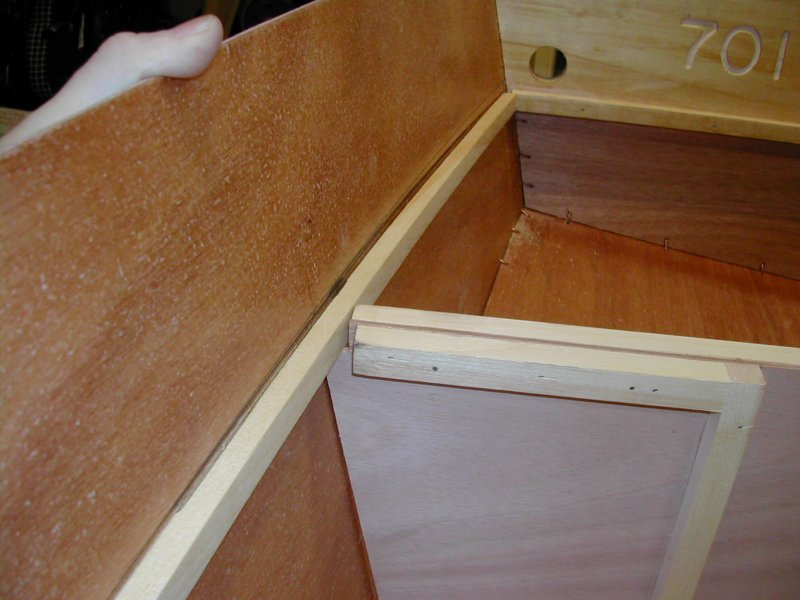

Again, a correction was made. This picture shows all the stringers to be level with the bulkheads. Make sure the bulkheads, even when rough-placed, are firmly DOWN, and approximate their final position; otherwise you will install the stringers incorrectly.

That should be enough stringer pictures to keep you happy!