13. Mast Step Web & Storage Bulkhead Assembly
...
417 words 2 minutes
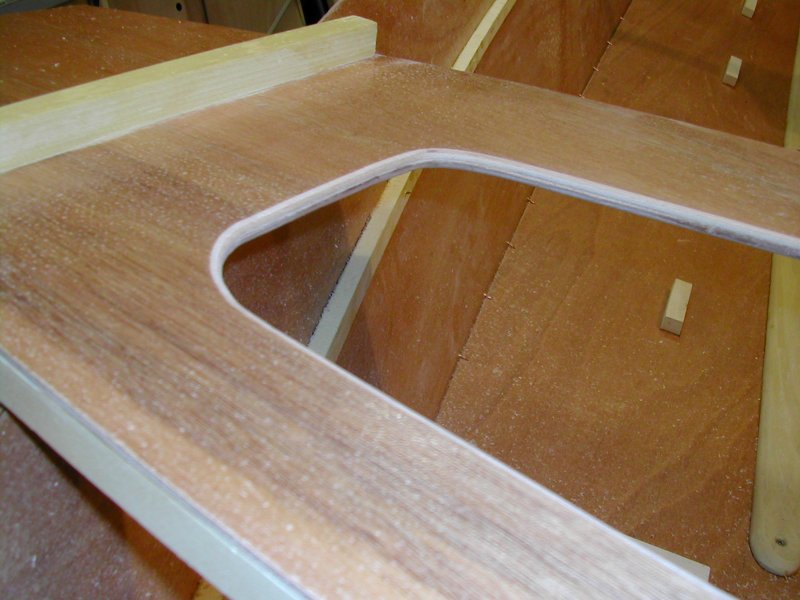
Flaring off Openings
Flare off the openings of the Mast Storage Bulkhead. You may use sandpaper, of course, but if you have a router,
a 1/4" radius rounding bit does a beautiful job. Round off both sides where the router can reach.
Where the router can not reach, use a rasp file, or sandpaper.
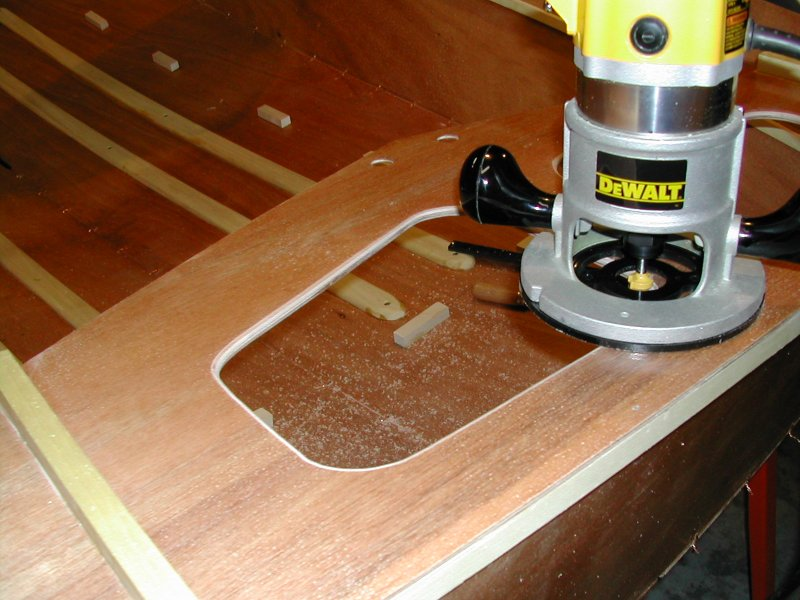
This picture shows the routering of the mast stowage bulkhead. If you don’t have a router,
tell you wife that the primary purpose of getting a router will be to build shelves for the family room,
then zip out to Home Depot.
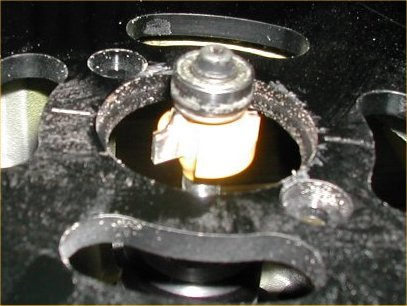
This is what the router bit looks like. This particular one is carbide tipped,
has a 1/4" radius cut, with a bearing to run along the wood surface.
The bits are a little expensive ($15-$20), but do a great job.
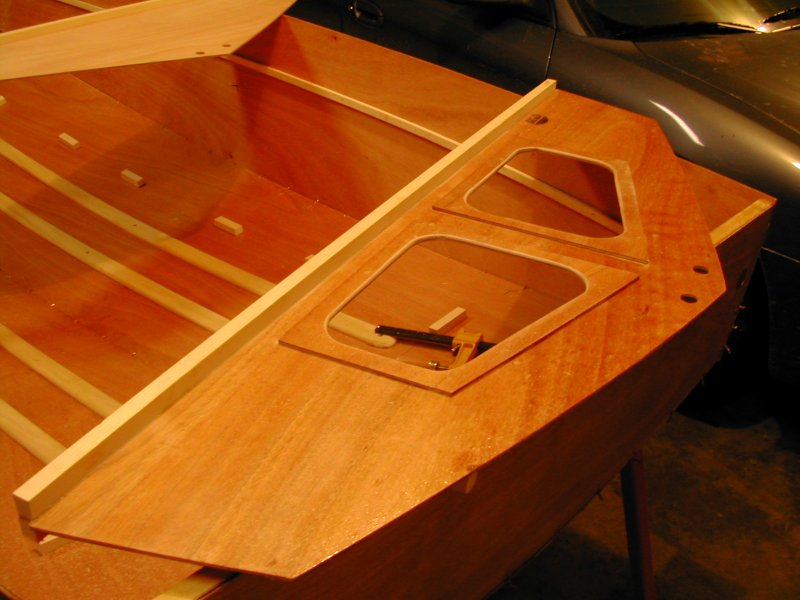
Aft and Fore of Bulkhead
This is the other side (aft) of the stowage bulkhead. Because my 1x1 battens were already glued to
this bulkhead when shipped, it was a little more difficult to get the router in here, but, with a little care,
you should be able to do most of it with the router.
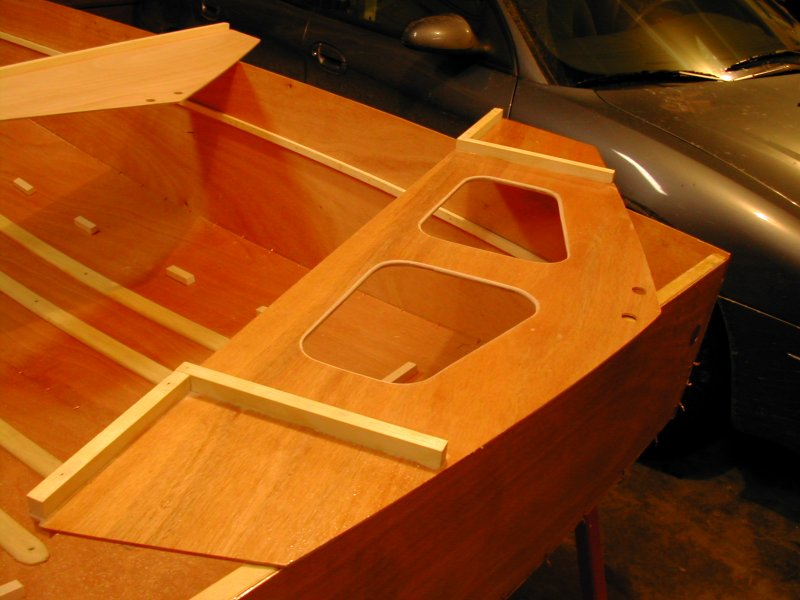
This is the fore side of the stowage bulkhead. Both sides are to be smoothed.
Treat the entire bulkhead with epoxy to seal it. It is nearly impossible to varnish or epoxy coat
this piece later when installed.
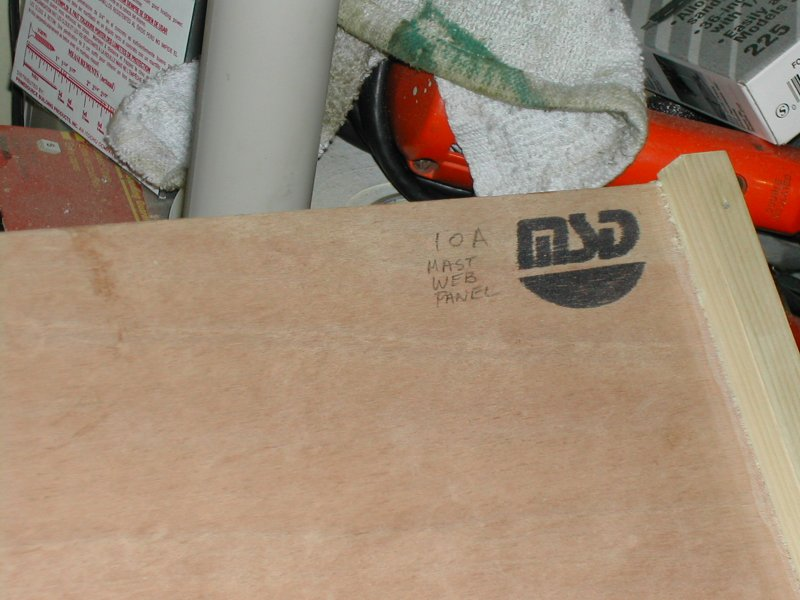
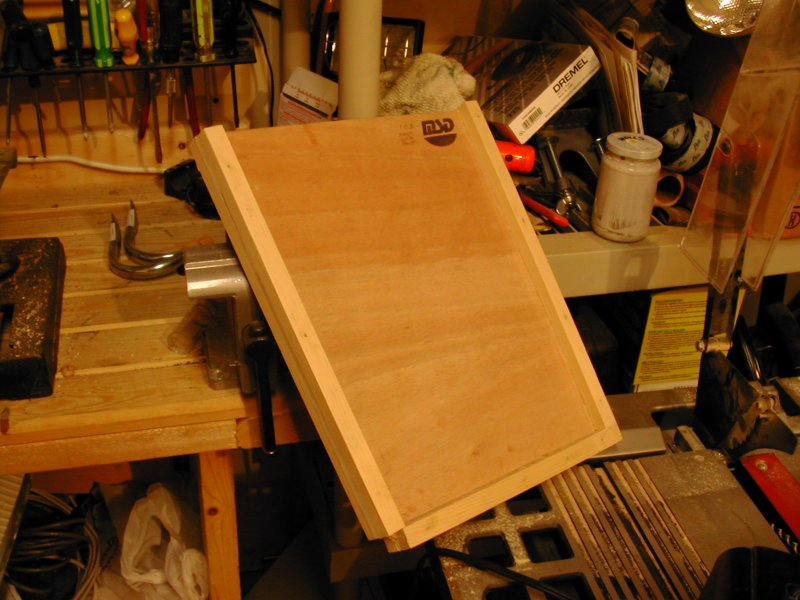
Mast Web Part
The Mast Web Assembly, part “10A” should be marked.
This is a top view of the Mast Web Assembly.
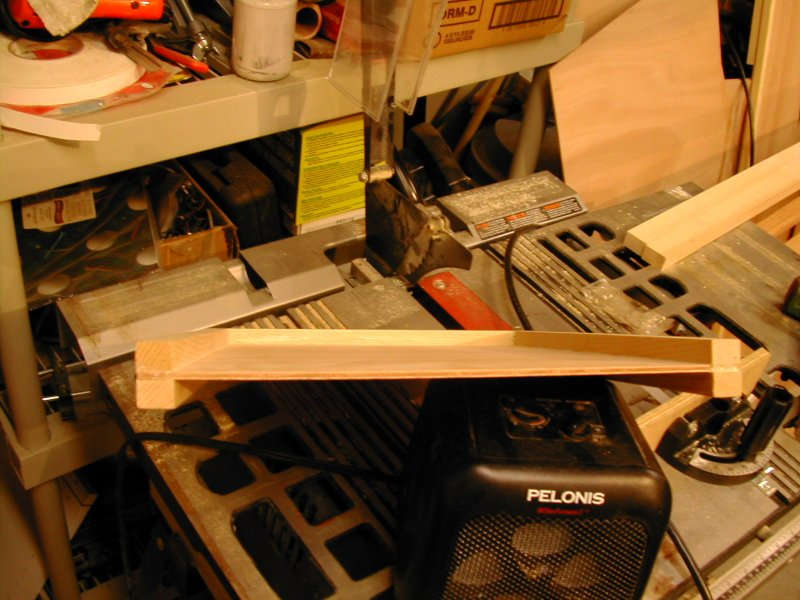
..and a final picture from the side. So, don’t email John or Lorne at Mirror Sailing Development asking what this looks like.
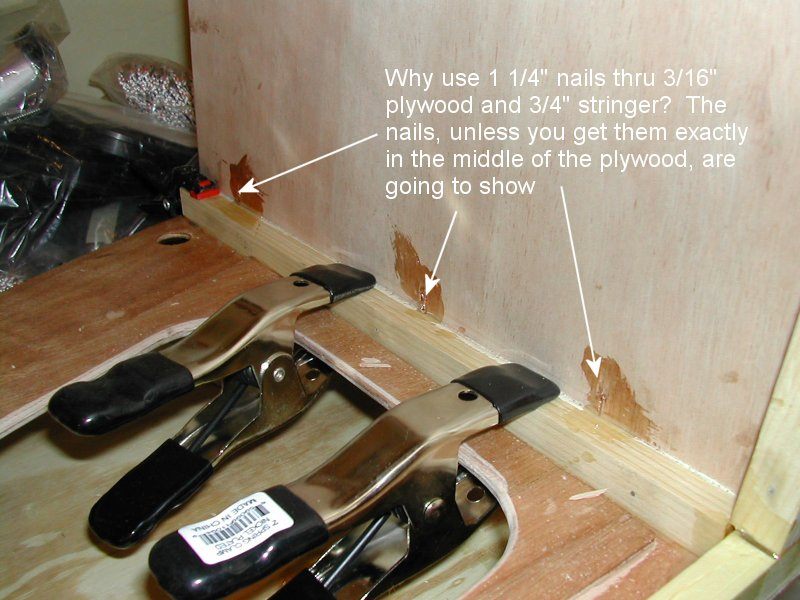
Glue & Clamps
Sorry about the big picture. According to the text instructions, you are to use 1 1/4" nails. The result? They protrude and are going to show. Consider using smaller nails. The picture shows some spring clamps to hold this mast web to the stowage bulkhead.
(Note: For some browsers, you will have to scroll to the right to see this complete image)
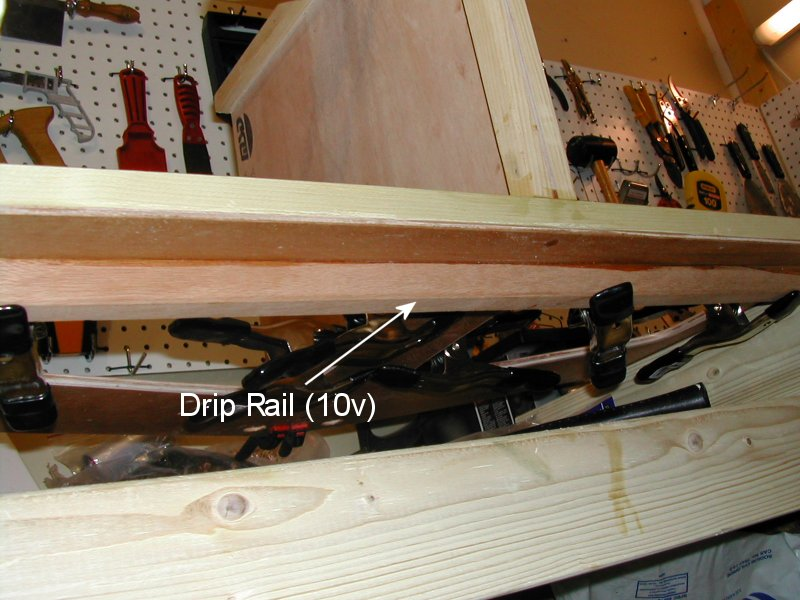
Clamps, clamps, and more clamps. When gluing these pieces, make sure to get a good seal,
and that they are glued at a right-angle. You can’t see it from this angle (see pic below),
but the clamps are also holding the drip rail.
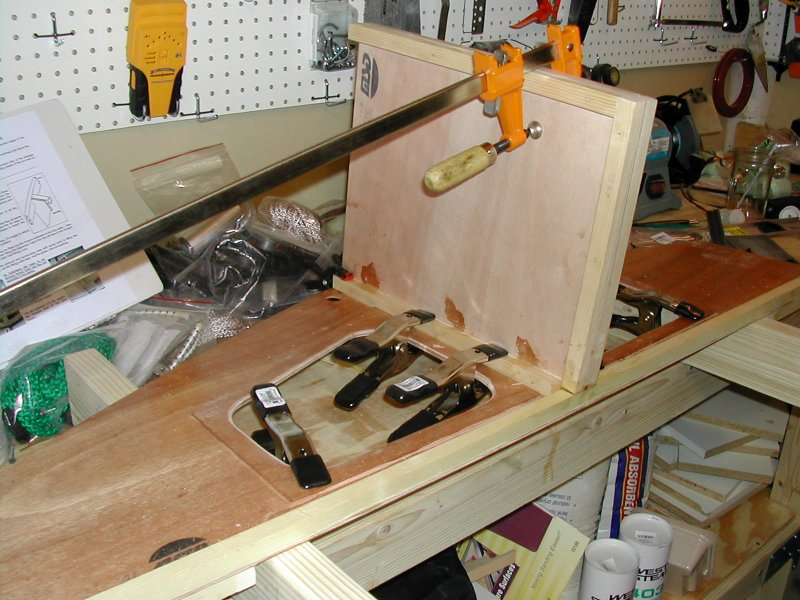
This picture shows what those other clamps were doing. They are clamping the drip rail (10V) in position.
(Note: For some browsers, you will have to scroll to the right to see this complete image)