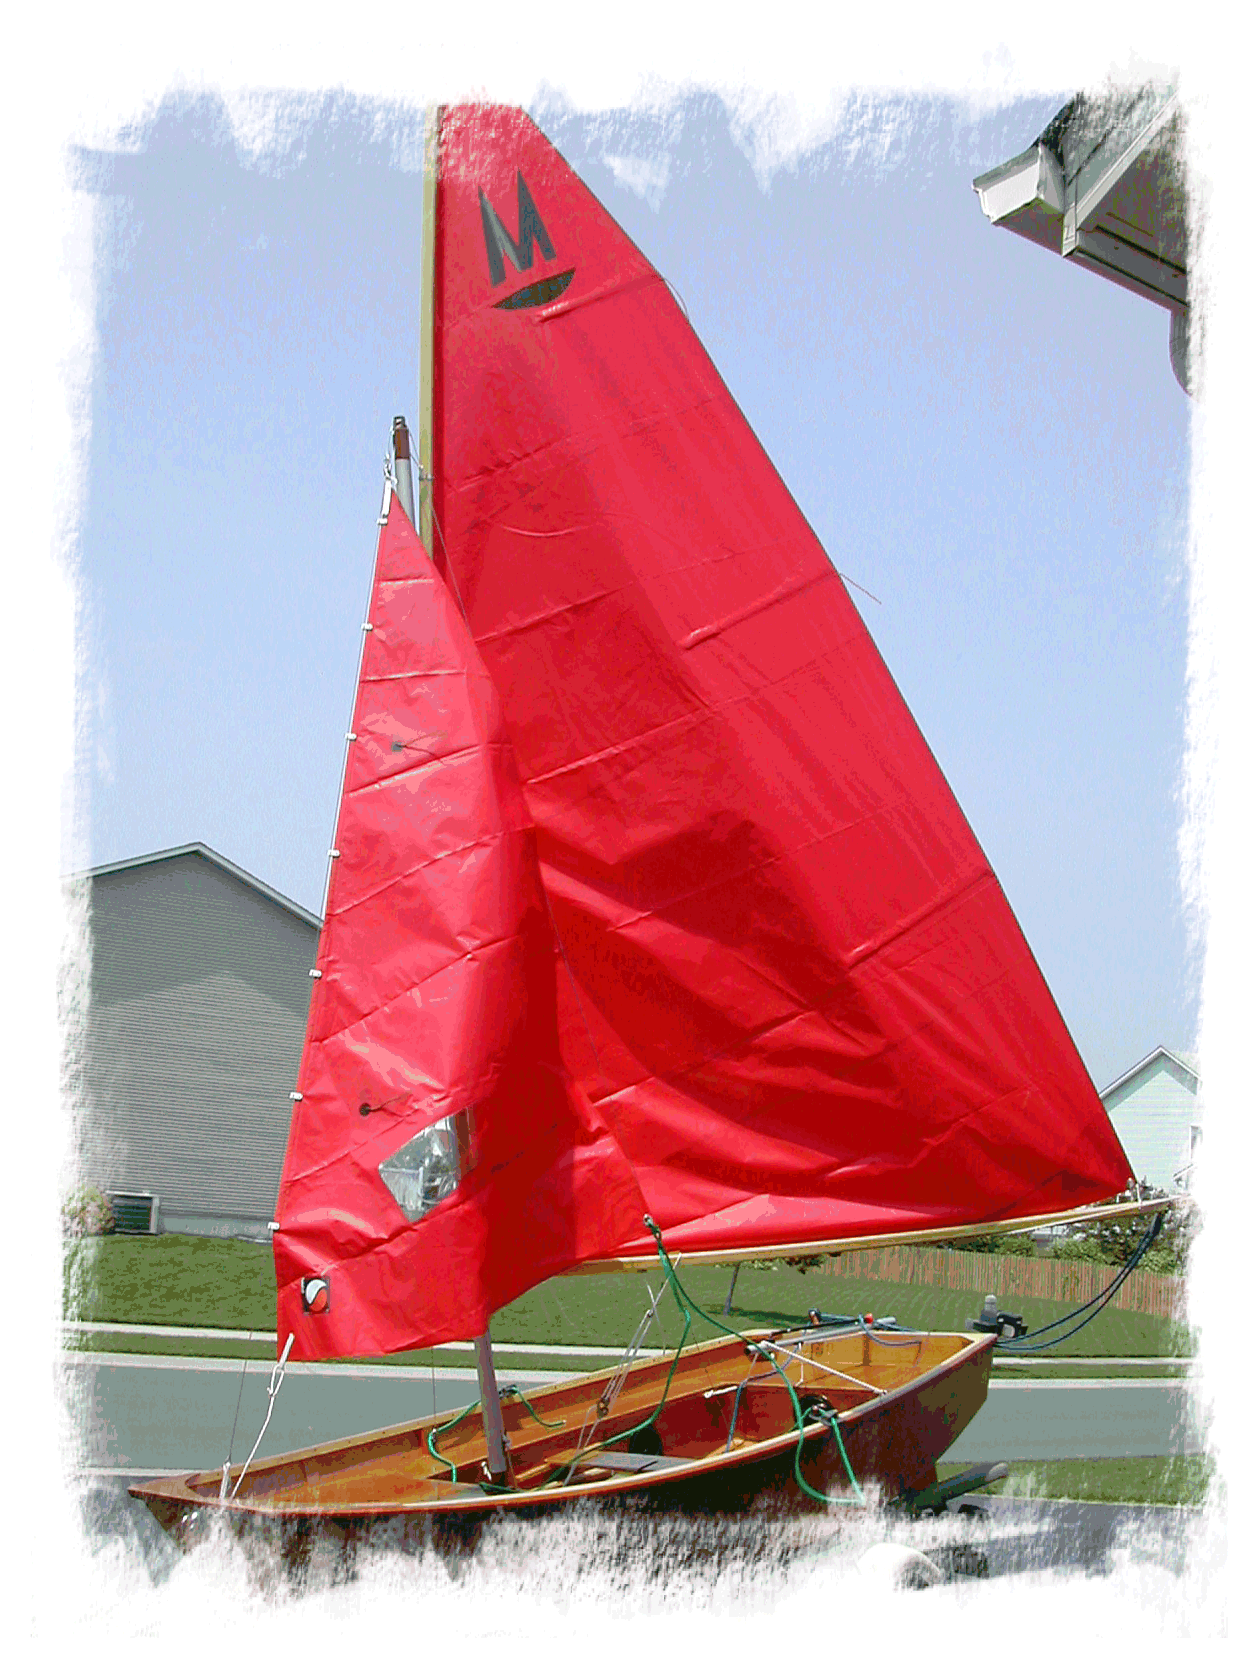
1. Constructing a Mirror Dinghy
Niel Mariott's site introduction
685 words 4 minutes
Introduction
My point? ANYONE can build a Mirror. If you have a full set of carpenter’s tools, power saws, power sanders, piles of clamps - sure - your construction will go a little smoother. But I believe you can build a Mirror with a minimal tool set, and virtually by yourself.
I created this pictorial document, not to replace the instructions that accompany the Mirror kit, but to supplement them. I myself am a “picture person”. For me, a sketch or photo can go a long way toward clarifying a complex construction step.
In this document, I follow the construction steps specified in the North American MIRROR SAILING DEVELOPMENT kit instructions, providing web pages for each of the key stages. The pages are titled identically to what is found in the kit documentation.
Fancy Tools and Equipment
As I mentioned above, you DON’T need fancy tools to build a Mirror. That being said, I did in fact acquire a number of (mostly power) tools in the process. I gave my wife the excuse that I needed them for “the next step”. Seemed to work!
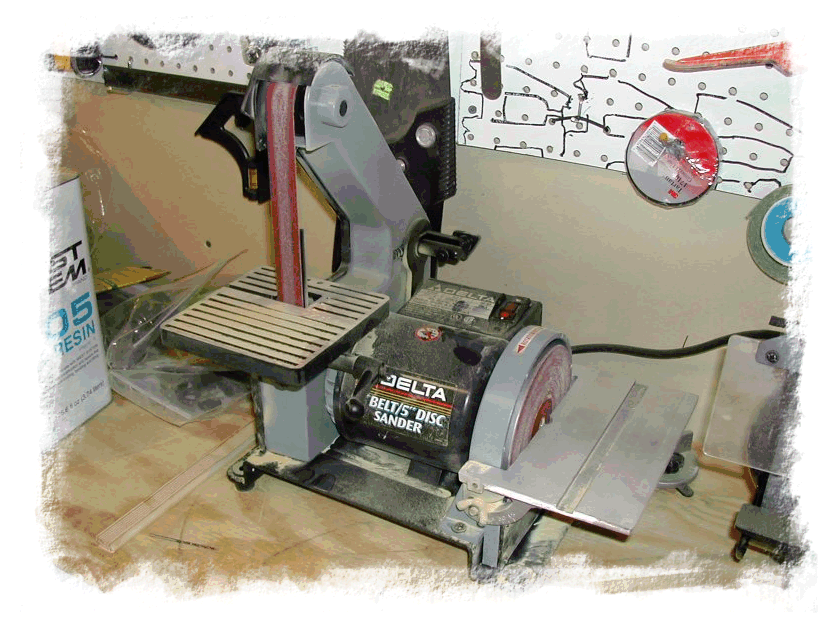
Of all the tools I bought, my most prized possession was a combo belt/disk sander from Home Depot. It was a small workbench-top unit, but I found many, many uses for it (including building shelves for the kitchen later!) - well worth the $50 investment.
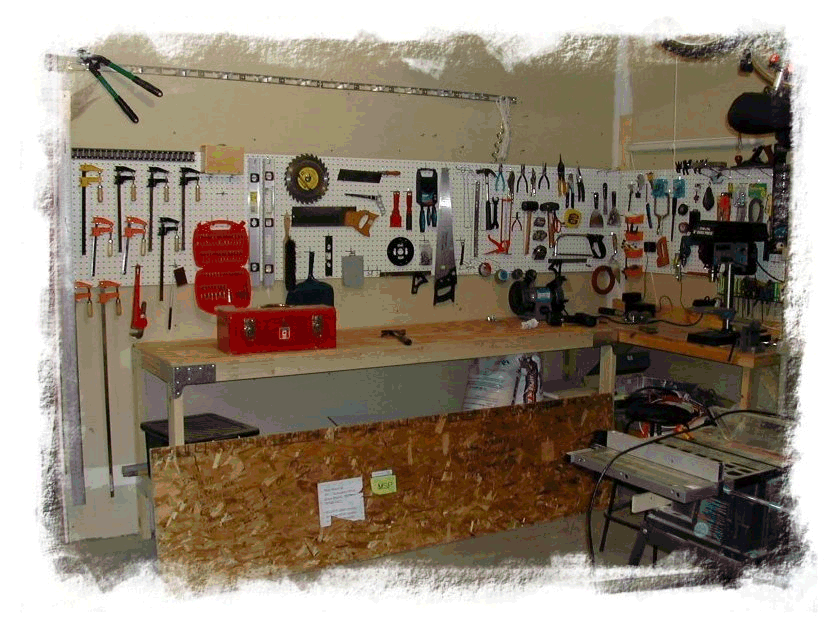
Next, a decently-sized working area. A garage - at least one stall - is a perfect location. Don’t build in the basement unless you have walk-out access and can get the boat outside once completed!
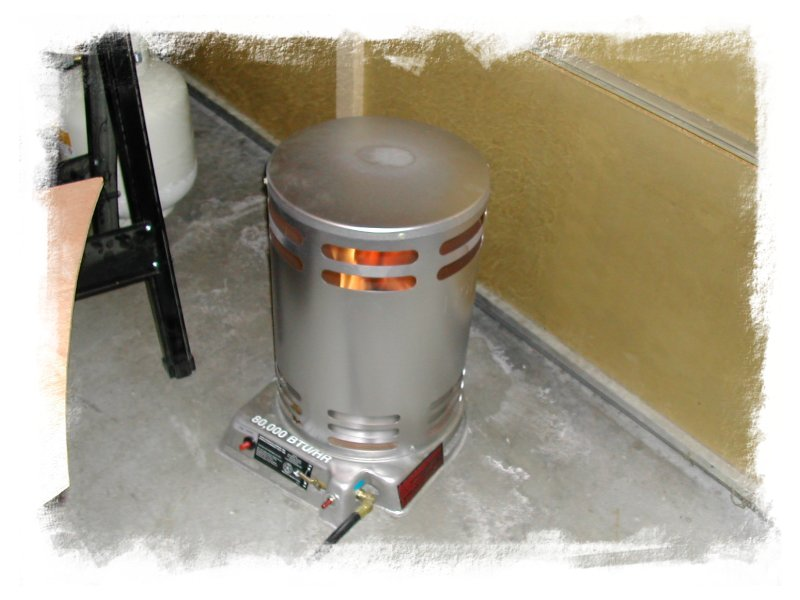
Finally, a word about climate control. If you are building in winter, and your garage is unheated, you will find it much more comfortable - and sometimes essential for proper glue-drying - to purchase a heater. My wife found this 50,000 BTU propane unit at our local Home Depot store (yes, I visited many times), which heated a garage from 0C to 20C (32F to 68F) in about 30 minutes. Turned down to “low” at that point, it maintained the temperature nicely.
 Shown at the left is my Belt-Disk sander. It had many uses throughout the construction process and I would highly recommend purchasing one of these.
Another excellent purchase is a small bench-top drill press. Drill presses are excellent for producing clean, neat holes, and much appreciated when an absolutely perpendicular hole is required. If you only have a budget for one of these power tools, however, get the sander.