3. Joining Hull Panels
Preparing the panels
357 words 2 minutes
Clamp & Glue
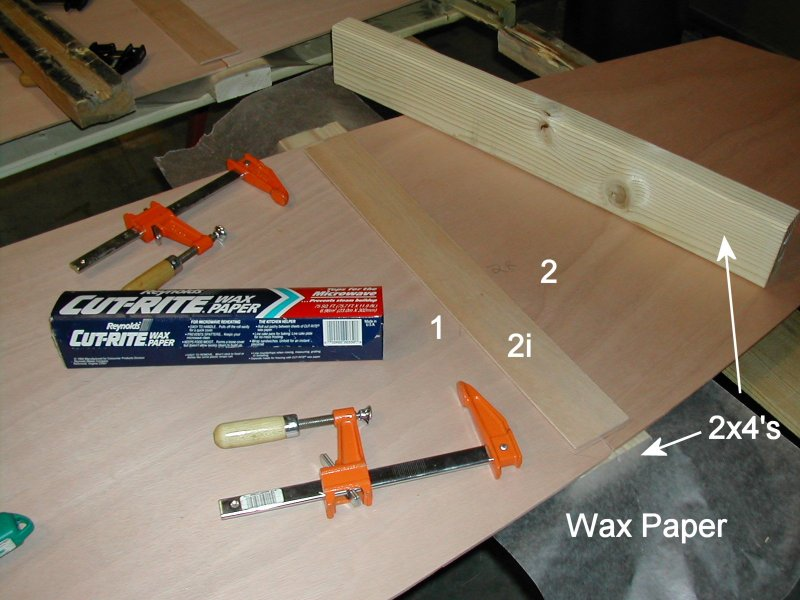
Shown to the right are Parts 1 & 2, along with 2i, which is the “butt strap”.
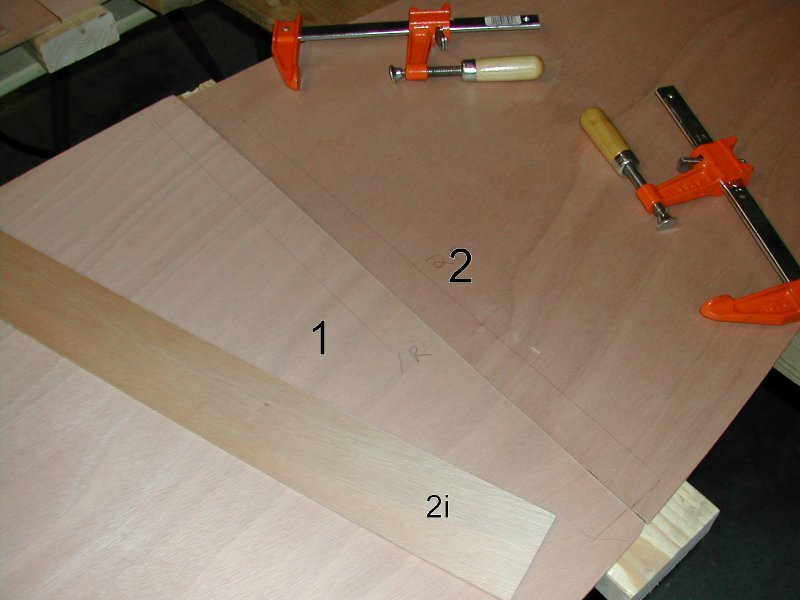
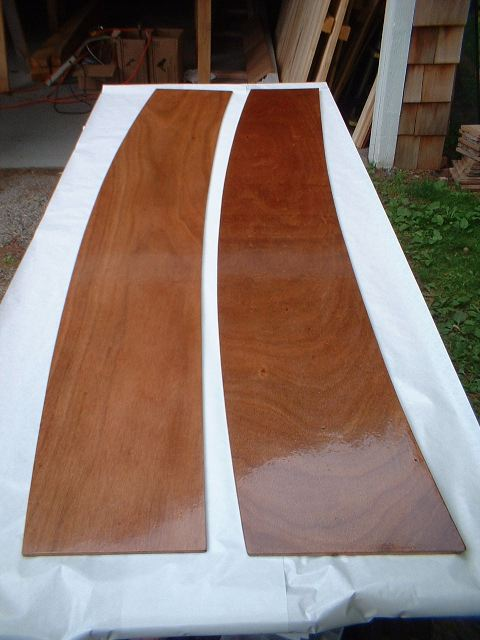
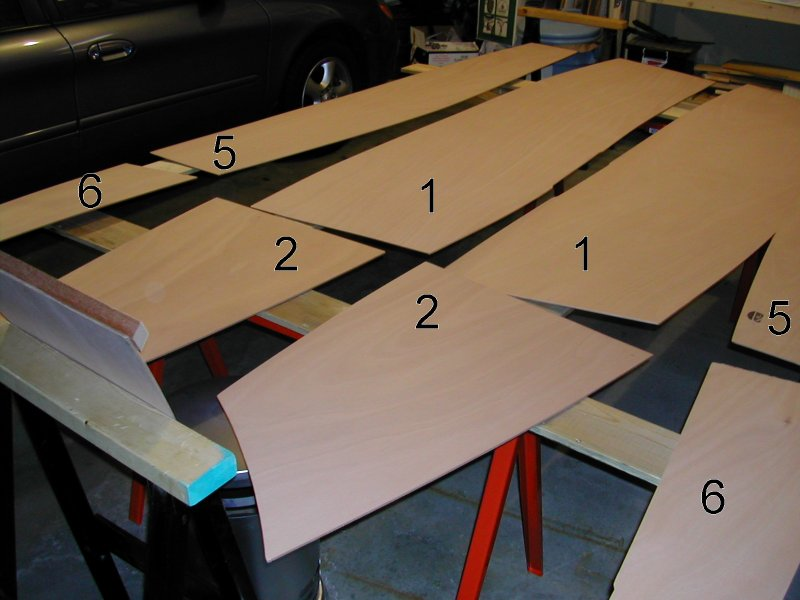
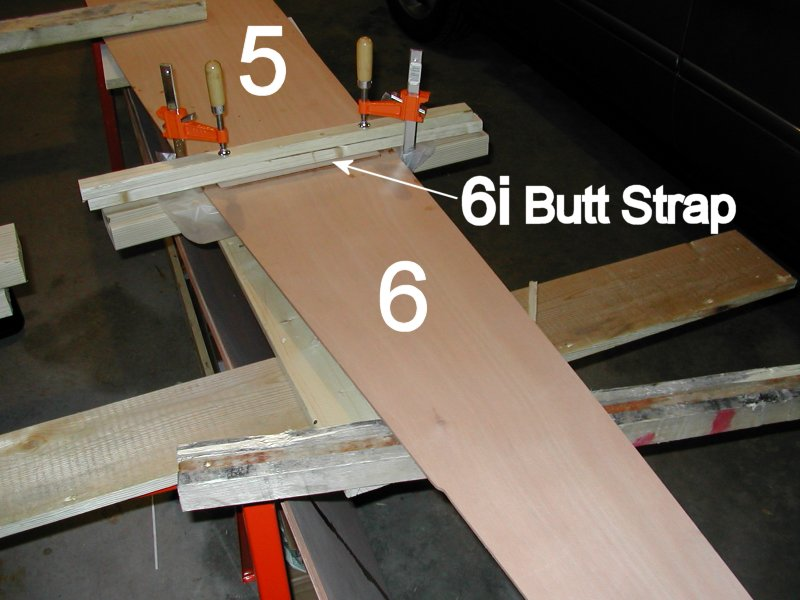
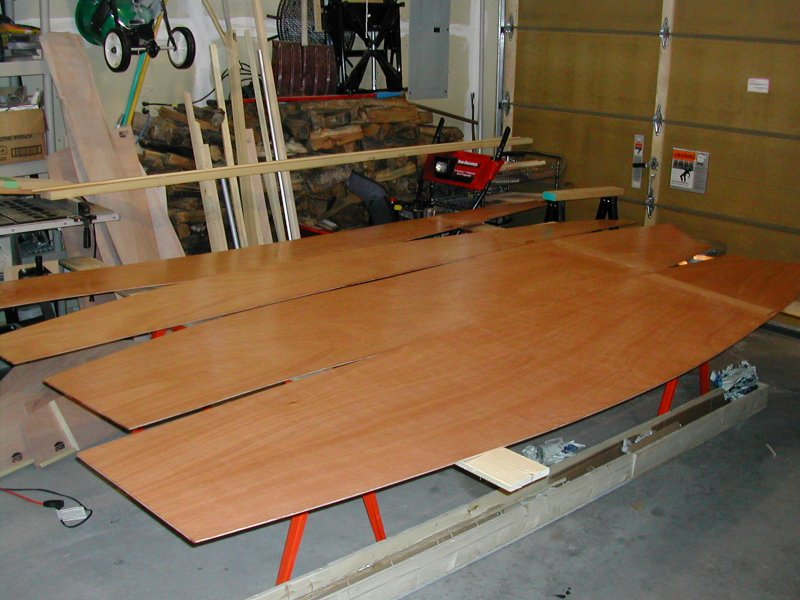
Initially, I became a little confused as to which parts were numbered what. Here they are all shown to the right. 1 & 2 are to be joined (twice), as are 5 & 6 (also twice).
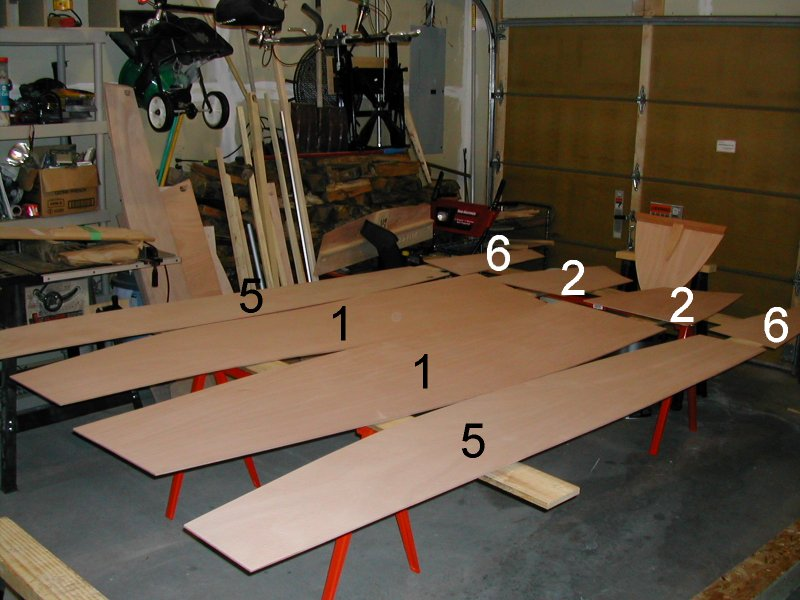
Here, from a different angle, is another picture of the orientation of the plywood panels just before joining.
Parts 1, 2, and 2i are positioned. Wax paper is placed underneath Parts 1 & 2. Make sure 2i (the butt strap) is positioned EXACTLY between 1 and 2 (i.e., centered). There should be a gap at both ends of the butt strap.
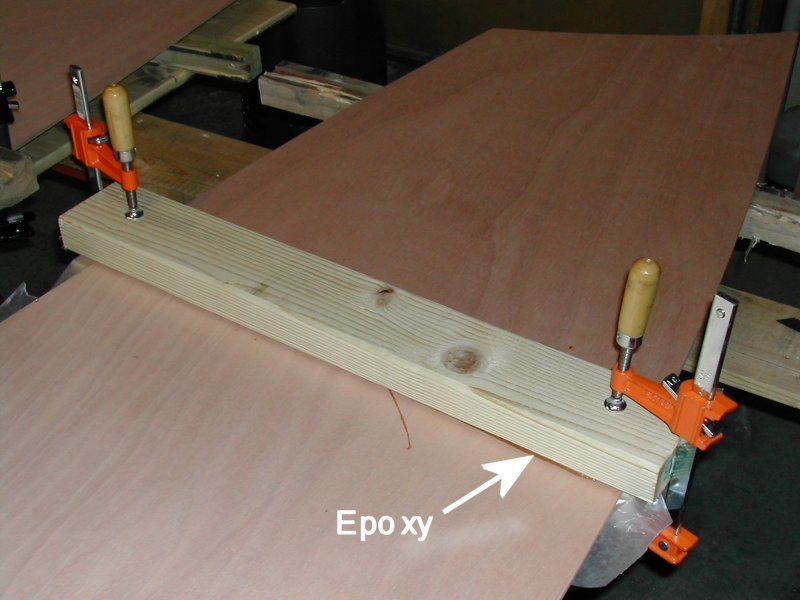
Nails will show later and leave holes to fill. Instead use 2 2x4’s and 2 clamps and join 1 & 2 together using epoxy. Double check to make sure the butt-strap remains centered and did not “slide around” during clamping.
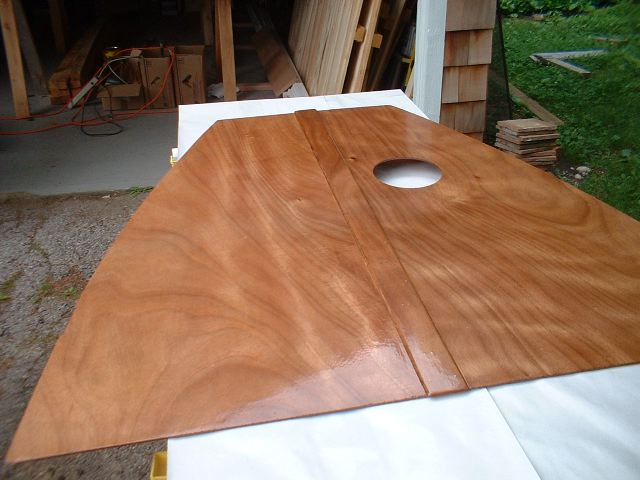
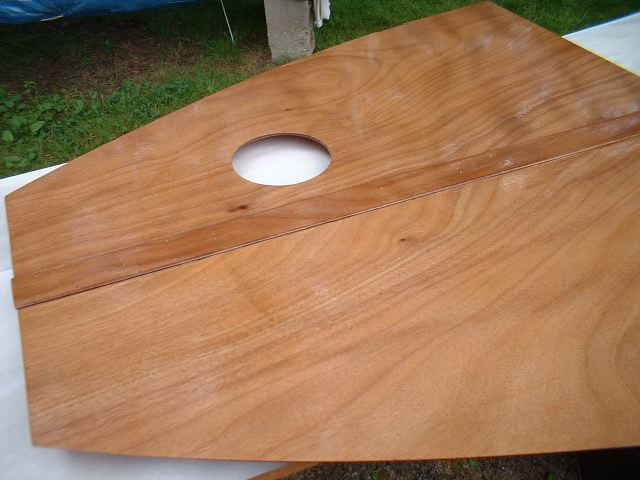
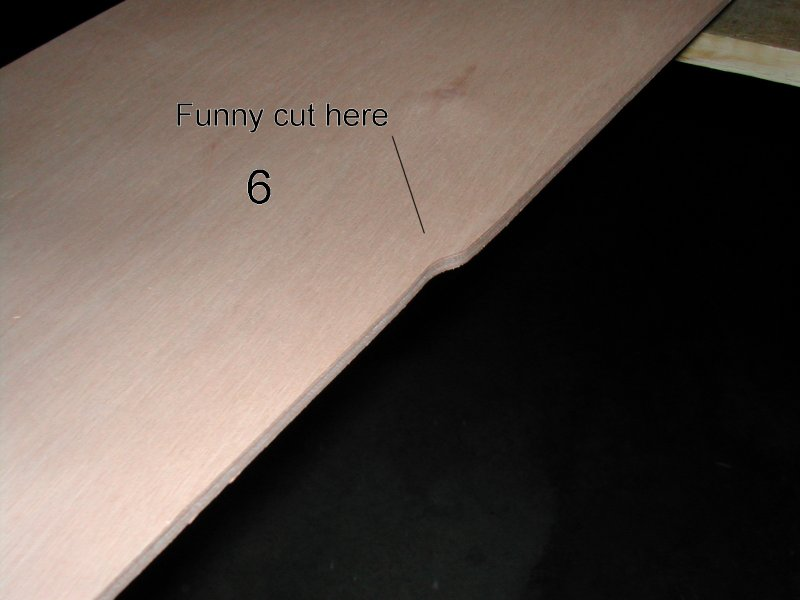
Part 6 can be identified by the “funny cut,” as shown to the right:
Parts 5 & 6 are joined in a similar manner as 1 & 2 above - also with a butt-strap. Make sure the orientation of 5 & 6 is correct! It will be nearly impossible to “unjoin” them once the epoxy has cured.
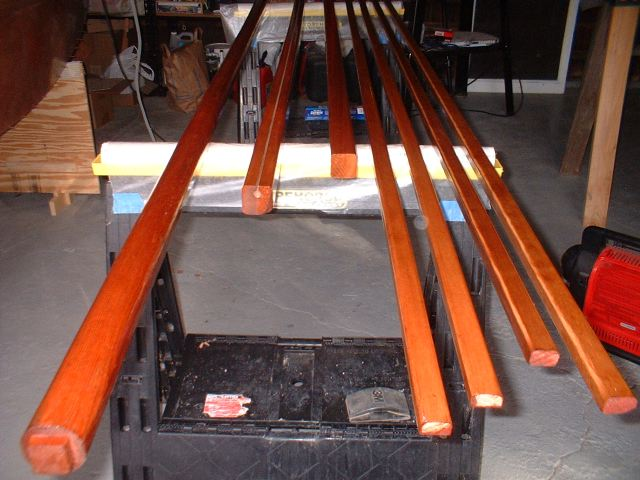
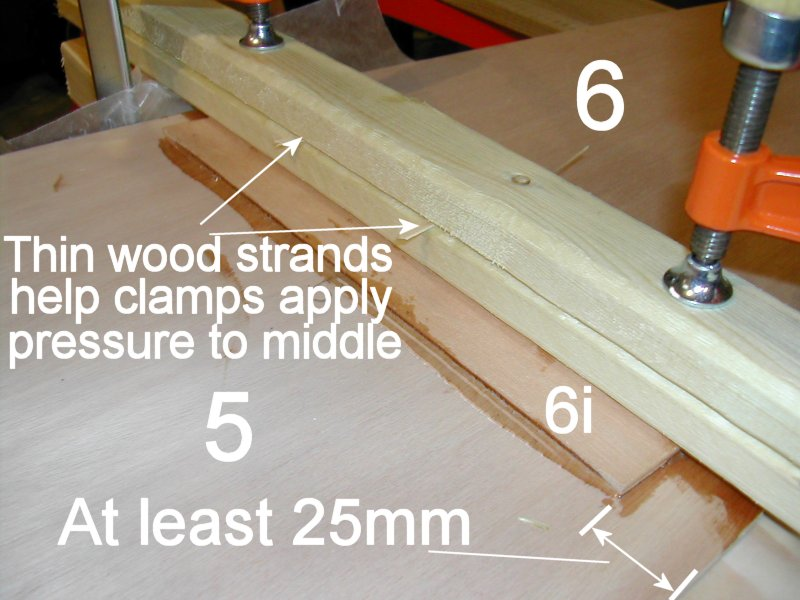
A general word about clamping and epoxying. When epoxying plywood together, always use un-warped pieces of large lumber (such as 2x4’s). Another trick to make sure clamping pressure is exerted along the joint is shown at the right.
Adding a Barrier Coat
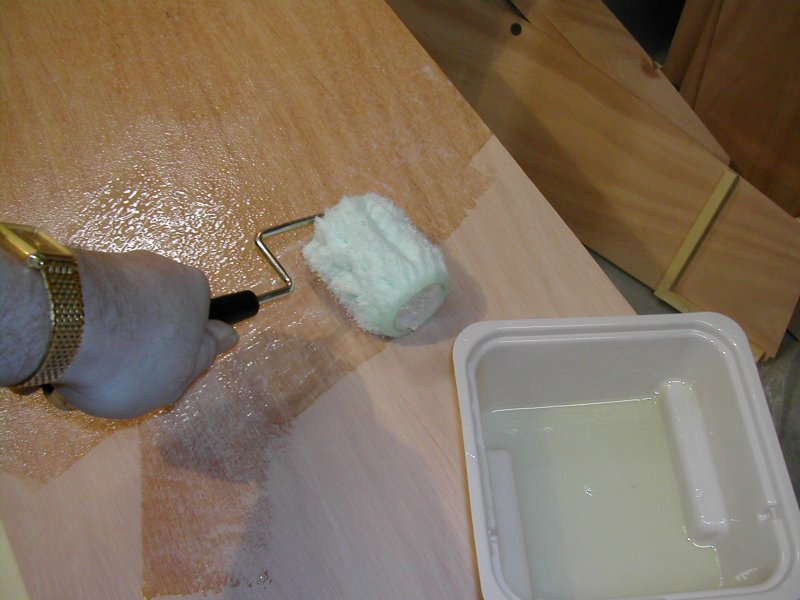
Although not specifically listed as a step, before continuing you should " barrier coat" each of the joined panels 1-2 and 5-6, on both sides, with at least 2 coats of epoxy. Purchase a 3 inch roller for this.
Do NOT use the same kind of roller shown in the picture to the right. Buy a foam roller.
Sand lightly between coats. Now, continue on to the “Marking and Drilling Hull Panels” section.
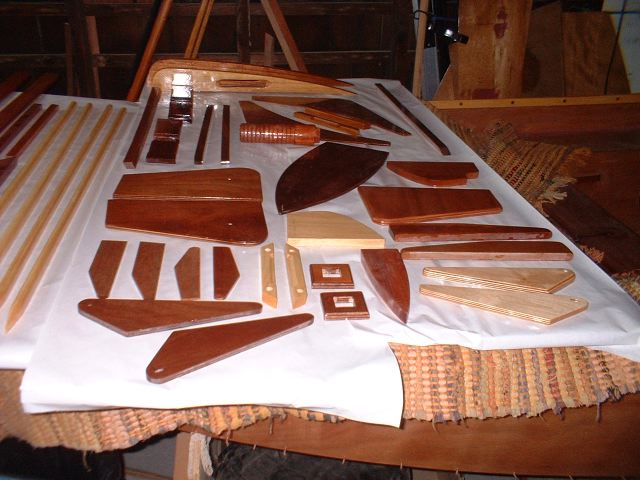
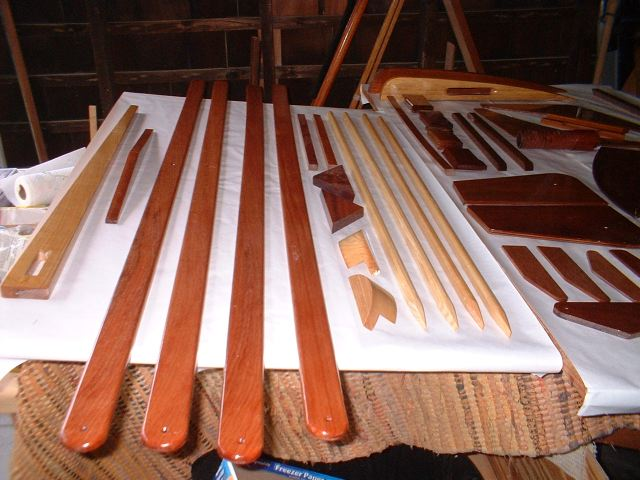
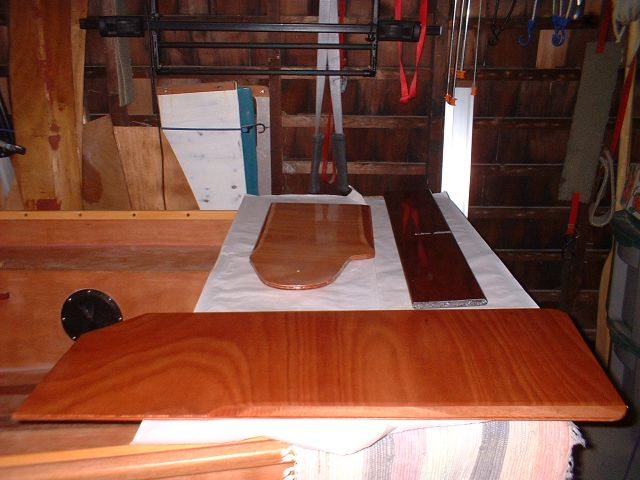
Lots of Barrier Coats
Ideally here everthing that should receive a barrier coat would be coated, to prep for future steps. Below are some pictures of coated items.