22. Fitting Outer Gunwales
add the steamer tip
361 words 2 minutes
Trimming The Inner Gunwale
The inner gunwales need to be cut to length. Don’t take this task lightly. In order to determine the correct length, place the inner gunwale inside and clamp it hard against the hull. Trim one end (against the rear transom, for example) as shown in the picture to the right.
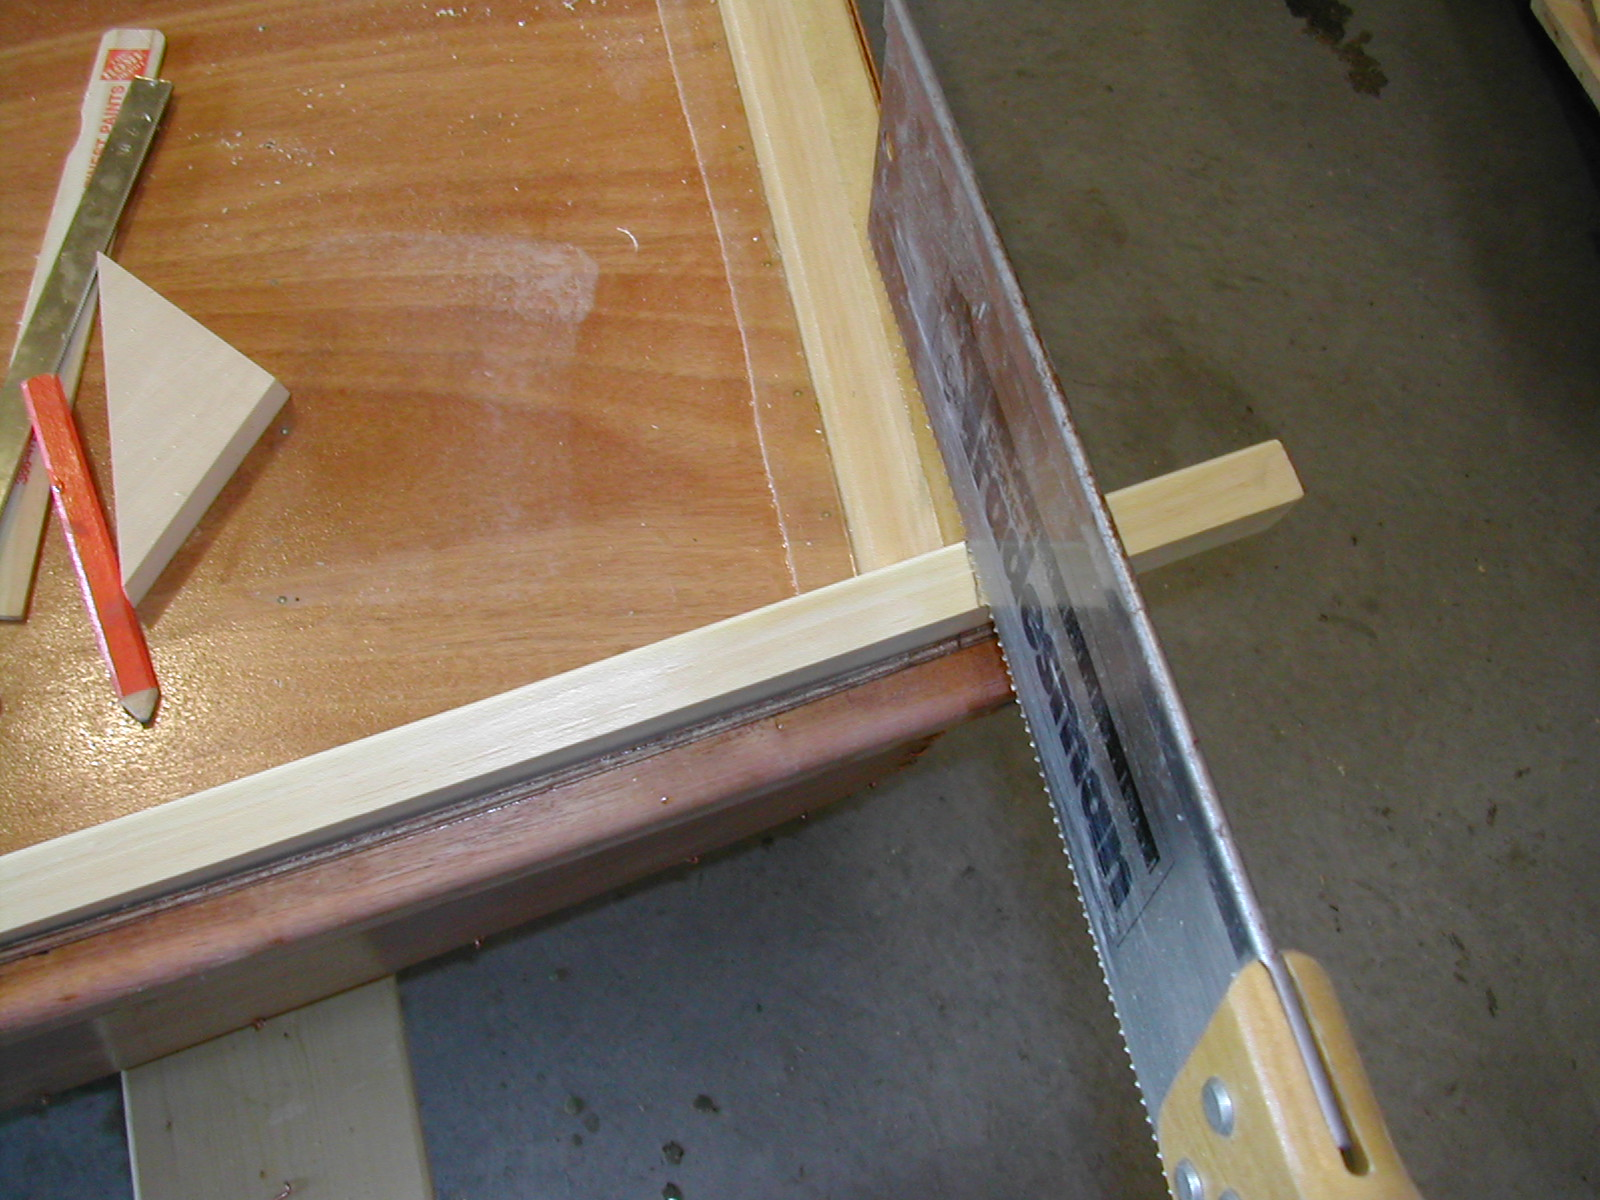
Once the rear end is cut, determine where the forward end of the gunwale will need cutting. Again, clamp the gunwale in place so that it properly bends to shape. The front 24 inches of the inner gunwale are lowered slightly (to a final 1/8") as they approach the fore transom.
Drilling Holes For Plugs
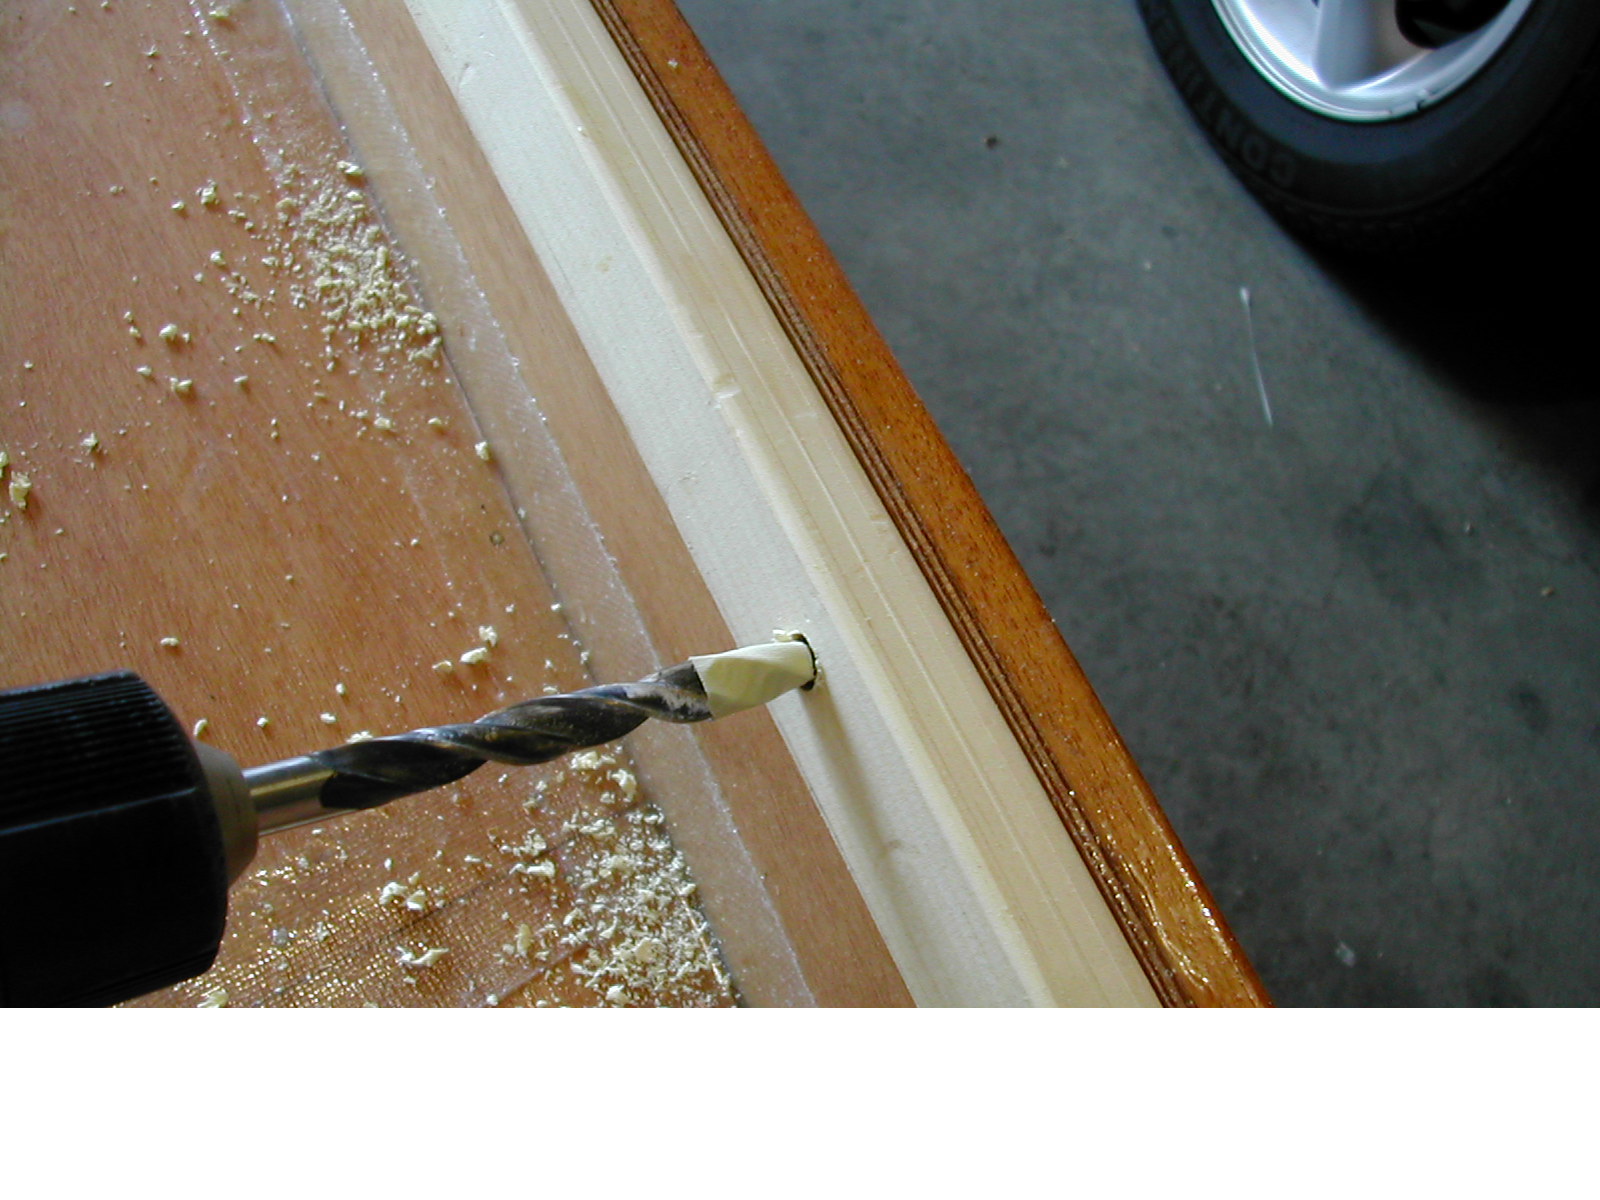
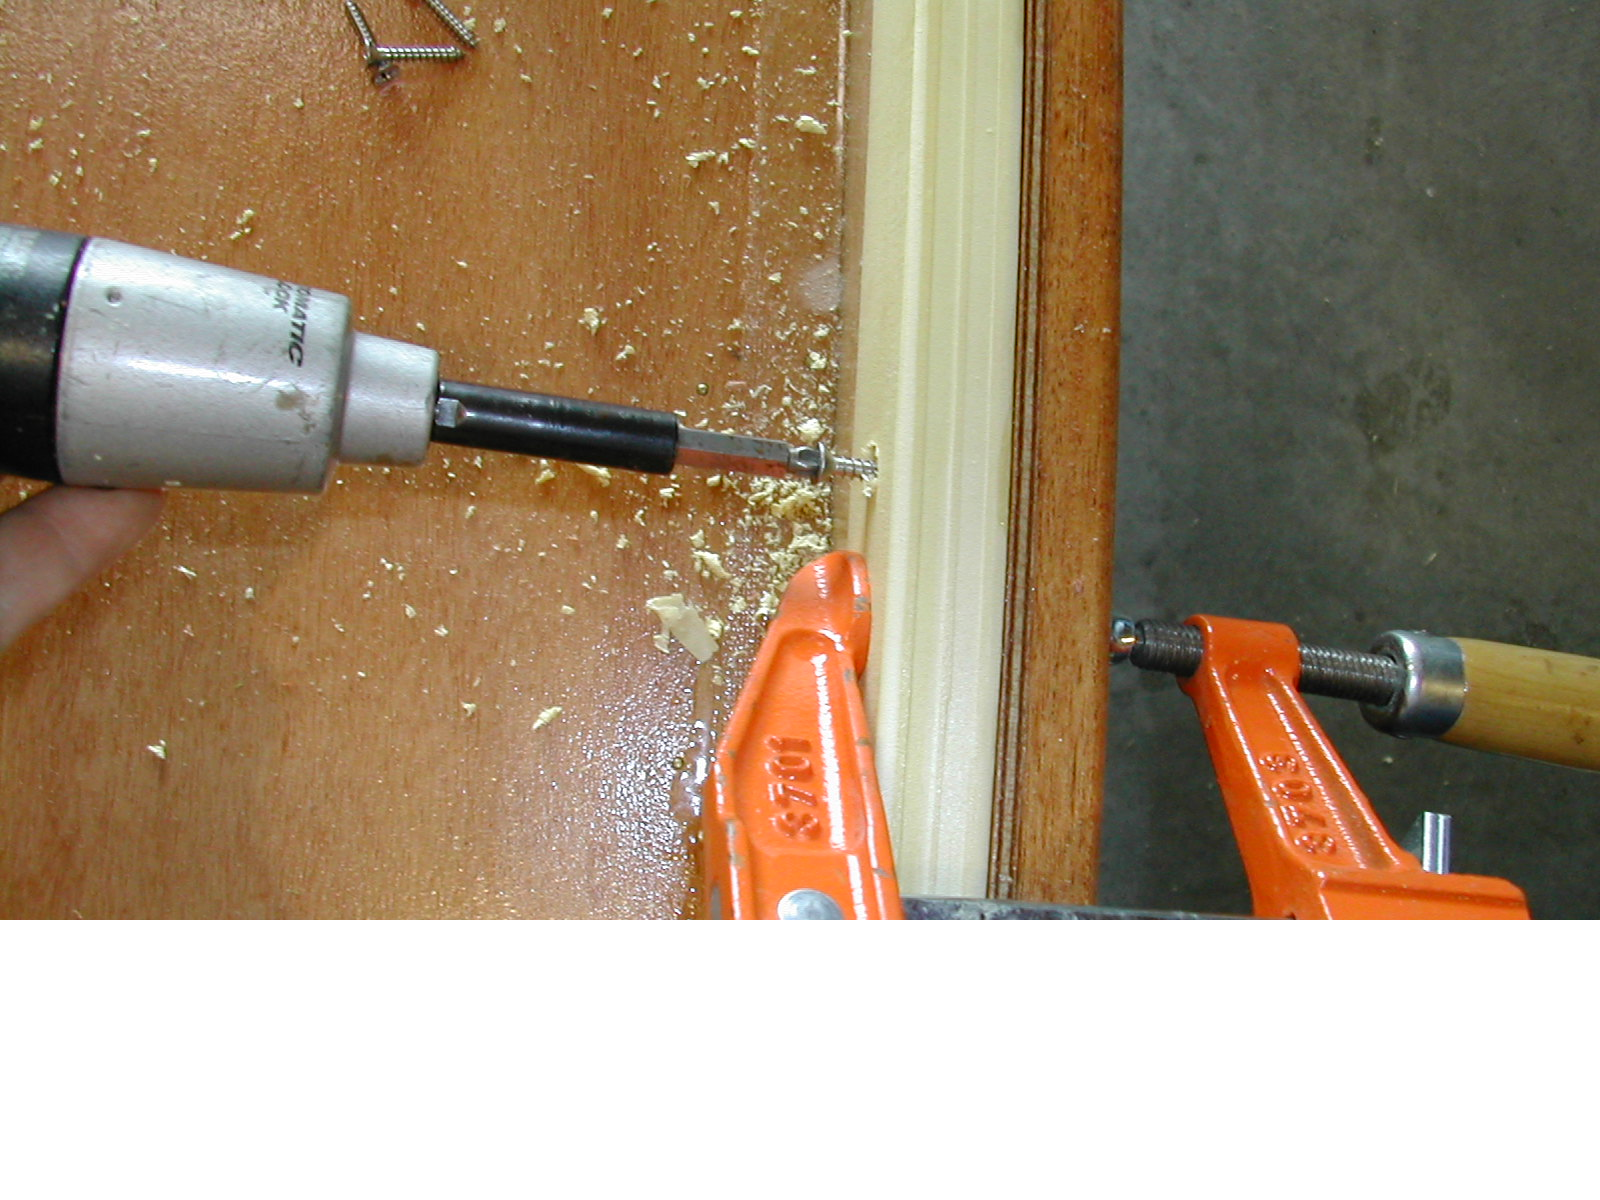
Drill holes for the screws every 180mm. Then, use a larger bit (3/8") and drill a counter-sink hole. Once you have driven the screws, tap in some oak or pine plugs. Oak looks really sharp (see upcoming pictures).
Notice the masking tape on the drill bit so you don’t drill too deep! The inner gunwale is made of very soft wood, and the drill bit pulls in quite easily.
Once all the holes are drilled, clamp and screw the gunwale - sinking all of the screws. Use the clamp to really pull the wood together. Once screwed, move the clamp so it is alongside the next screw.
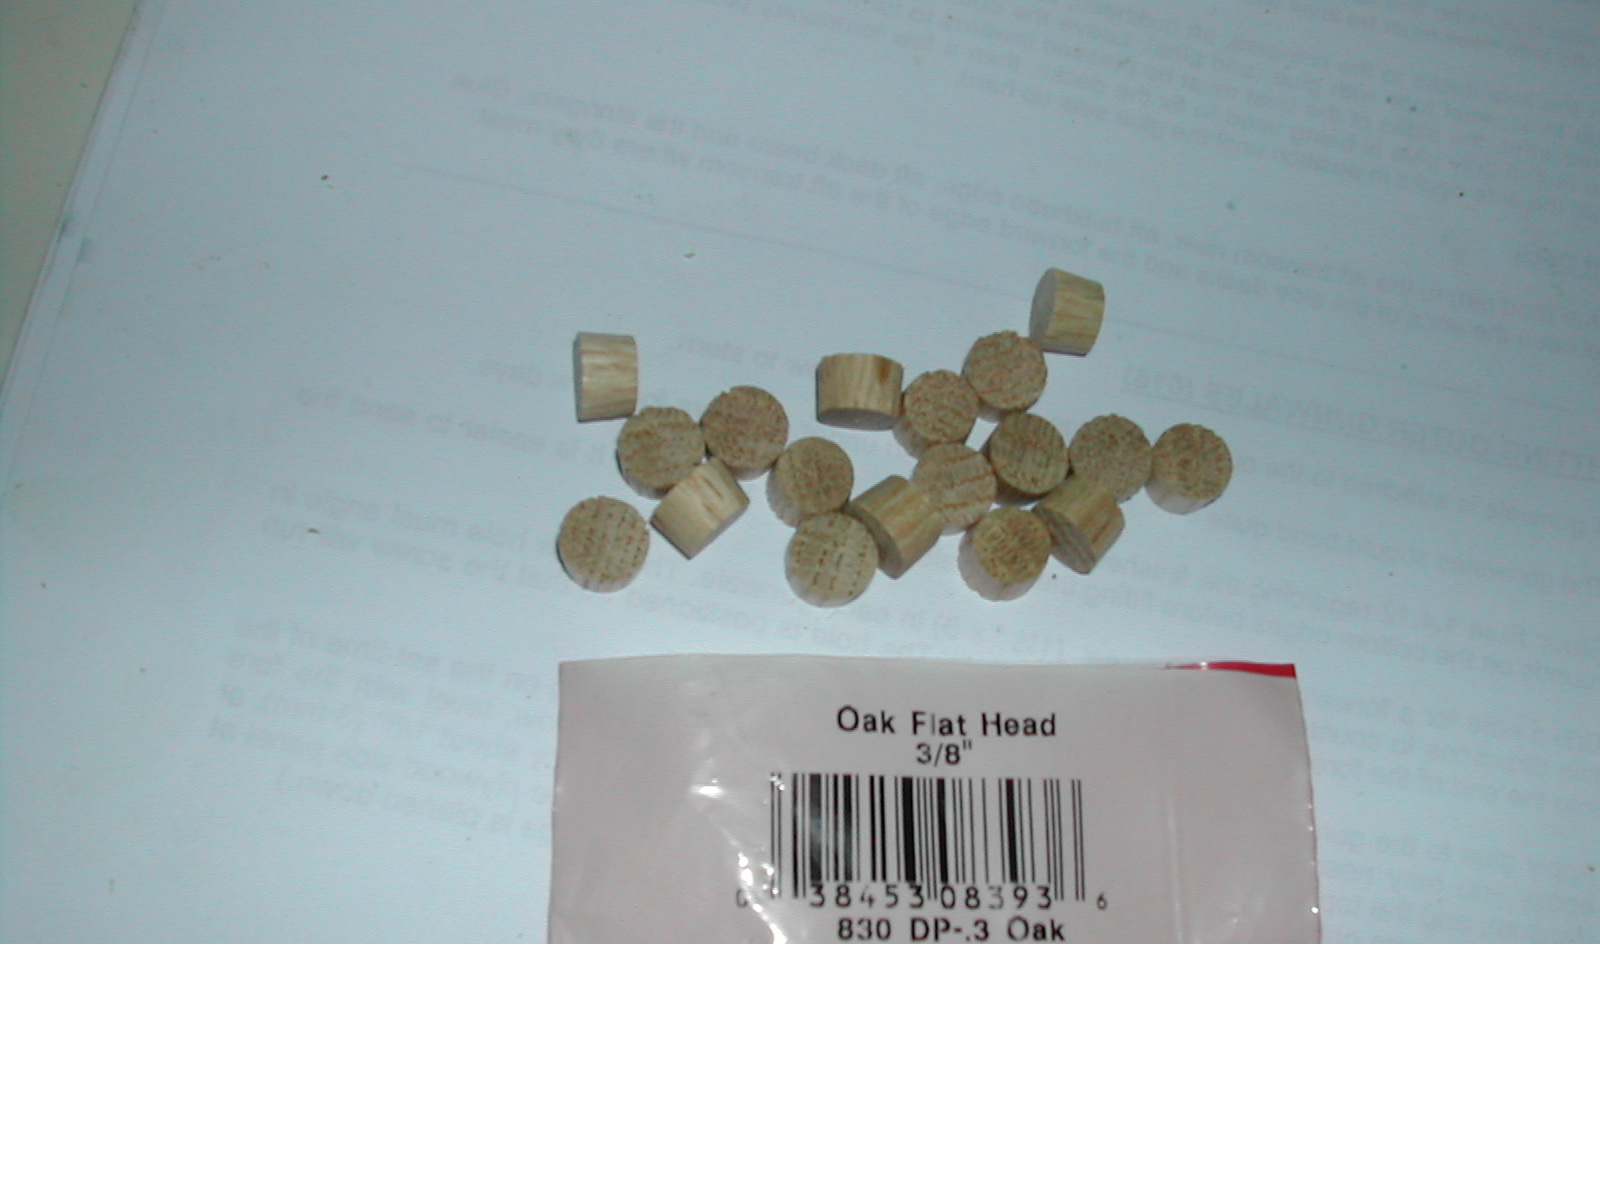
To the right are my 3/8" oak plugs. These were purchased at Home Depot but the equivalent can be found at any hardware store.
Result
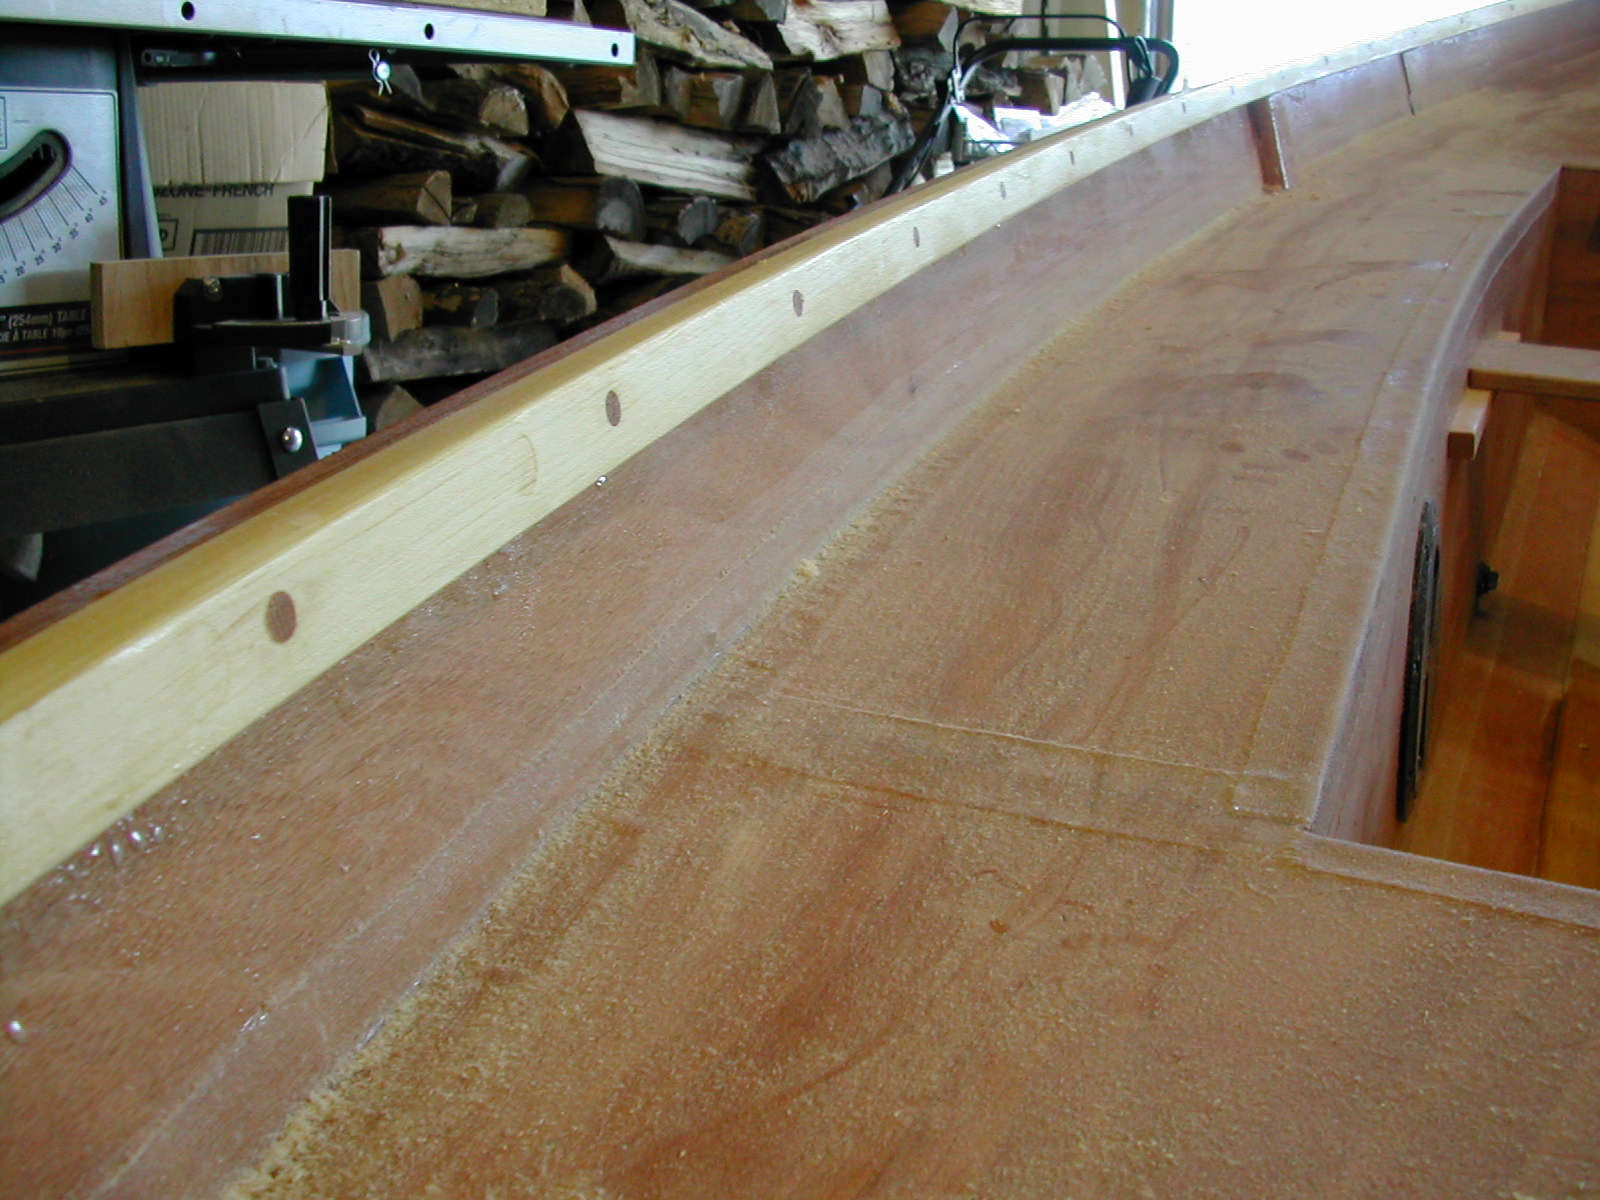
Once all the screws are sunk, apply epoxy to each of the plugs and tap them into the holes with a mallet. Later, when the epoxy has dried, you will sand them flush with the gunwale.
Notice my assistant, First Mate Ryan, checking out the job for accuracy.

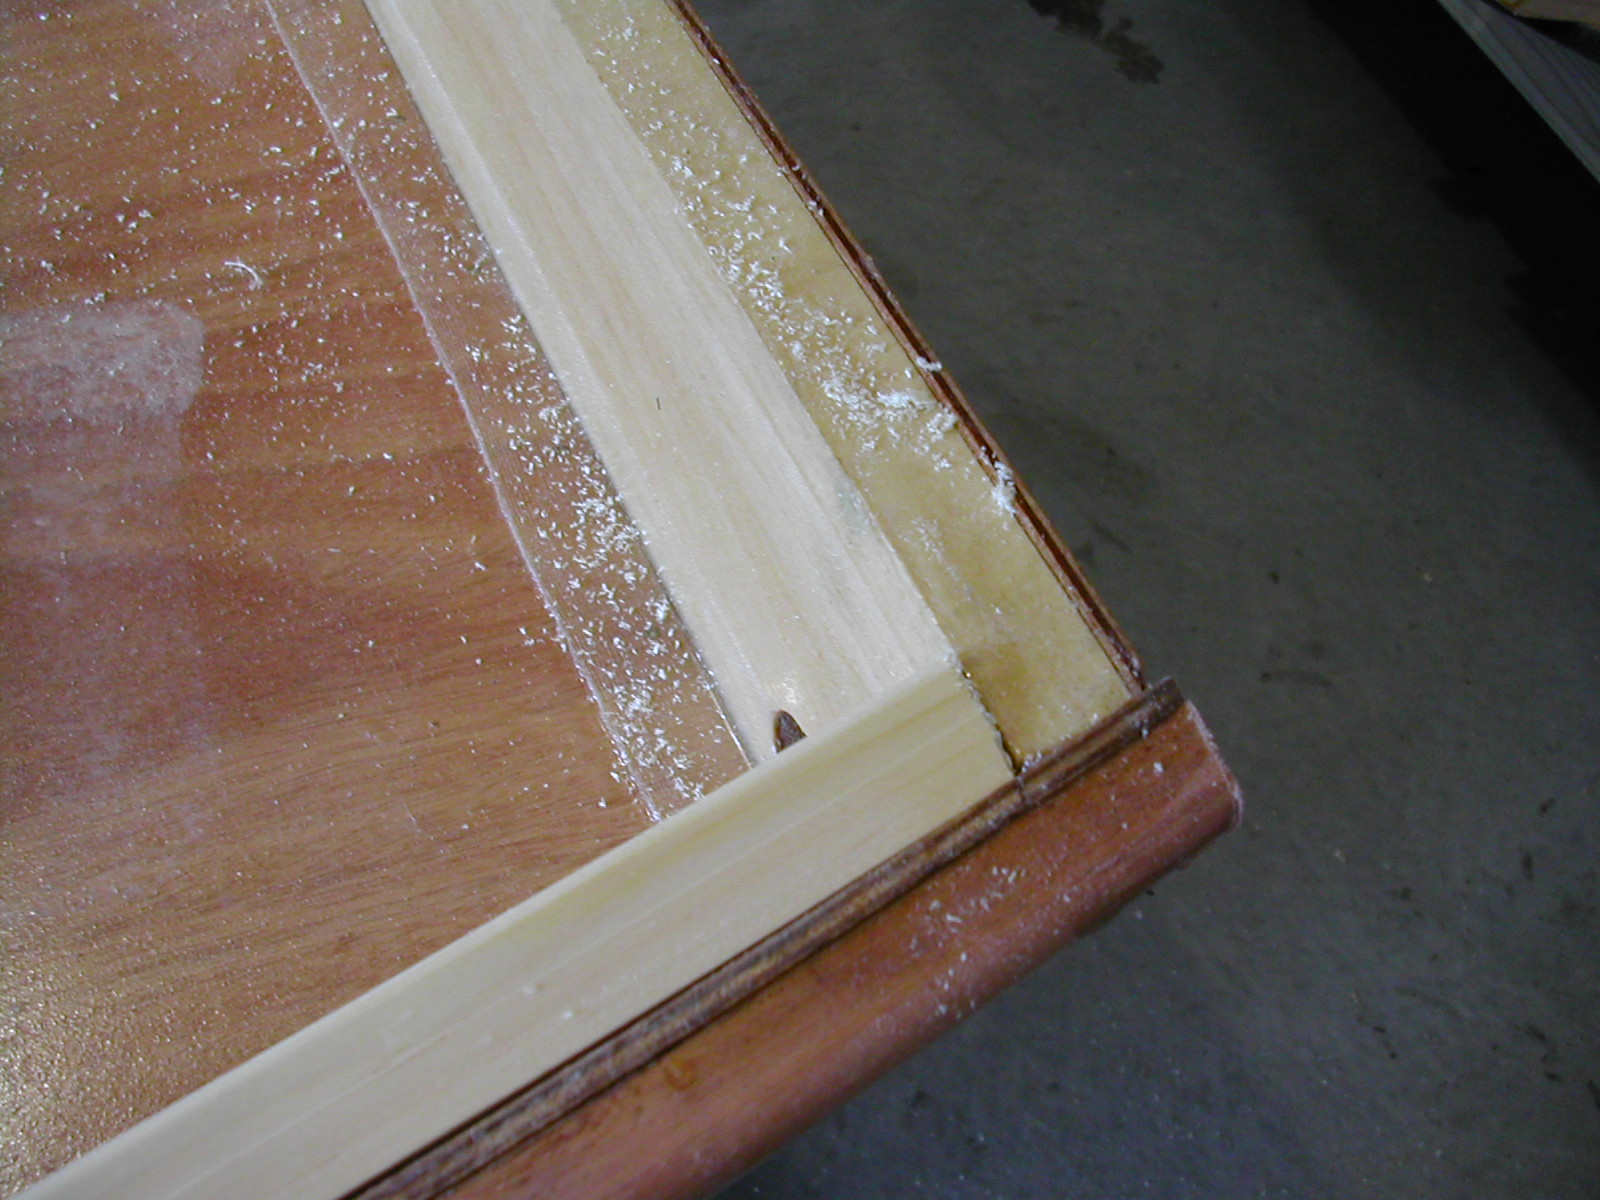
This is just another picture of the inner gunwale.
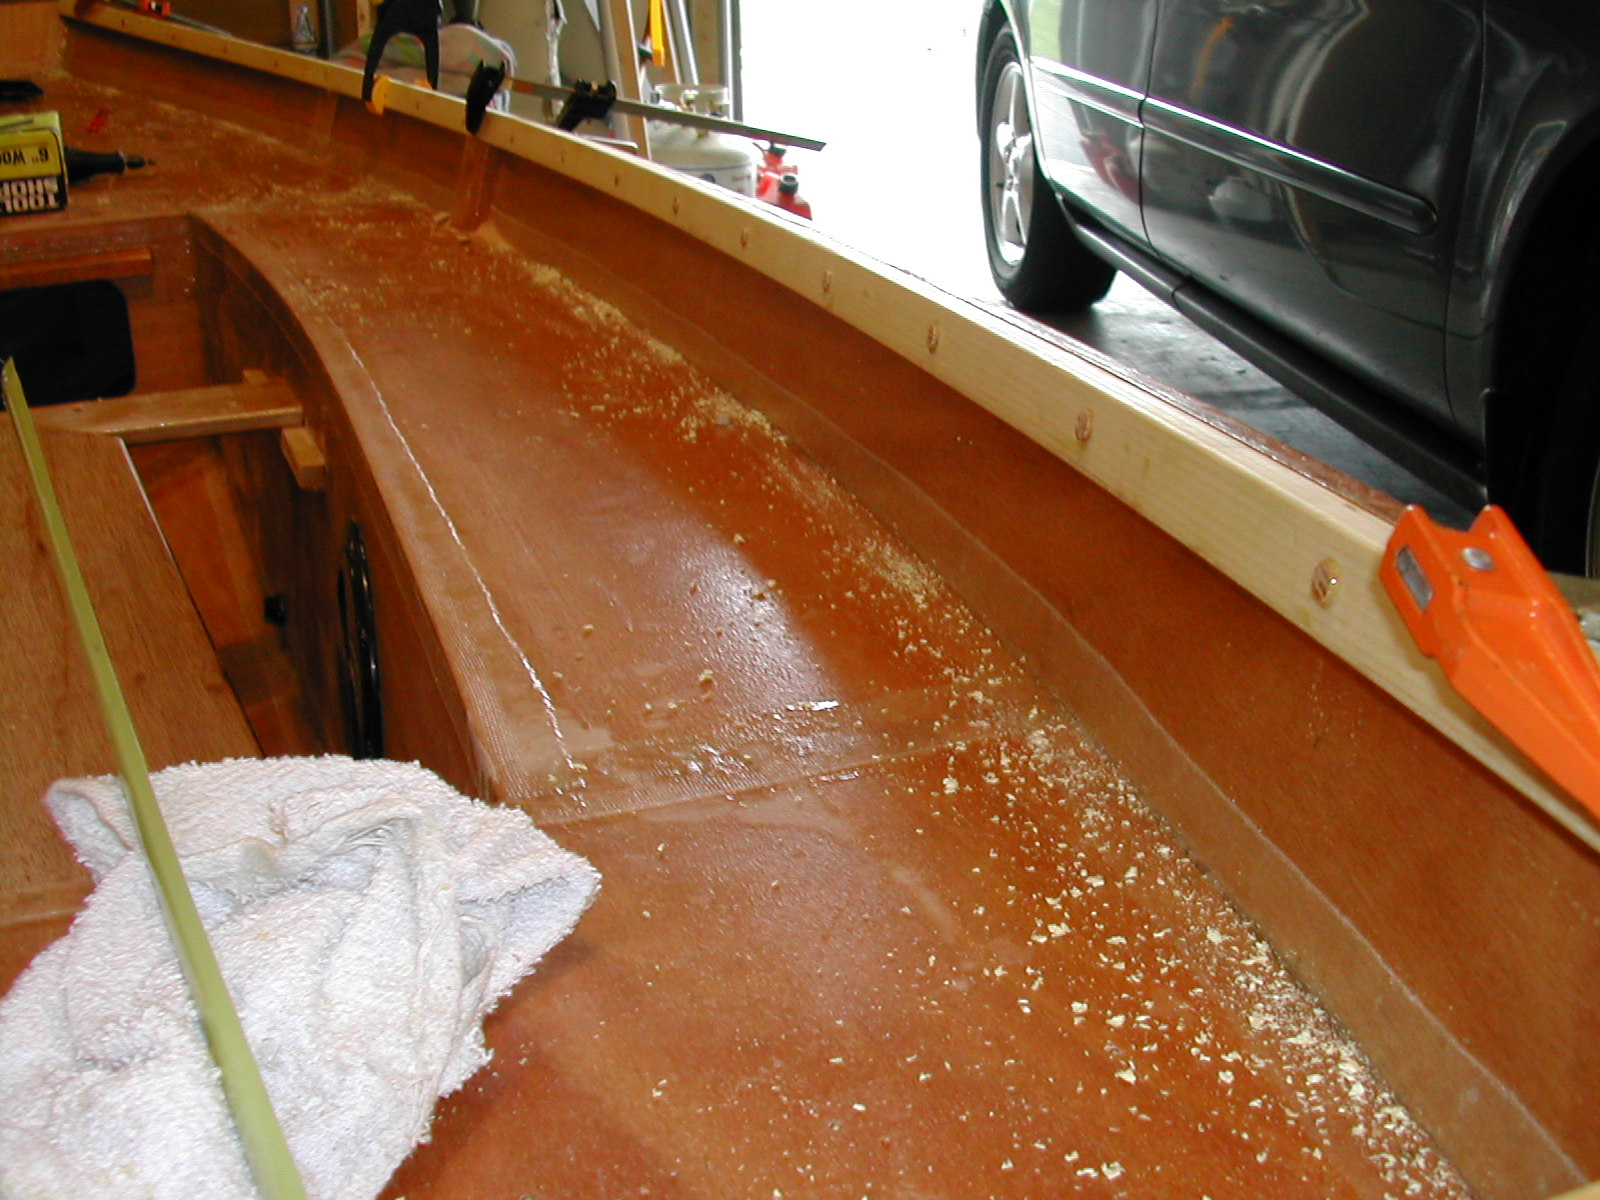
Here is what the gunwales look like, once sanded and treated with epoxy. The darkness of the oak plugs contrasts well with the pine gunwales and make the Mirror look like a work of art. A belt sander with 180 grit paper can be used to gently sand each plug flat. Be careful not to let the sander “dig” into the gunwale wood.