15. Sealing the Hull Seams & Fixing the Bulkheads
Including the Aft Bulkhead and Side Tanks
338 words 2 minutes
Fiberglassing
You will have to do this step rather quickly, as you want to glass the FRONT part of the hull and fix in the forward bulkheads before the epoxy resin cures. I elected to fiberglass down the middle seam only as far as the centerboard slot, and on each of the sides far enough so that the fiberglass tape “end” would lie inside the seat tank. That way, when I continued later, the join in the fiberglass tape would be hidden from view.
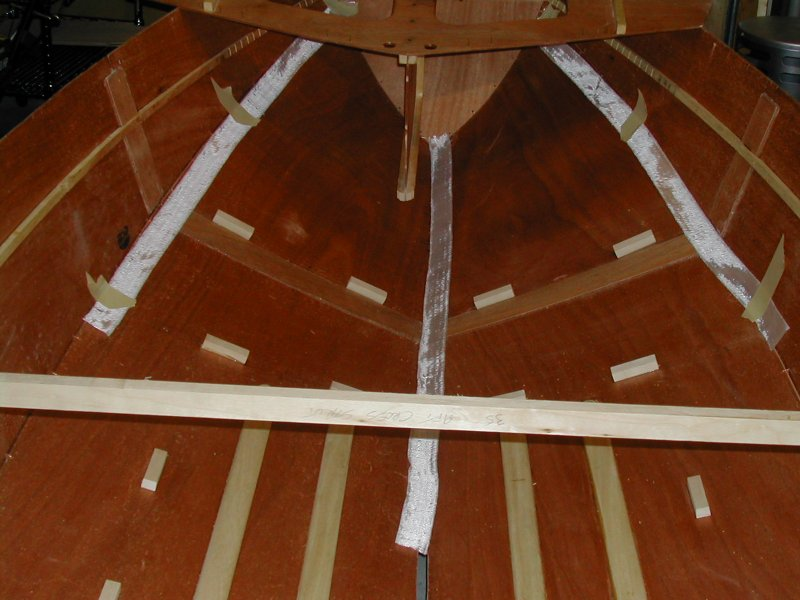
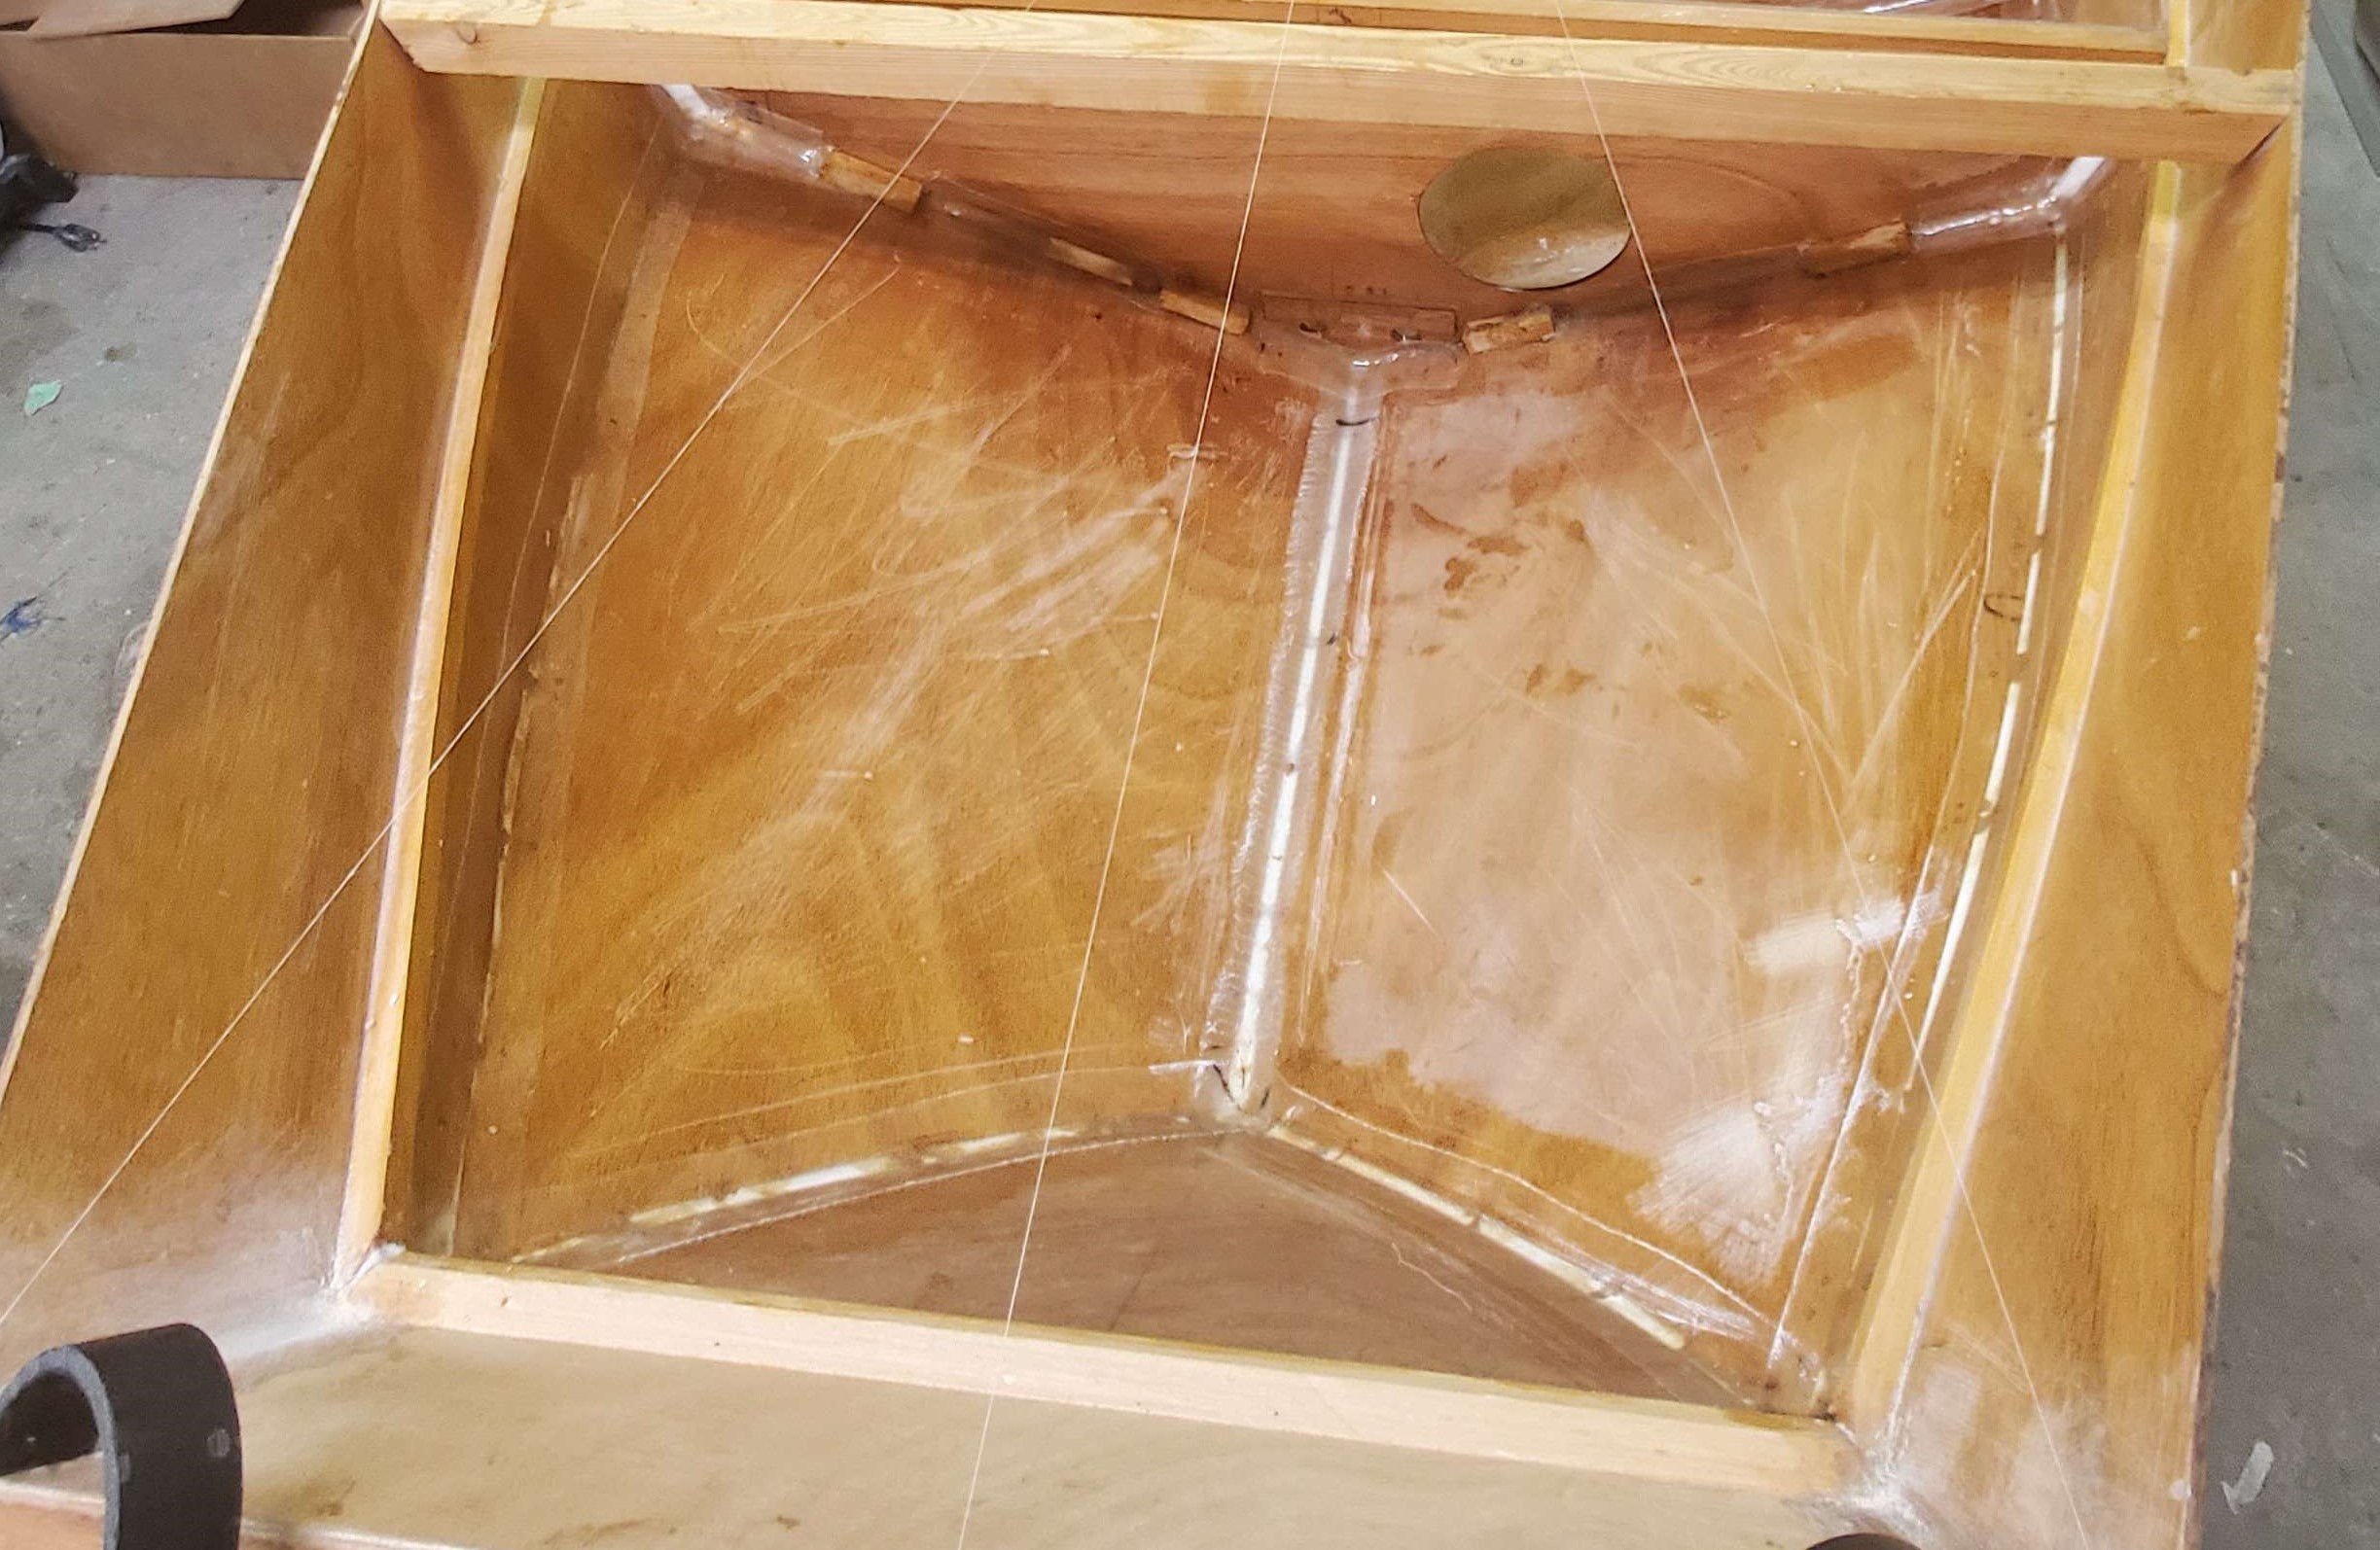
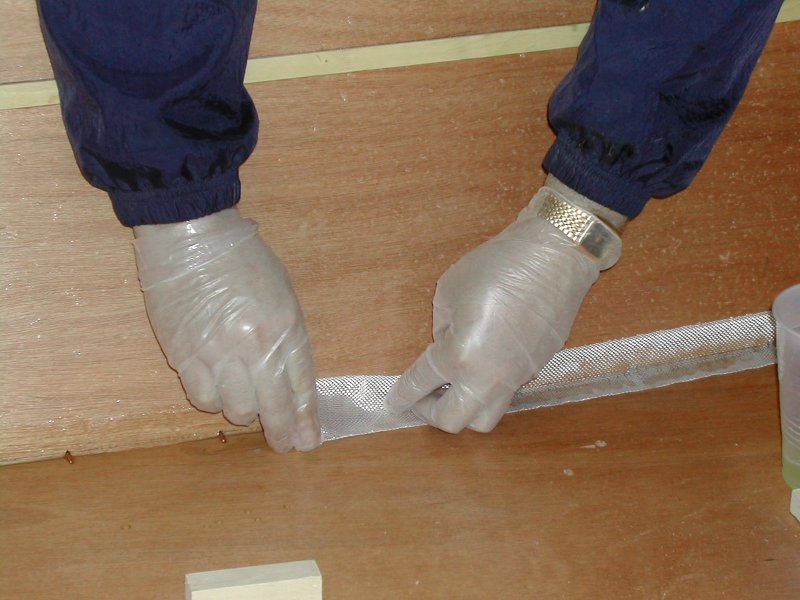
We opted to put an epoxy fillet in every seam, remove the copper wiring, add another fillet where the wire was covering. And then finally tape over the now continuous fillet.
Fiberglassing is a tedious process. Your back will hurt before you are finished.
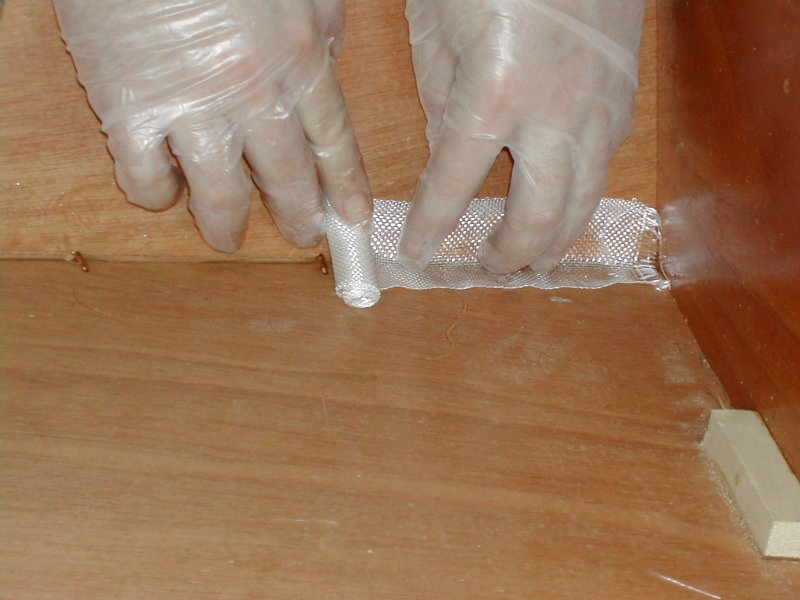
Apply epoxy along the joint and push the fiberglass tape firmly into the edge. Once you have the tape in place, brush on another coat of epoxy. Any bubbles that appear in the “cracks” of the joint need to be “popped” as best you can.
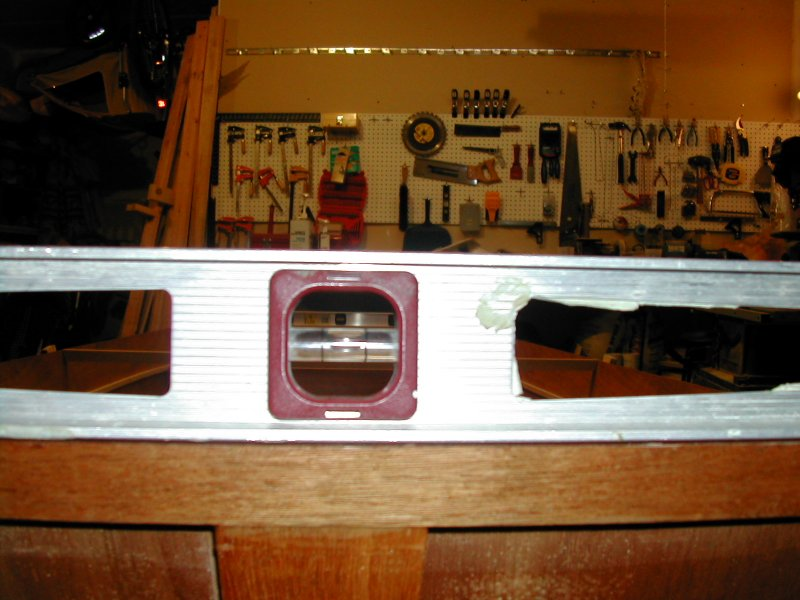
Again, check your levels constantly at this stage. Every step you make going forward from this point will stiffen the boat in its current position. Keep checking and adjusting.
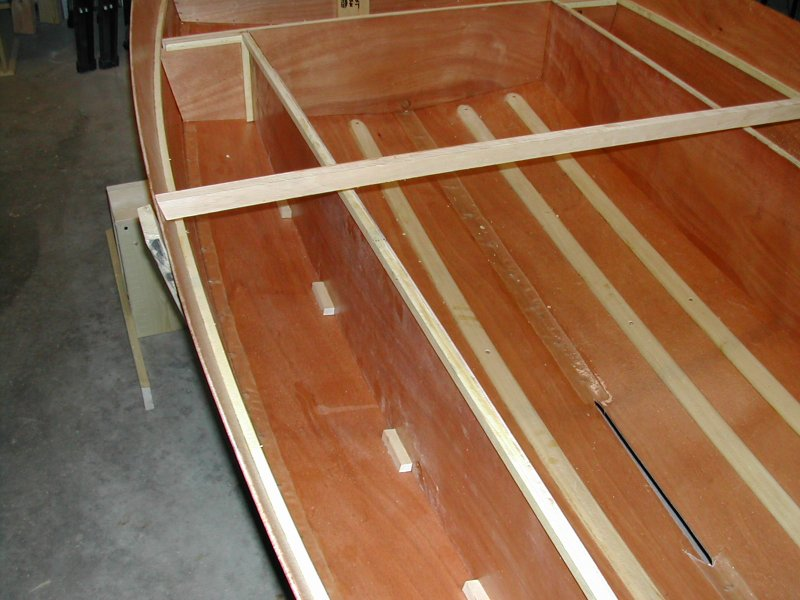
No more pictures of the bulkheads actually installed. Nothing really changes from the trial fittings.
Drilling
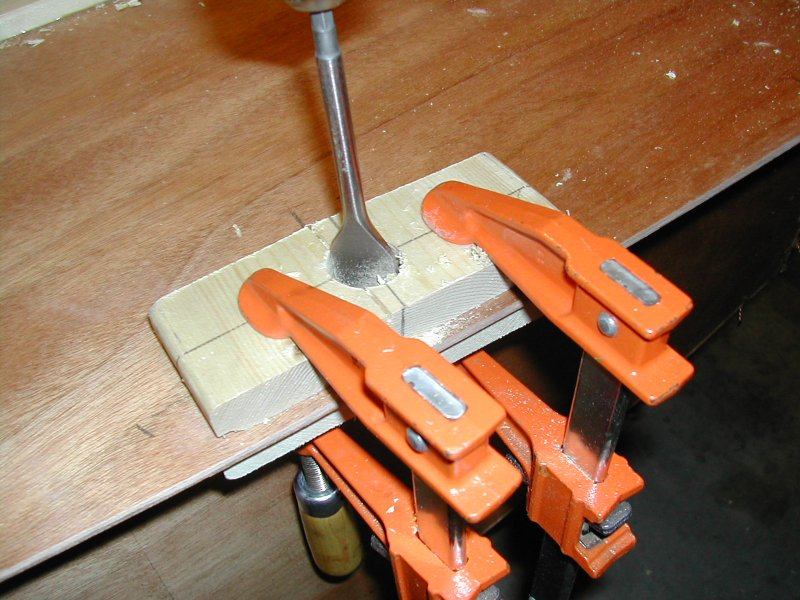
Before installing the side panels, drill your drain holes now! To avoid splintering, clamp some scrap wood on each side of the plywood, then drill.
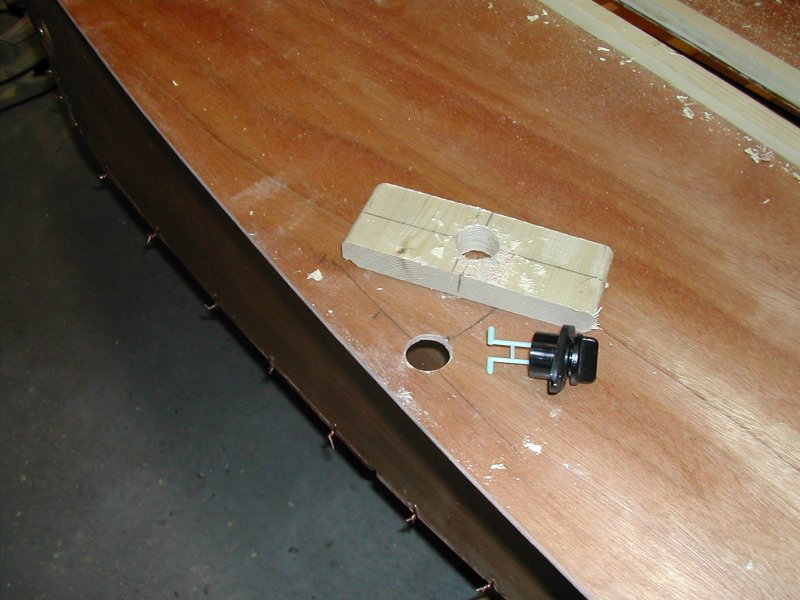
The result? A nice smooth hole. Check to make sure the plug fits. Remember to treat the edges of this newly drilled whole with epoxy.
Side Installation
The sides are then installed, and glued & nailed to the hull blocks. The aft bulkhead can be fitted once the remaining hull taping is completed
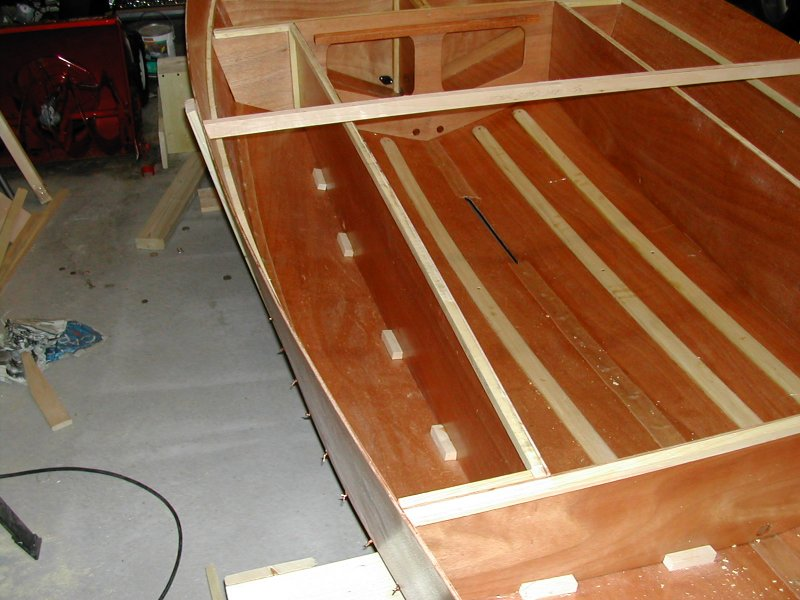
This is a reverse picture taken from the front of the boat, looking towards the rear (aft).
Overall Pictures
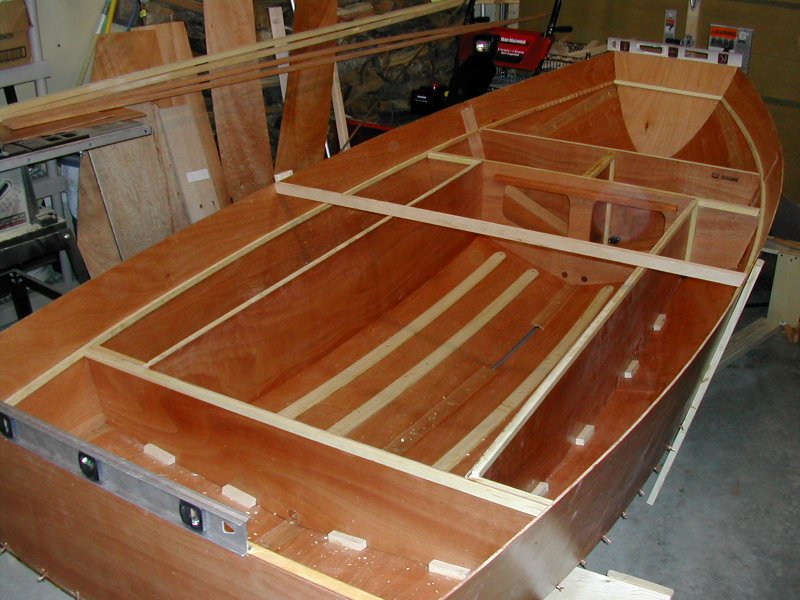
This picture shows the sides and aft bulkhead installed
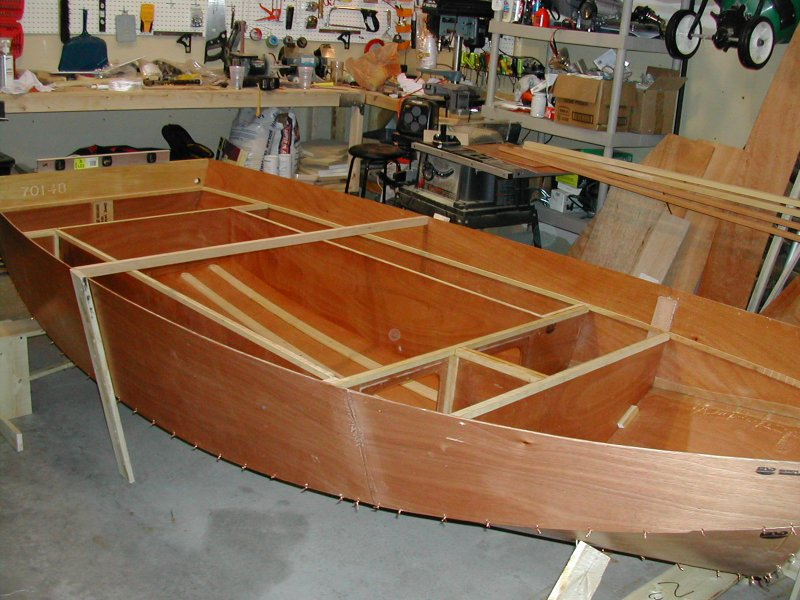
Same for this picture. You can see how the aft bulkhead is positioned here.