9. Fitting & Fixing the Fore Transom
same as last step but backwards
382 words
2 minutes
Note: Some photographs on this page depict an important construction error, which was corrected later.
I include them here because I felt that they still provide some benefit.
Furthermore, I thought it important to document the whole construction process,
mistakes included, and show that mistakes can be recovered from, and learned from.
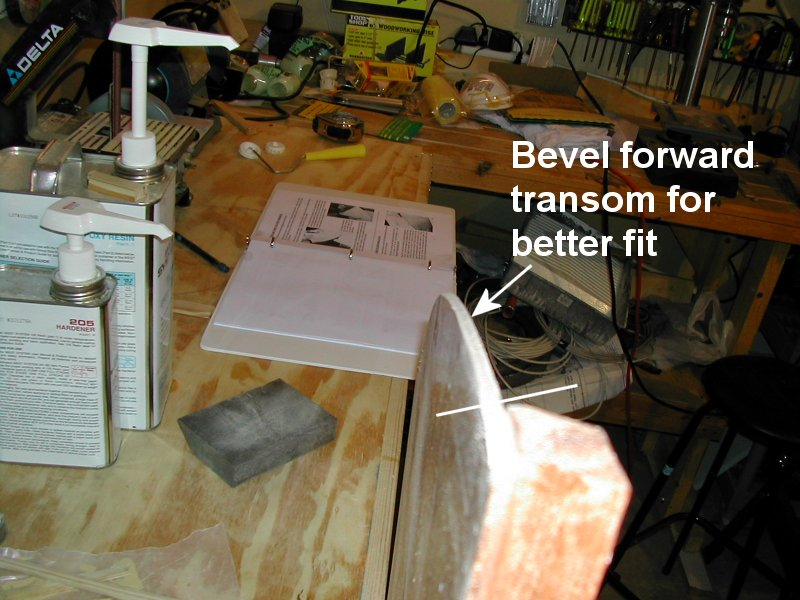
Bevel The Fore Transom
Bevel the fore transom (Part #8) for a better fit. I used a belt sander with some 180 grit sand-paper for this task. Note the bevel angle as shown to the right.
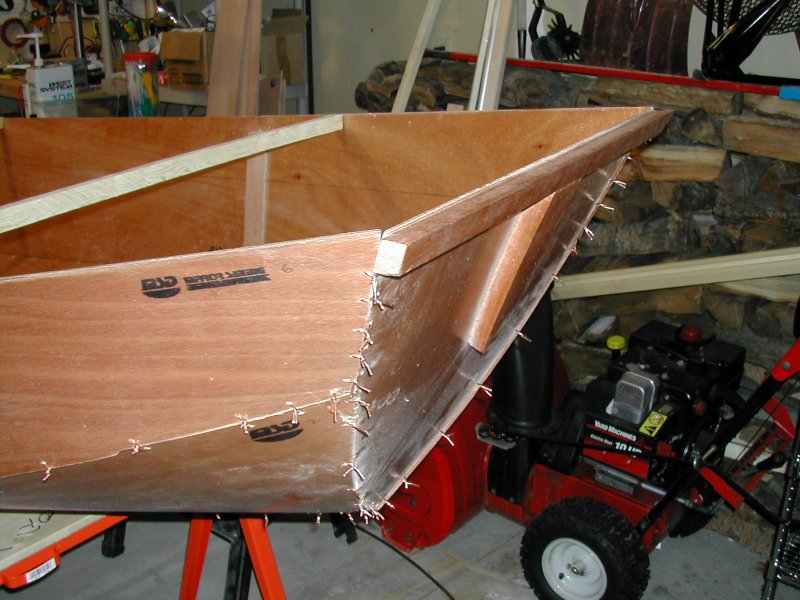
Now, working from the bottom, attach the fore transom to the hull, making sure that it sits inside the hull, like the aft transom. In bringing the seams together you can twist the copper wires pretty tight, but be careful not to twist them too tight or you will break the plywood (and how would I know that…?).
My Mistake
Okay, now for an important public service announcement. The photo at the left shows a significant MISTAKE I made at this point, namely: I initially installed the fore transom with the pre-attached gunwale & stem block facing INWARD. This was an ERROR! The fore transom should be installed with the pre-attached gunwale & stem block facing OUTWARD.
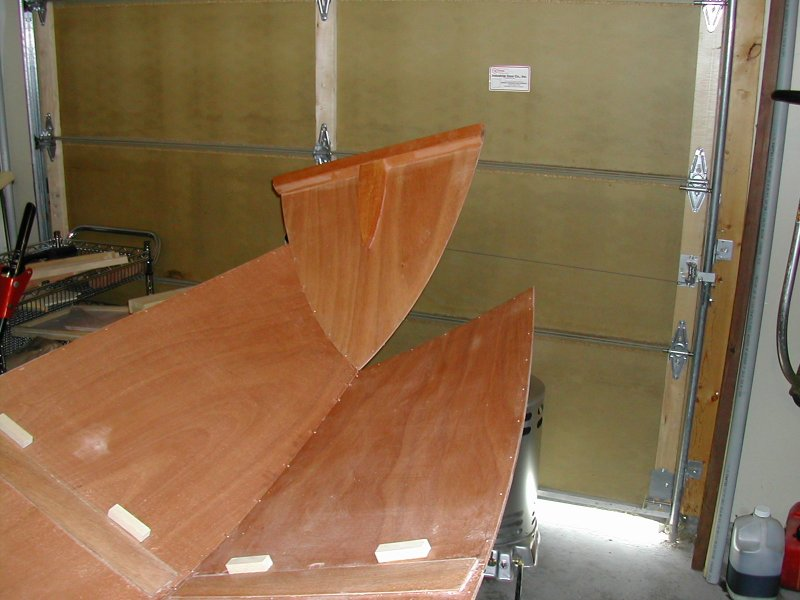
The pictures below show me assembling this incorrectly. Later I had to unstitch the fore transom, turn it around, re-bevel its edges, and restitch. I don’t have any pictures of it installed correctly until later construction stages.
Here is another shot of the same, but from the underneath (again with the fore transom oriented and attached INCORRECTLY).
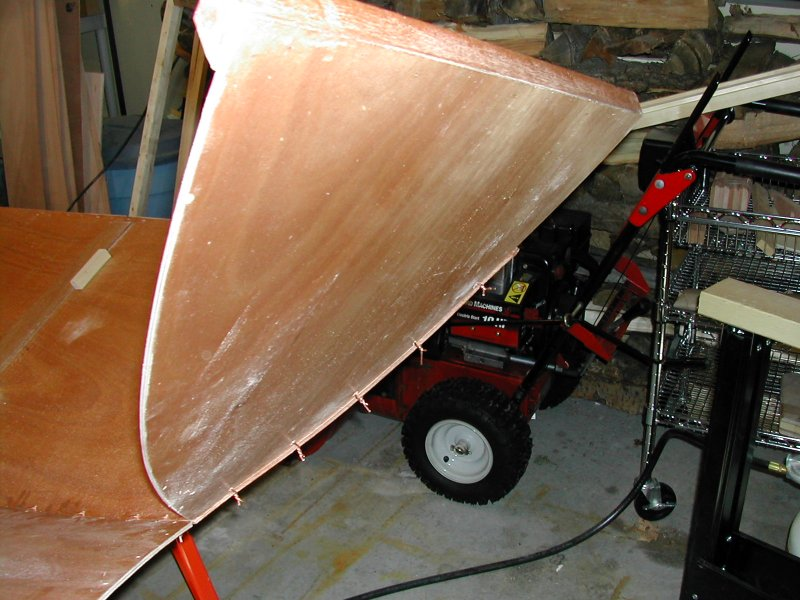
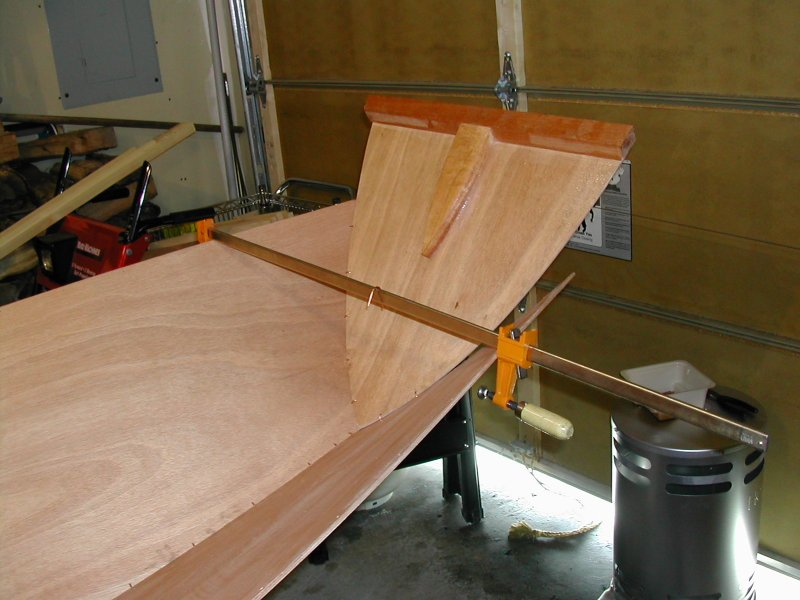
The kit instruction book says: “seek a helper”. Good idea. But if help is not available, use one of those really long bar or pipe clamps you purchased earlier. As you work your way up, adjust the clamp a little more.
(Again, install the fore transom with the pre-attached gunwale & stem block facing OUTWARD, and NOT as shown here.)
Result
Okay, here is a picture with ALL the hull sides attached, and the fore transom re-installed correctly with the gunwale & stem block on the OUTSIDE of the boat.
This picture will also be shown later in the section “Fixing the Side Panels”, but thought I would show it here for clarity, and to show that mistakes are correctable!