19. Fixing Deck Panels, Beams, & Battens
adding supports for the decks
568 words 3 minutes
I elected to install the optional side tank bulkheads BEFORE fitting the aft deck. In addition, because the curvature of these bulkheads varied slightly from my Mirror, I pre-fitted these bulkheads (i.e., DO NOT tape and glue them yet. The photo shows them already glued). Make sure you pre-fit your aft and side decking first. I then trimmed the bulkhead to make sure the decking curvature conformed to the decking.

Adding Batten Seat Supports
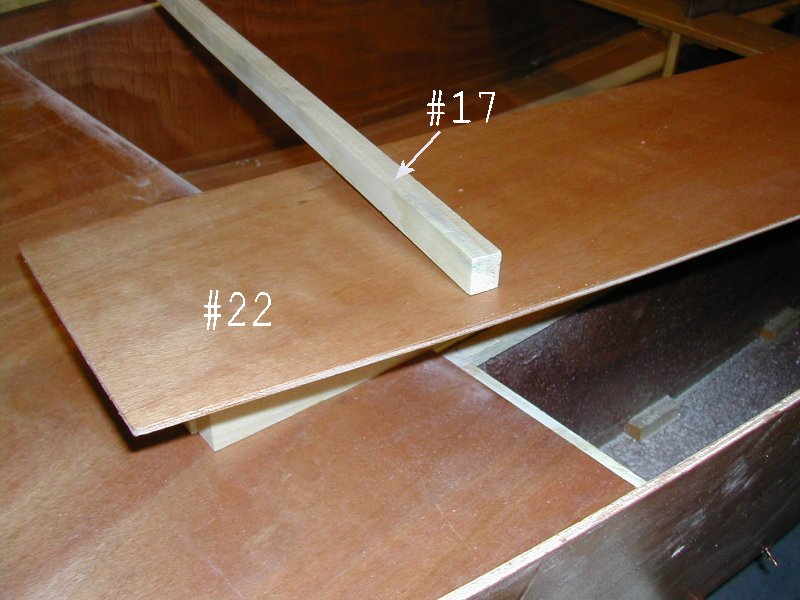
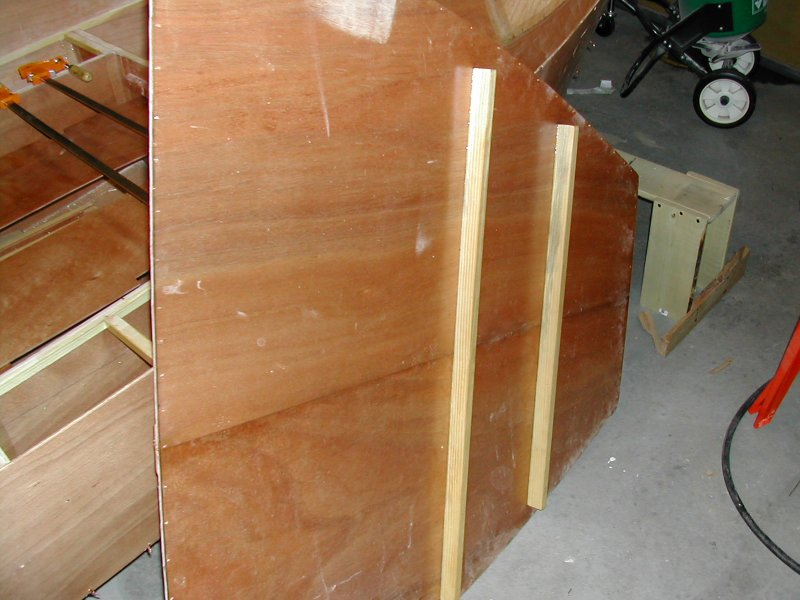
This picture is showing Parts 22 (Deck) and 17 (Batten).
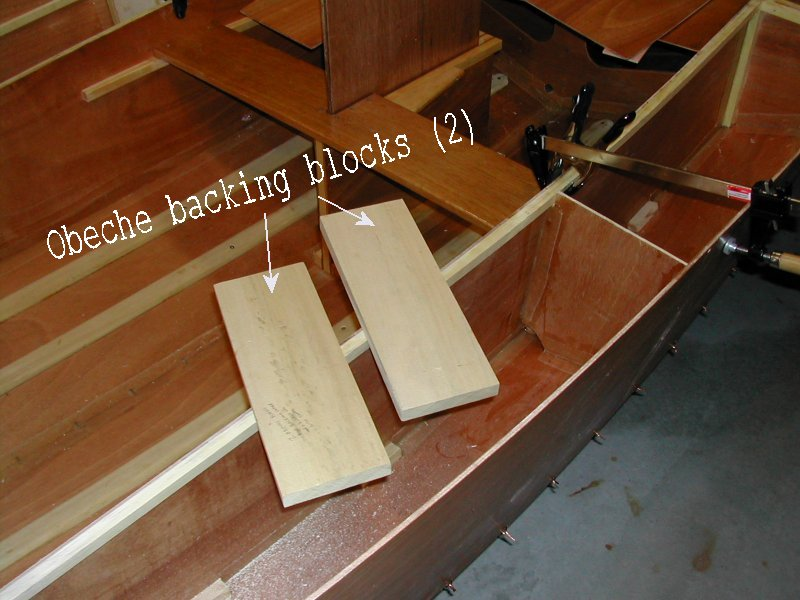
This picture shows the “backing blocks” which are attached to the undersides of the decking on each side. As recommended, I installed them now. Their purpose is to support the jib cleats, should you decide to install these on the side decks. The blocks provide a solid anchor point for the screws.
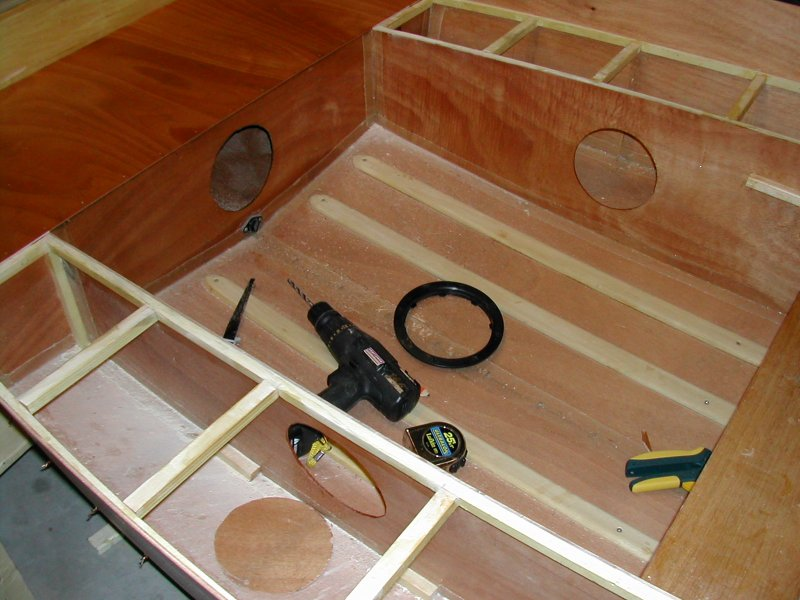
Part 17 is cut up into pieces that span the area between the side deck battens & stringers and support the decks. Be careful NOT to enlarge these pieces for a tighter fit, as this will alter the tank curvature, and your pre-fitted side deck will no longer fit. I later reinforced each of these batten joints with small pieces of tape. After all, you will be sitting in this area!
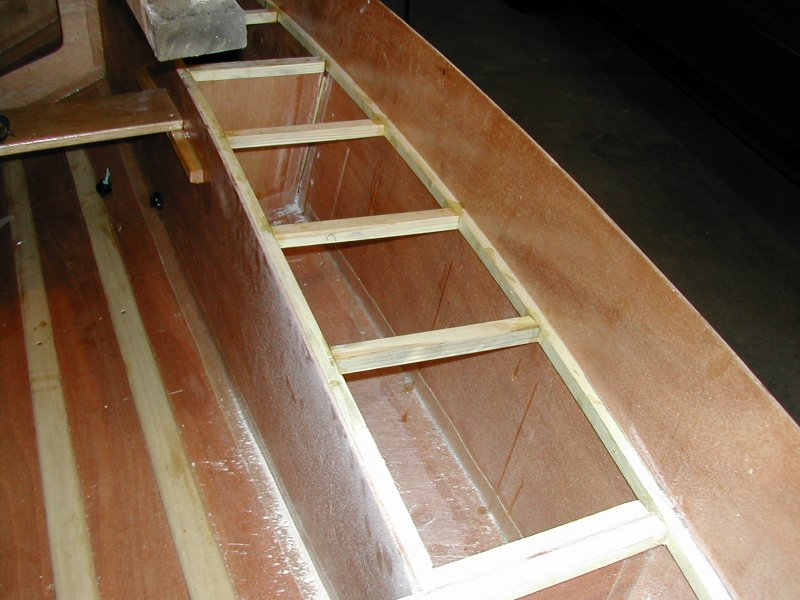
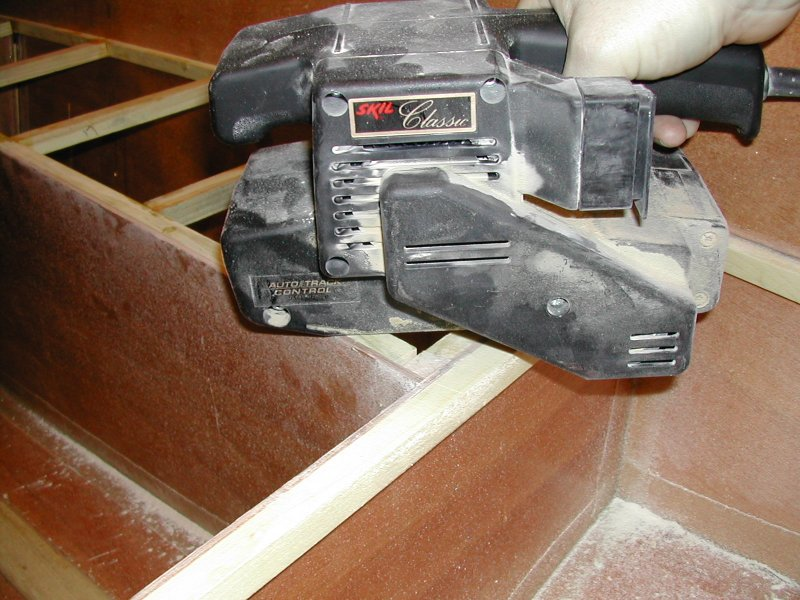
I then used my belt sander with some 180 grit sandpaper and made sure all my battens and stringers were level.
Make sure to vacuum out the saw dust from the side and aft tanks before sealing them up
Inspection Hatches
If you purchased inspection hatches, this is an excellent time to install them. If you do it later, you will have a difficult time cleaning out the sawdust. It is recommended to install hatches in each of the chambers to provide interior access.
Pre-Fit Deck’s
Again, pre-fit the aft & side decks just to make sure everything will fit nicely. I elected NOT to trim off the decking edges that projected into the cockpit at this stage. Once all the decks were installed, I used my router with a flush trim bit to obtain a clean, straight edge. If you do not have a router, it may be easier to trim these edges before installing the decks.

Fore Deck
The fore deck is joined in a manner similar to that used for joining the hull panels. A butt strap (19) is installed, which will lie on the TOP of the deck. Make sure the fore deck and butt strap pieces that will be exposed are the ones showing the nicest grain pattern and finish!
I elected to router the butt-strap piece using my 1/8 radius bit for a nice smooth edge.
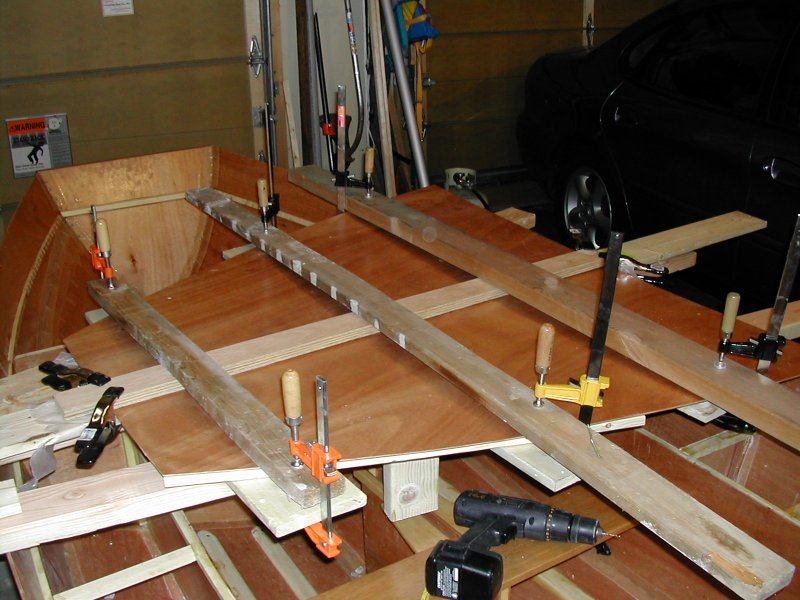
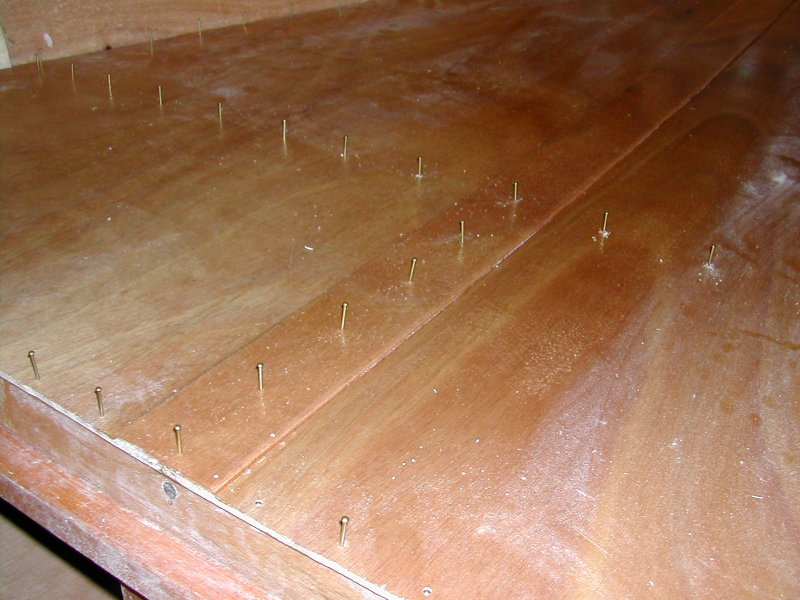
The battens are then installed on the underside of the decking. As with all other wooden parts, apply 2 coats of epoxy before installing them.
I then drilled starter holes for all my brass pins. I placed the pins in the holes ahead of time so that later, when applying the epoxy to all the surfaces that would come into contact with the deck, my pins would be in place and ready to hammer. Saved some time.
If you are installing an inspection hatch on the foredeck, cut the hole before deck attachment so that you can vacuum out the sawdust. As you can see, I forgot. When I put the hatch in later, I had to vacuum out the chamber through the hatch hole as best I could.