17. Fitting the Centercase Unit & Thwart
...
720 words 4 minutes
Cutting Thwart
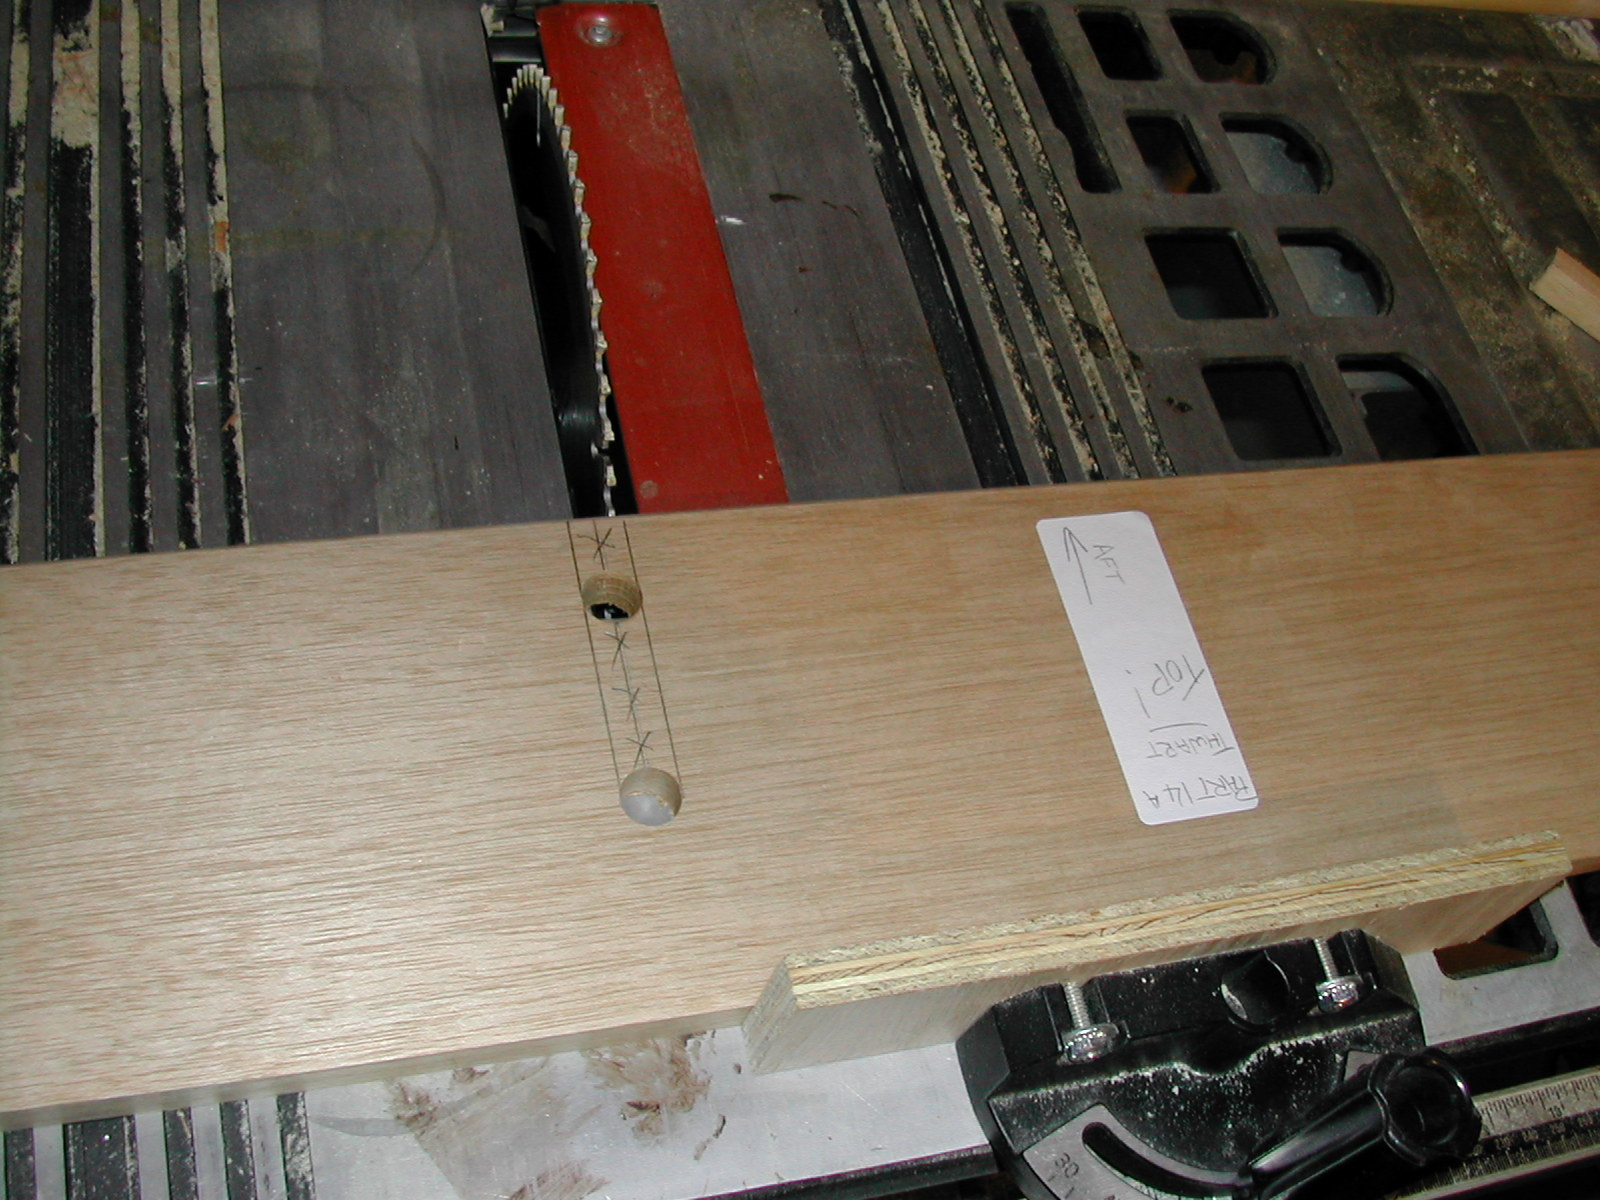
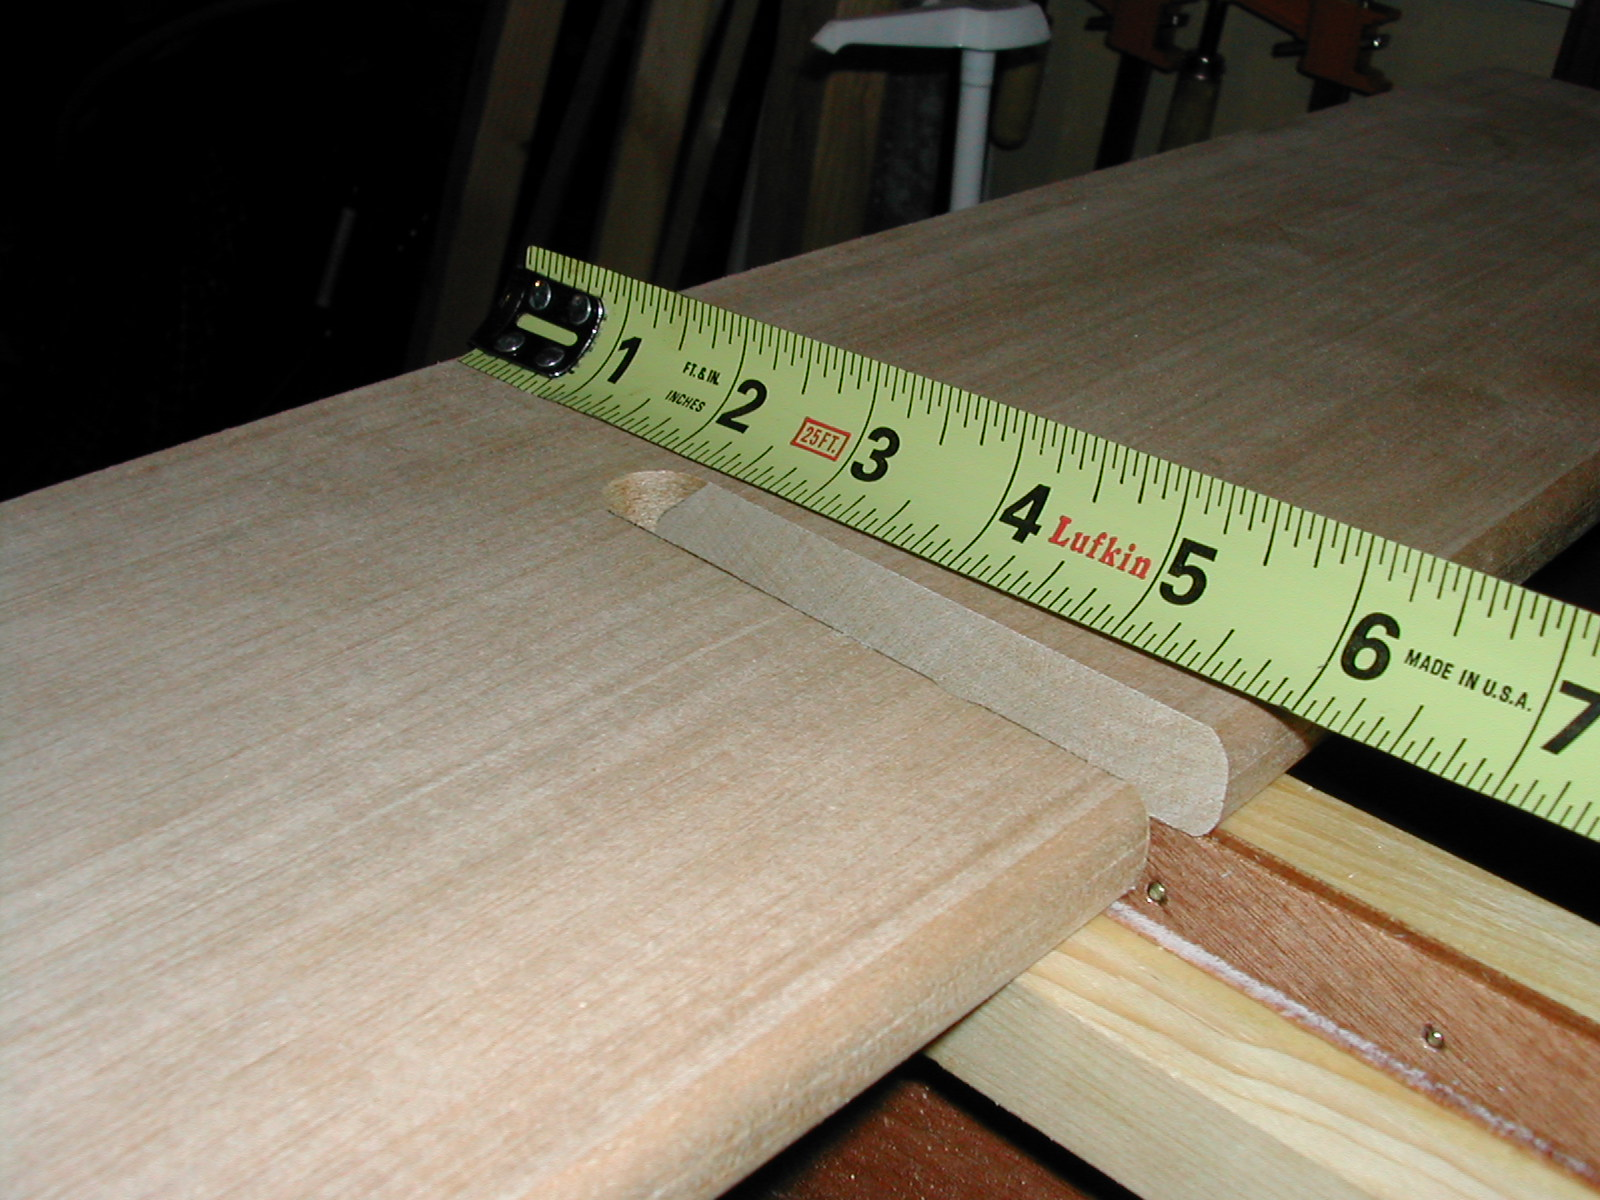
Shown is the thwart. My kit was shipped with 2 holes pre-drilled. You will need to cut out along the drawn lines. The next pictures show how the cut is made.
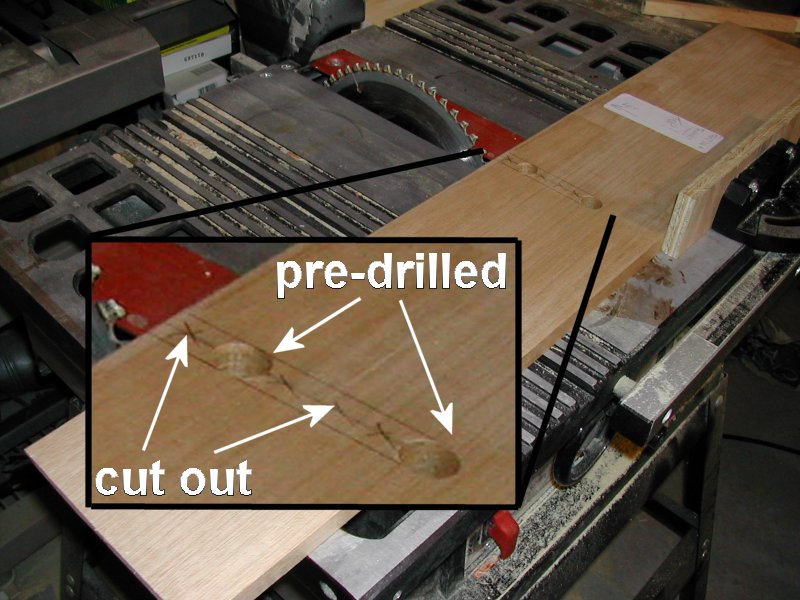
A table saw is convenient if available, but a hand saw will also work.
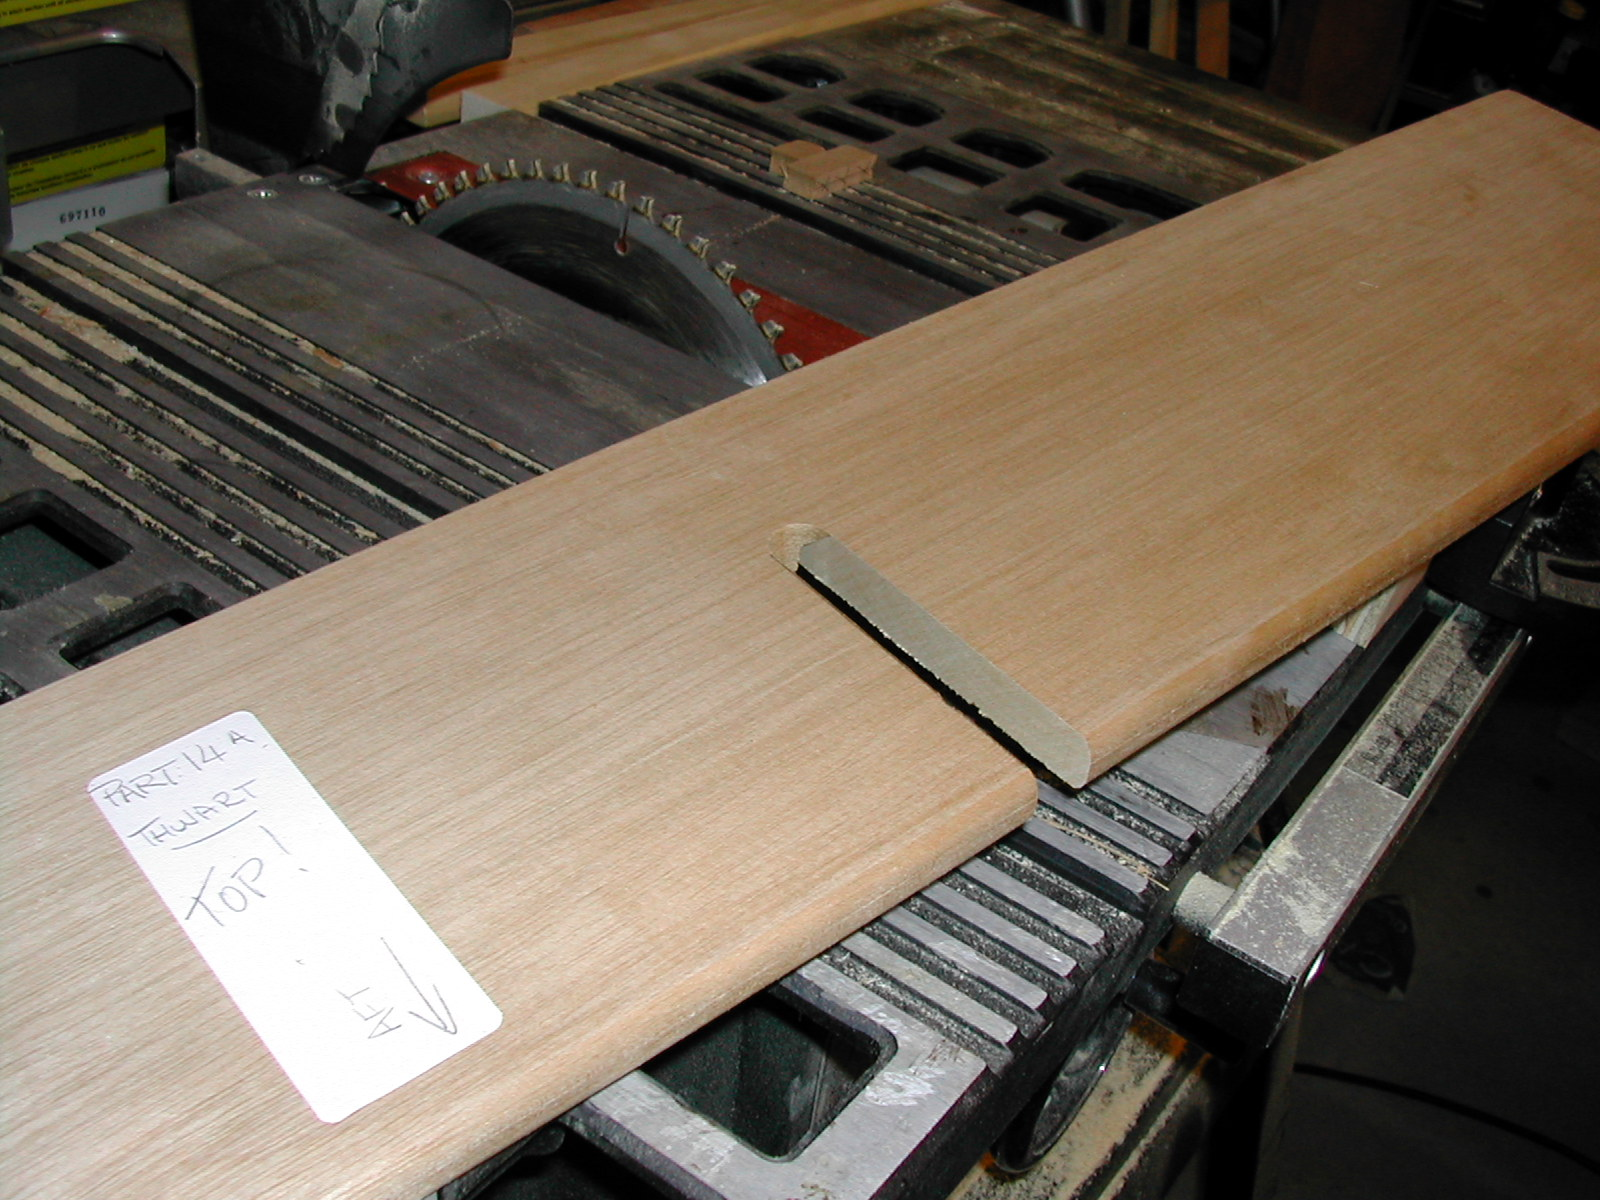
This is the end result. The thwart has been rotated about 180 degrees in this picture relative to the one above.
Attaching The Thwart (mistake made)
The thwart is placed on top of the centerboard in such a way that the opening you just cut will allow the centerboard to travel through the thwart and centerboard easily. In other words, the opening should remain at approximately 15 3/8 inches - length of the centerboard case interior.
The diagram in the instructions does not correctly show a “hidden line”, or the fact that the thwart slightly overlaps the centerboard edge. See the photos below for a better view.
This picture somewhat shows the overlap of the thwart on the centerboard.
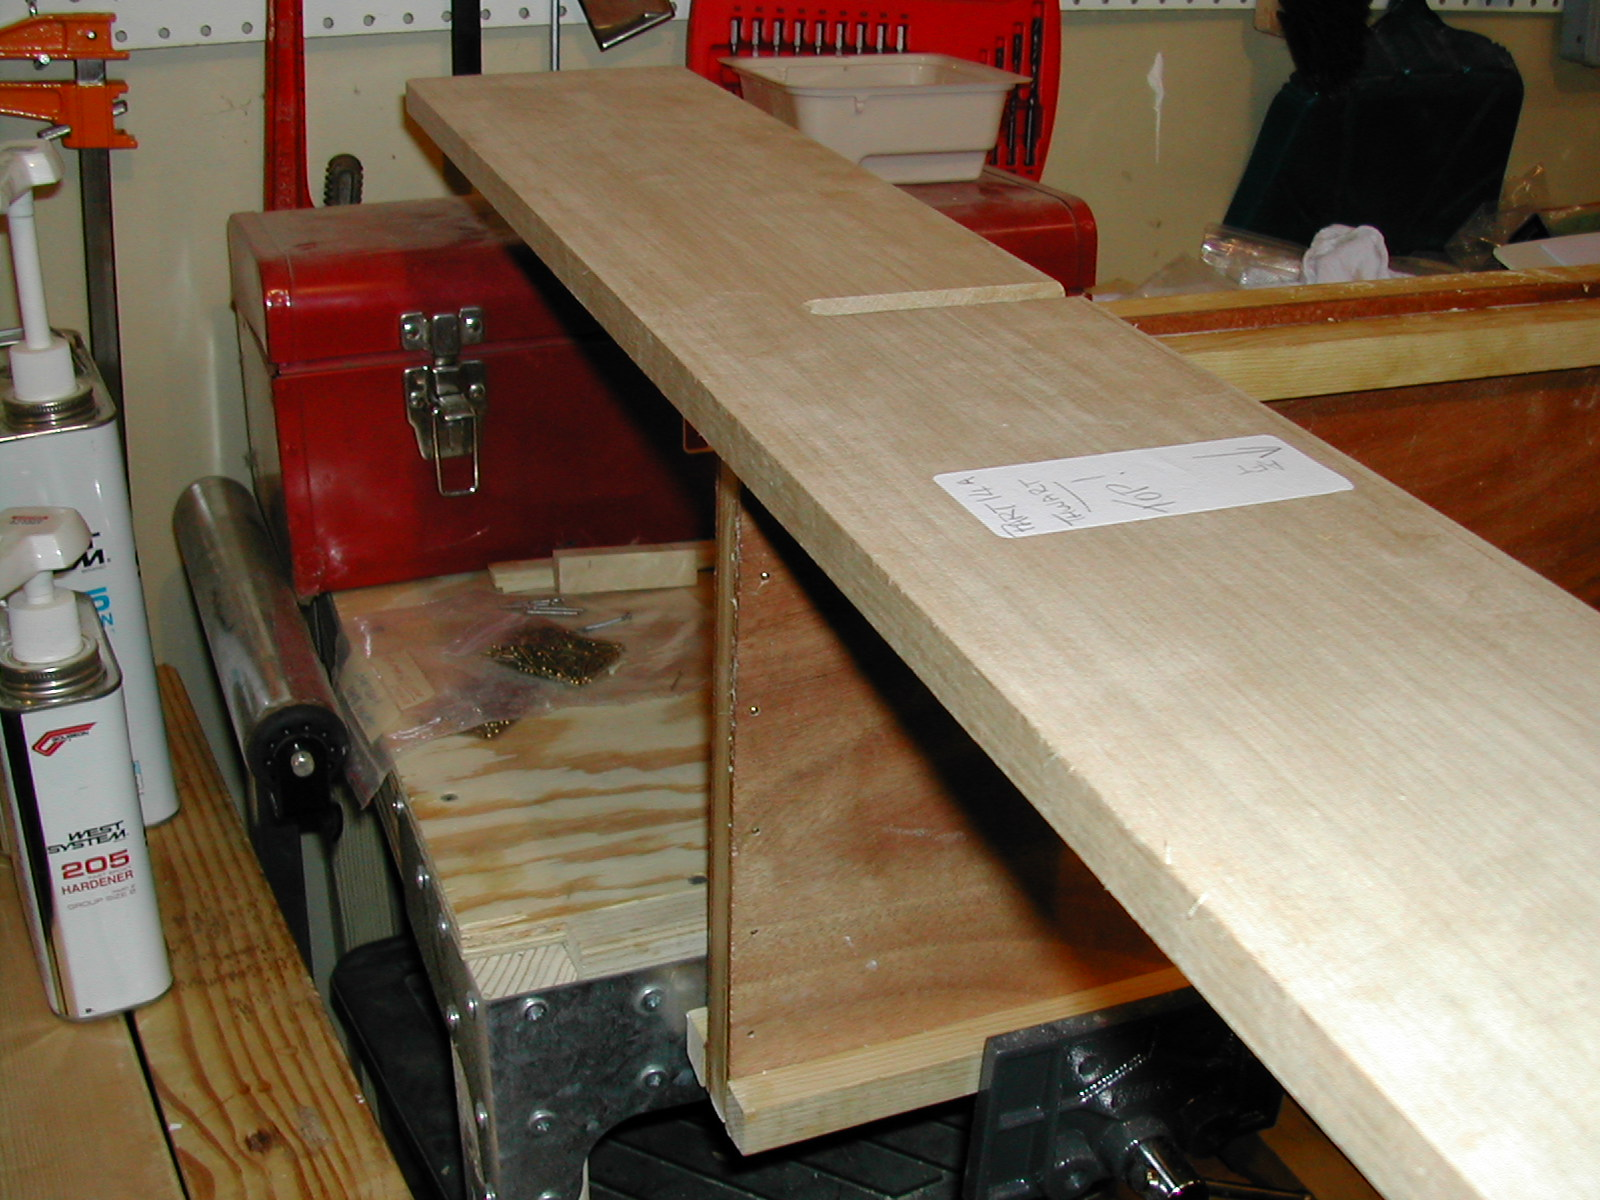
But this picture should REALLY clear things up.
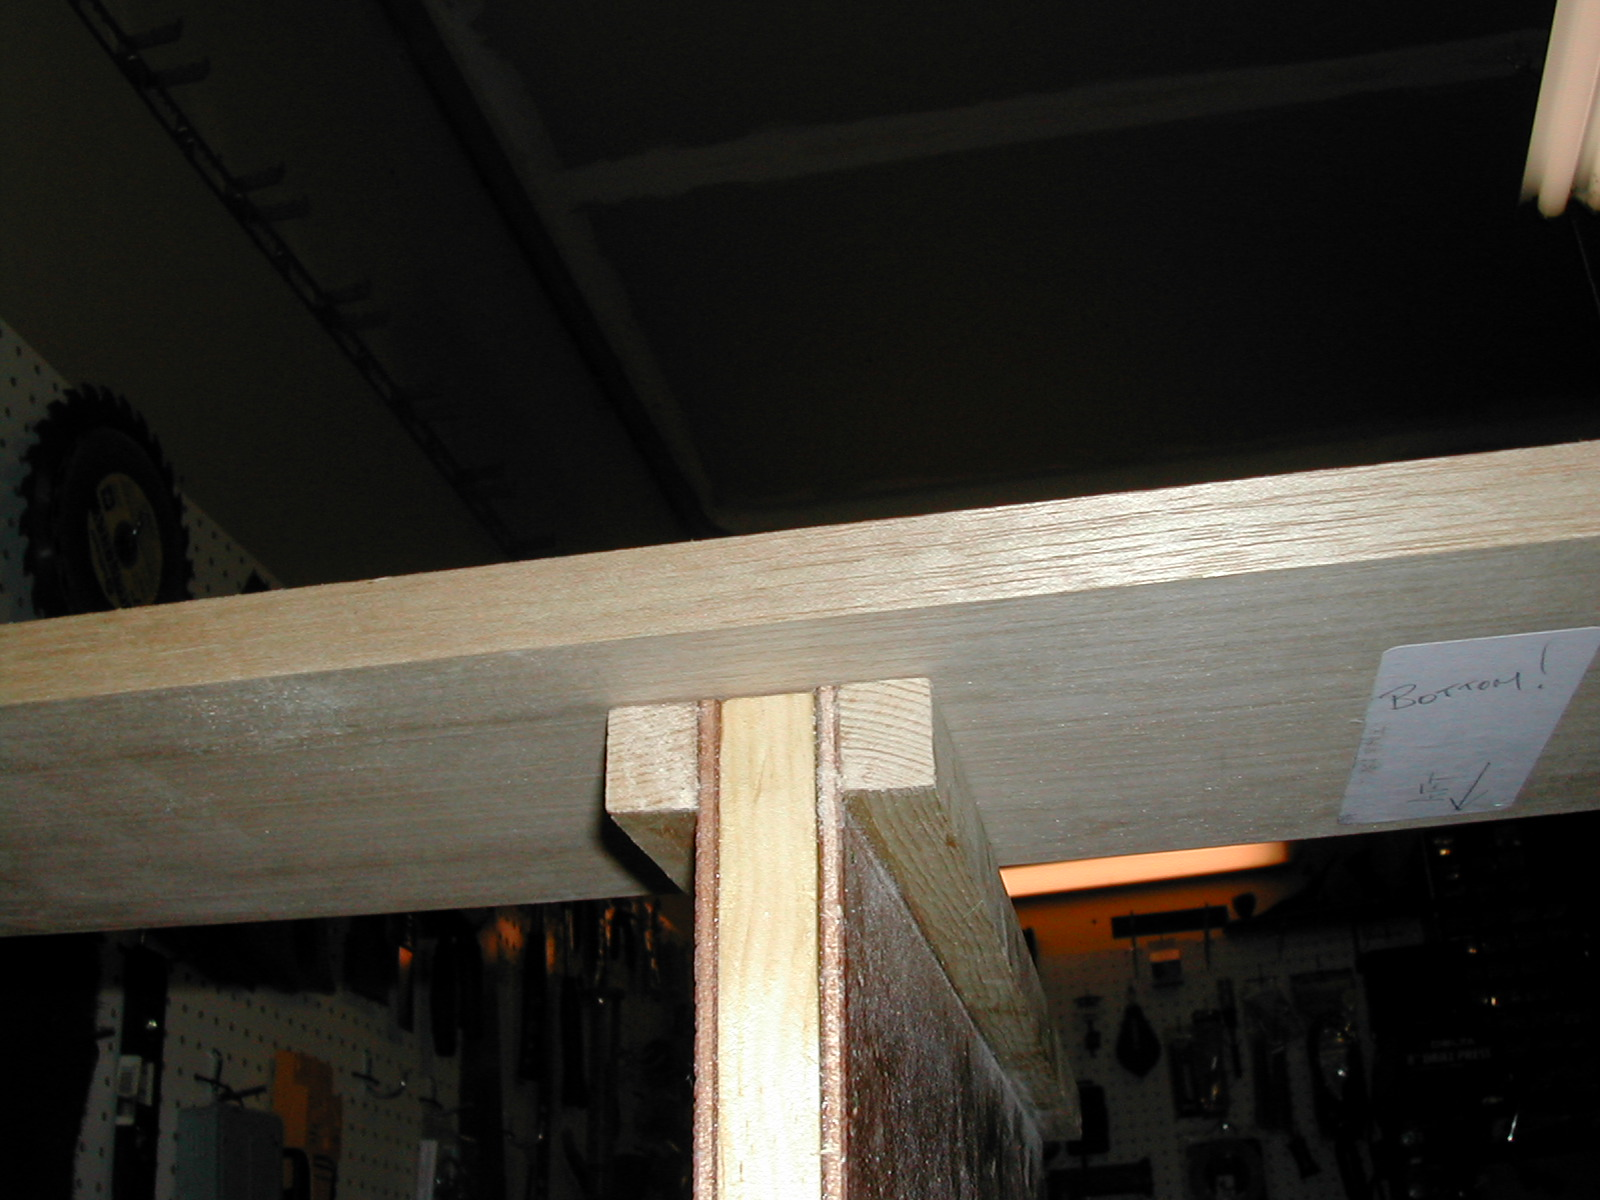
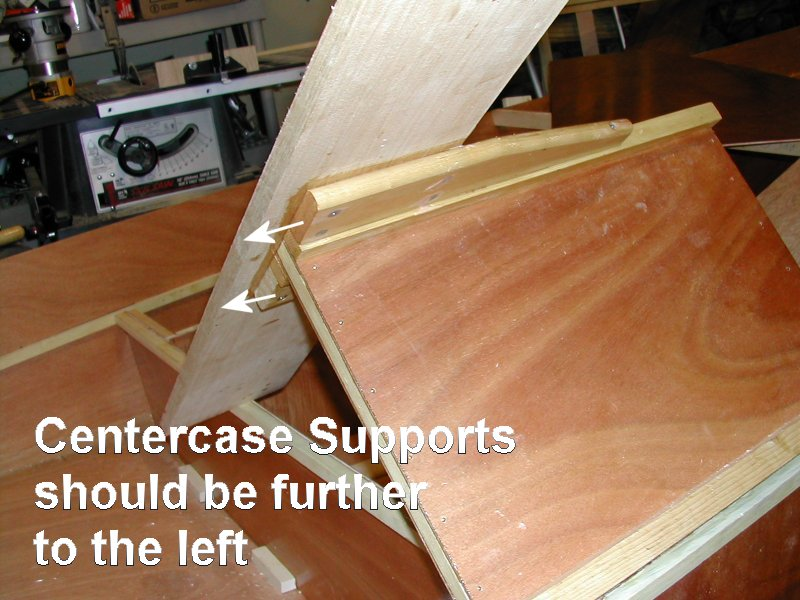
I made a minor error in construction here. The parts labelled “centercase supports” (14ai) in my photo were not installed flush to the leading edge of the thwart as they should have been. Instead (see upcoming pictures), I only installed them up to the edge of the centerboard case. It was a minor error, but one that slightly weakens this assembly.
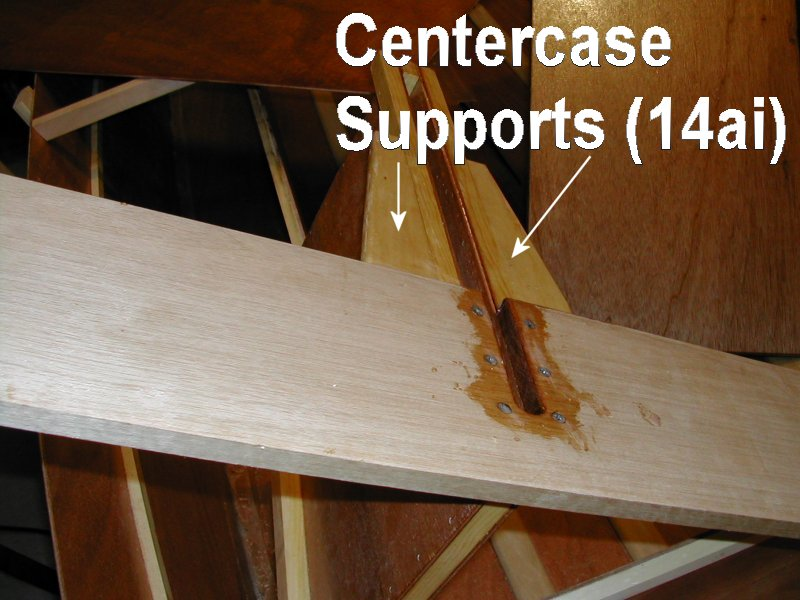
This photo shows the error more clearly. The centercase supports should have been attached and glued flush with the leading edge of the thwart.
Another thing I forgot to do BEFORE gluing everything together was to round the long thwart edges. If you have that router handy, use a 1/2 or 1/4 radius bit and round off the LONG sides. (Leave the short ends as is.) I discovered this AFTER gluing, and it was a little more difficult to do.
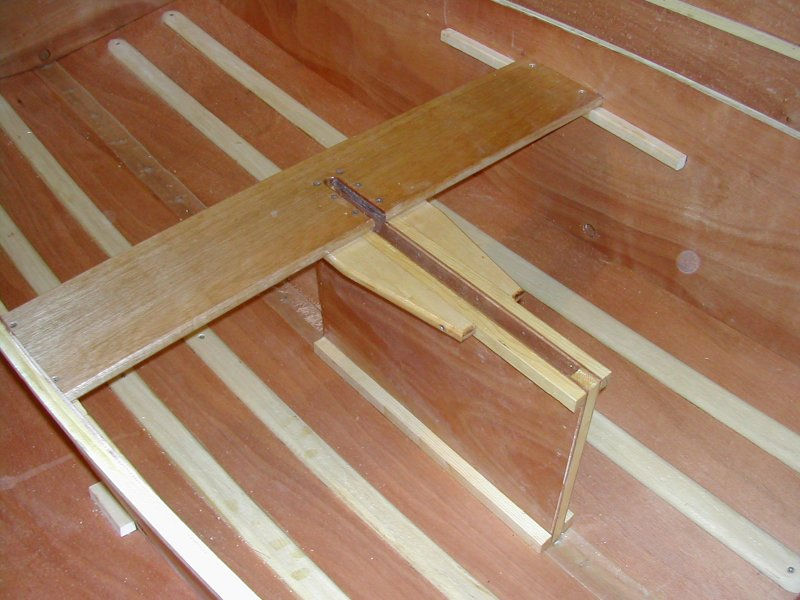
This is an over-head shot of the thwart and centerboard screwed and glued together. Use a liberal amount of epoxy, but make sure NOT to drip epoxy down into the centerboard opening. It will scratch your centerboard later.
The photo shows the 6 screws exposed. A better idea would have been to slightly countersink these screws, and use oak plugs to cover them. (Don’t sink the screws in too deeply.)
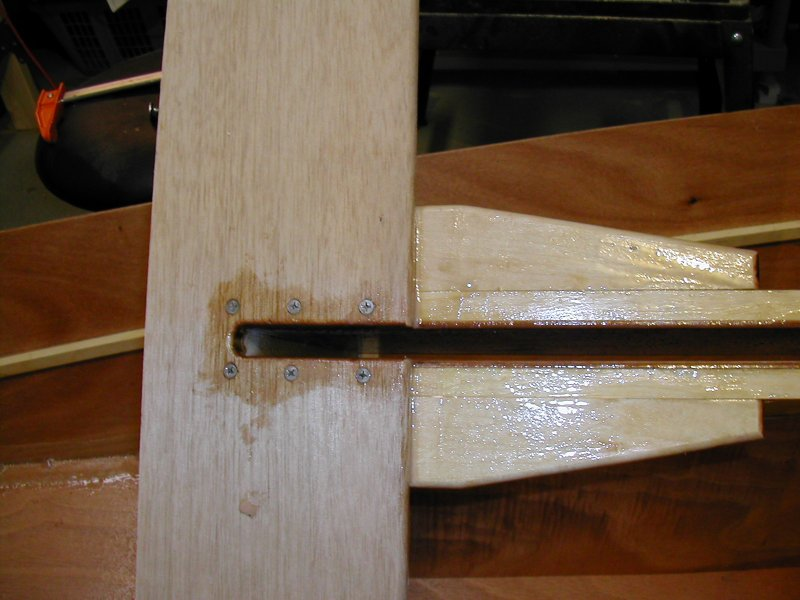
We glued(epoxy filler) it all together to avoid the visible screws. First the thwart to the dagger board case, then the “supports” to the thwart.
Installing The Thwart
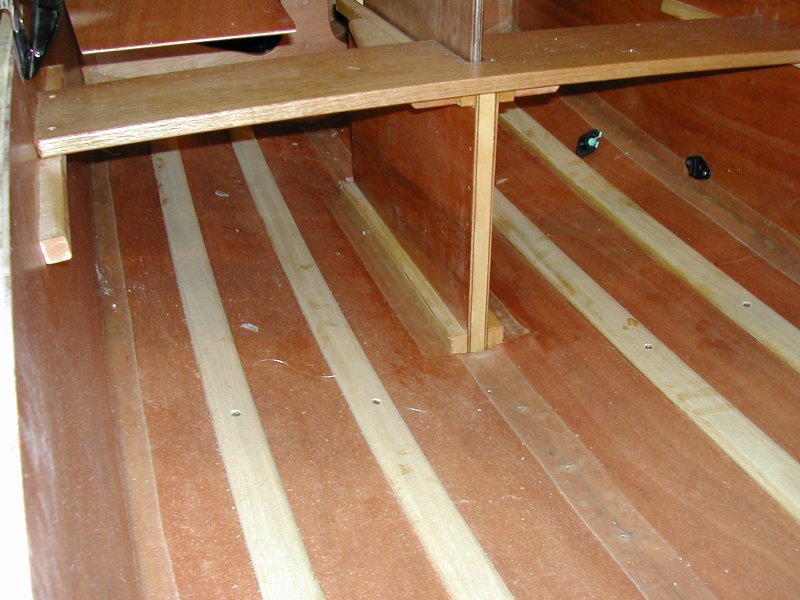
This picture shows the thwart/centerboard assembly being positioned on the thwart risers, which have already been glued to the side tank panels at this point. Follow the kit instructions to make sure your thwart assembly is level with the boat.
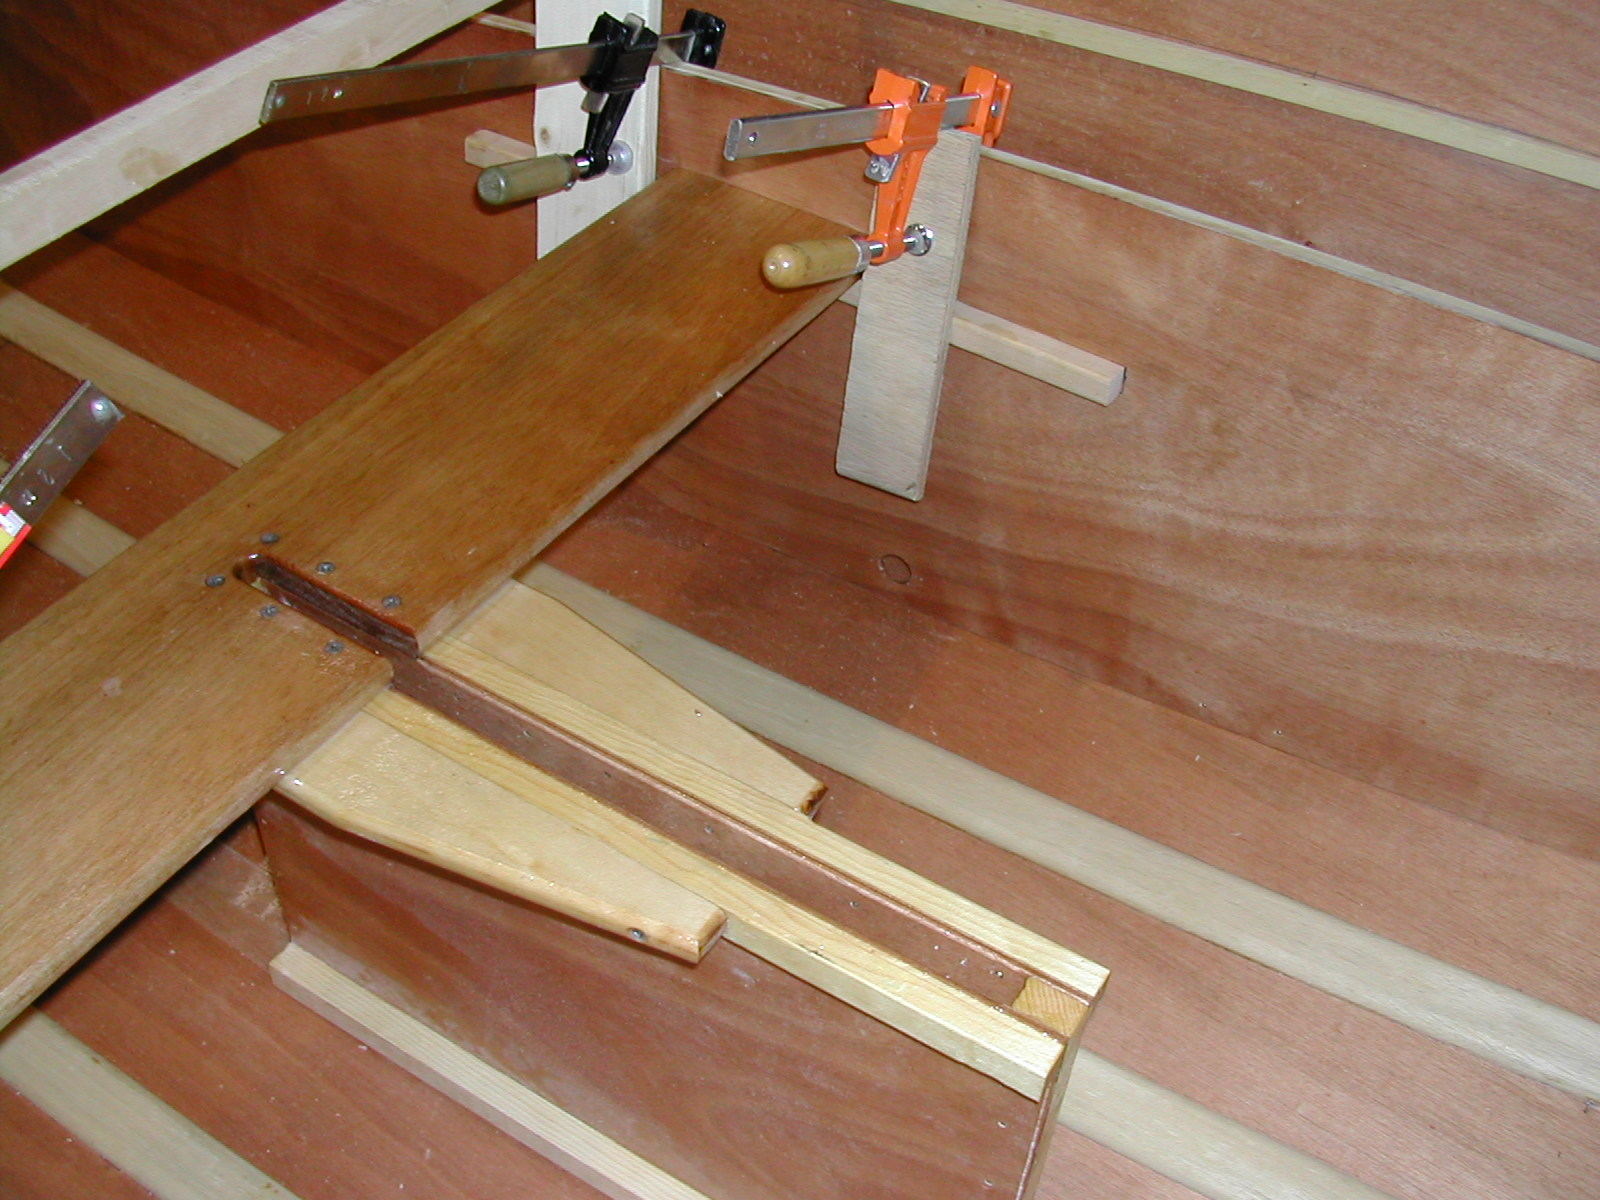
This picture shows both risers being clamped down. The thwart itself is screwed into these risers with 2 screws on each side. Again, a nice idea would have been to countersink these screws, and put oak or birch plug over the top.
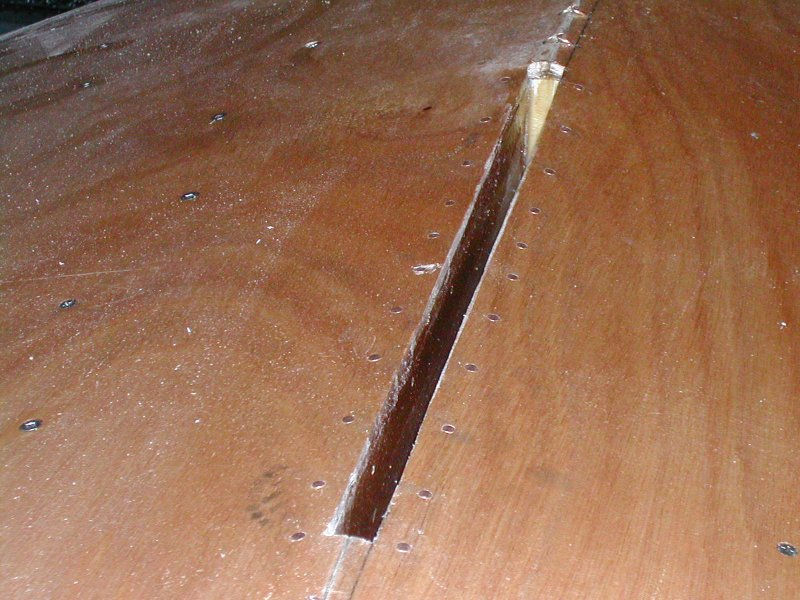
Finally, once glued in place, flip the boat over, and hammer in your copper nails. The hull should bend slightly as the nails force the plywood to make contact with the centerboard case. Be sure to remove any excess epoxy that may squeeze into the centerboard slot area. It is very difficult to file or sand out later (I discovered this first hand…).
For enlarging the hole slightly, a router with a straight bit (which you now purchased, right?) does a great job. Then, take a file and finish up the job.
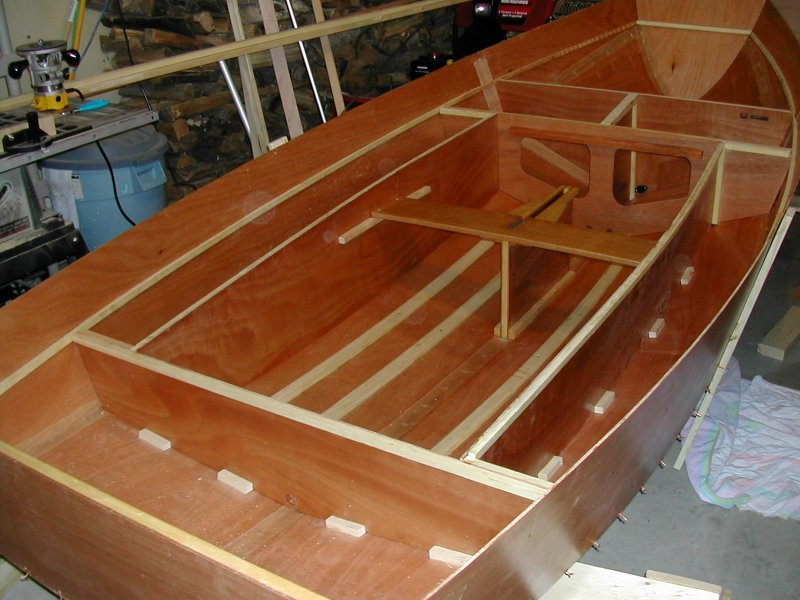
Here is what the assembly looks like after it is completely installed.
Once the thwart assembly is installed, apply fiberglass tape and epoxy where the centerboard case meets the hull. Use a liberal amount of epoxy as you want this joint to be very strong and completely sealed.
Force It In
You’ll probably need to force the side bulkheads out to get it in
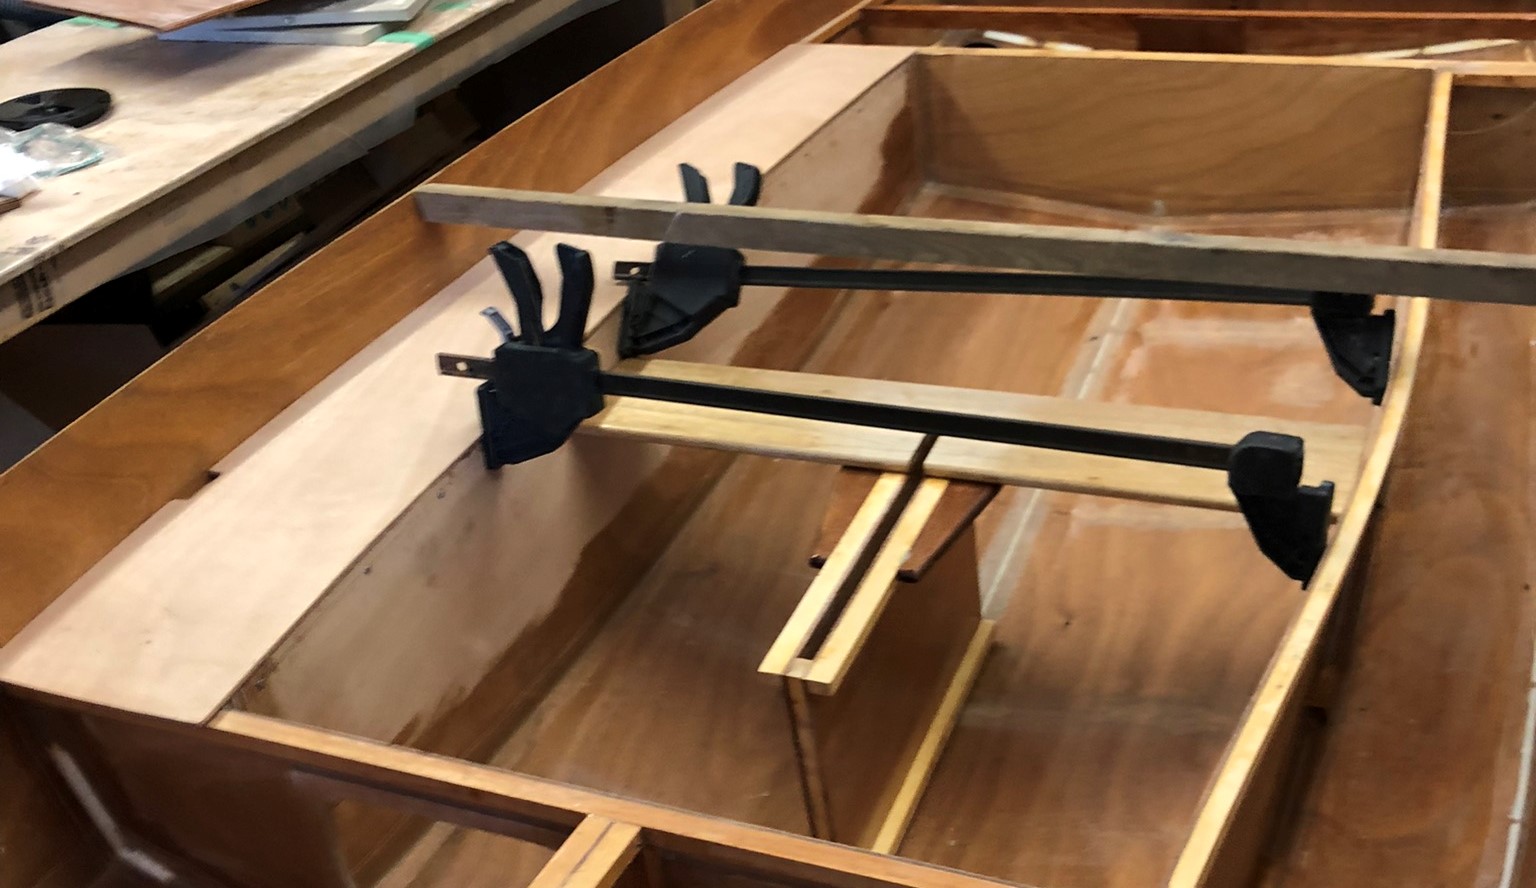
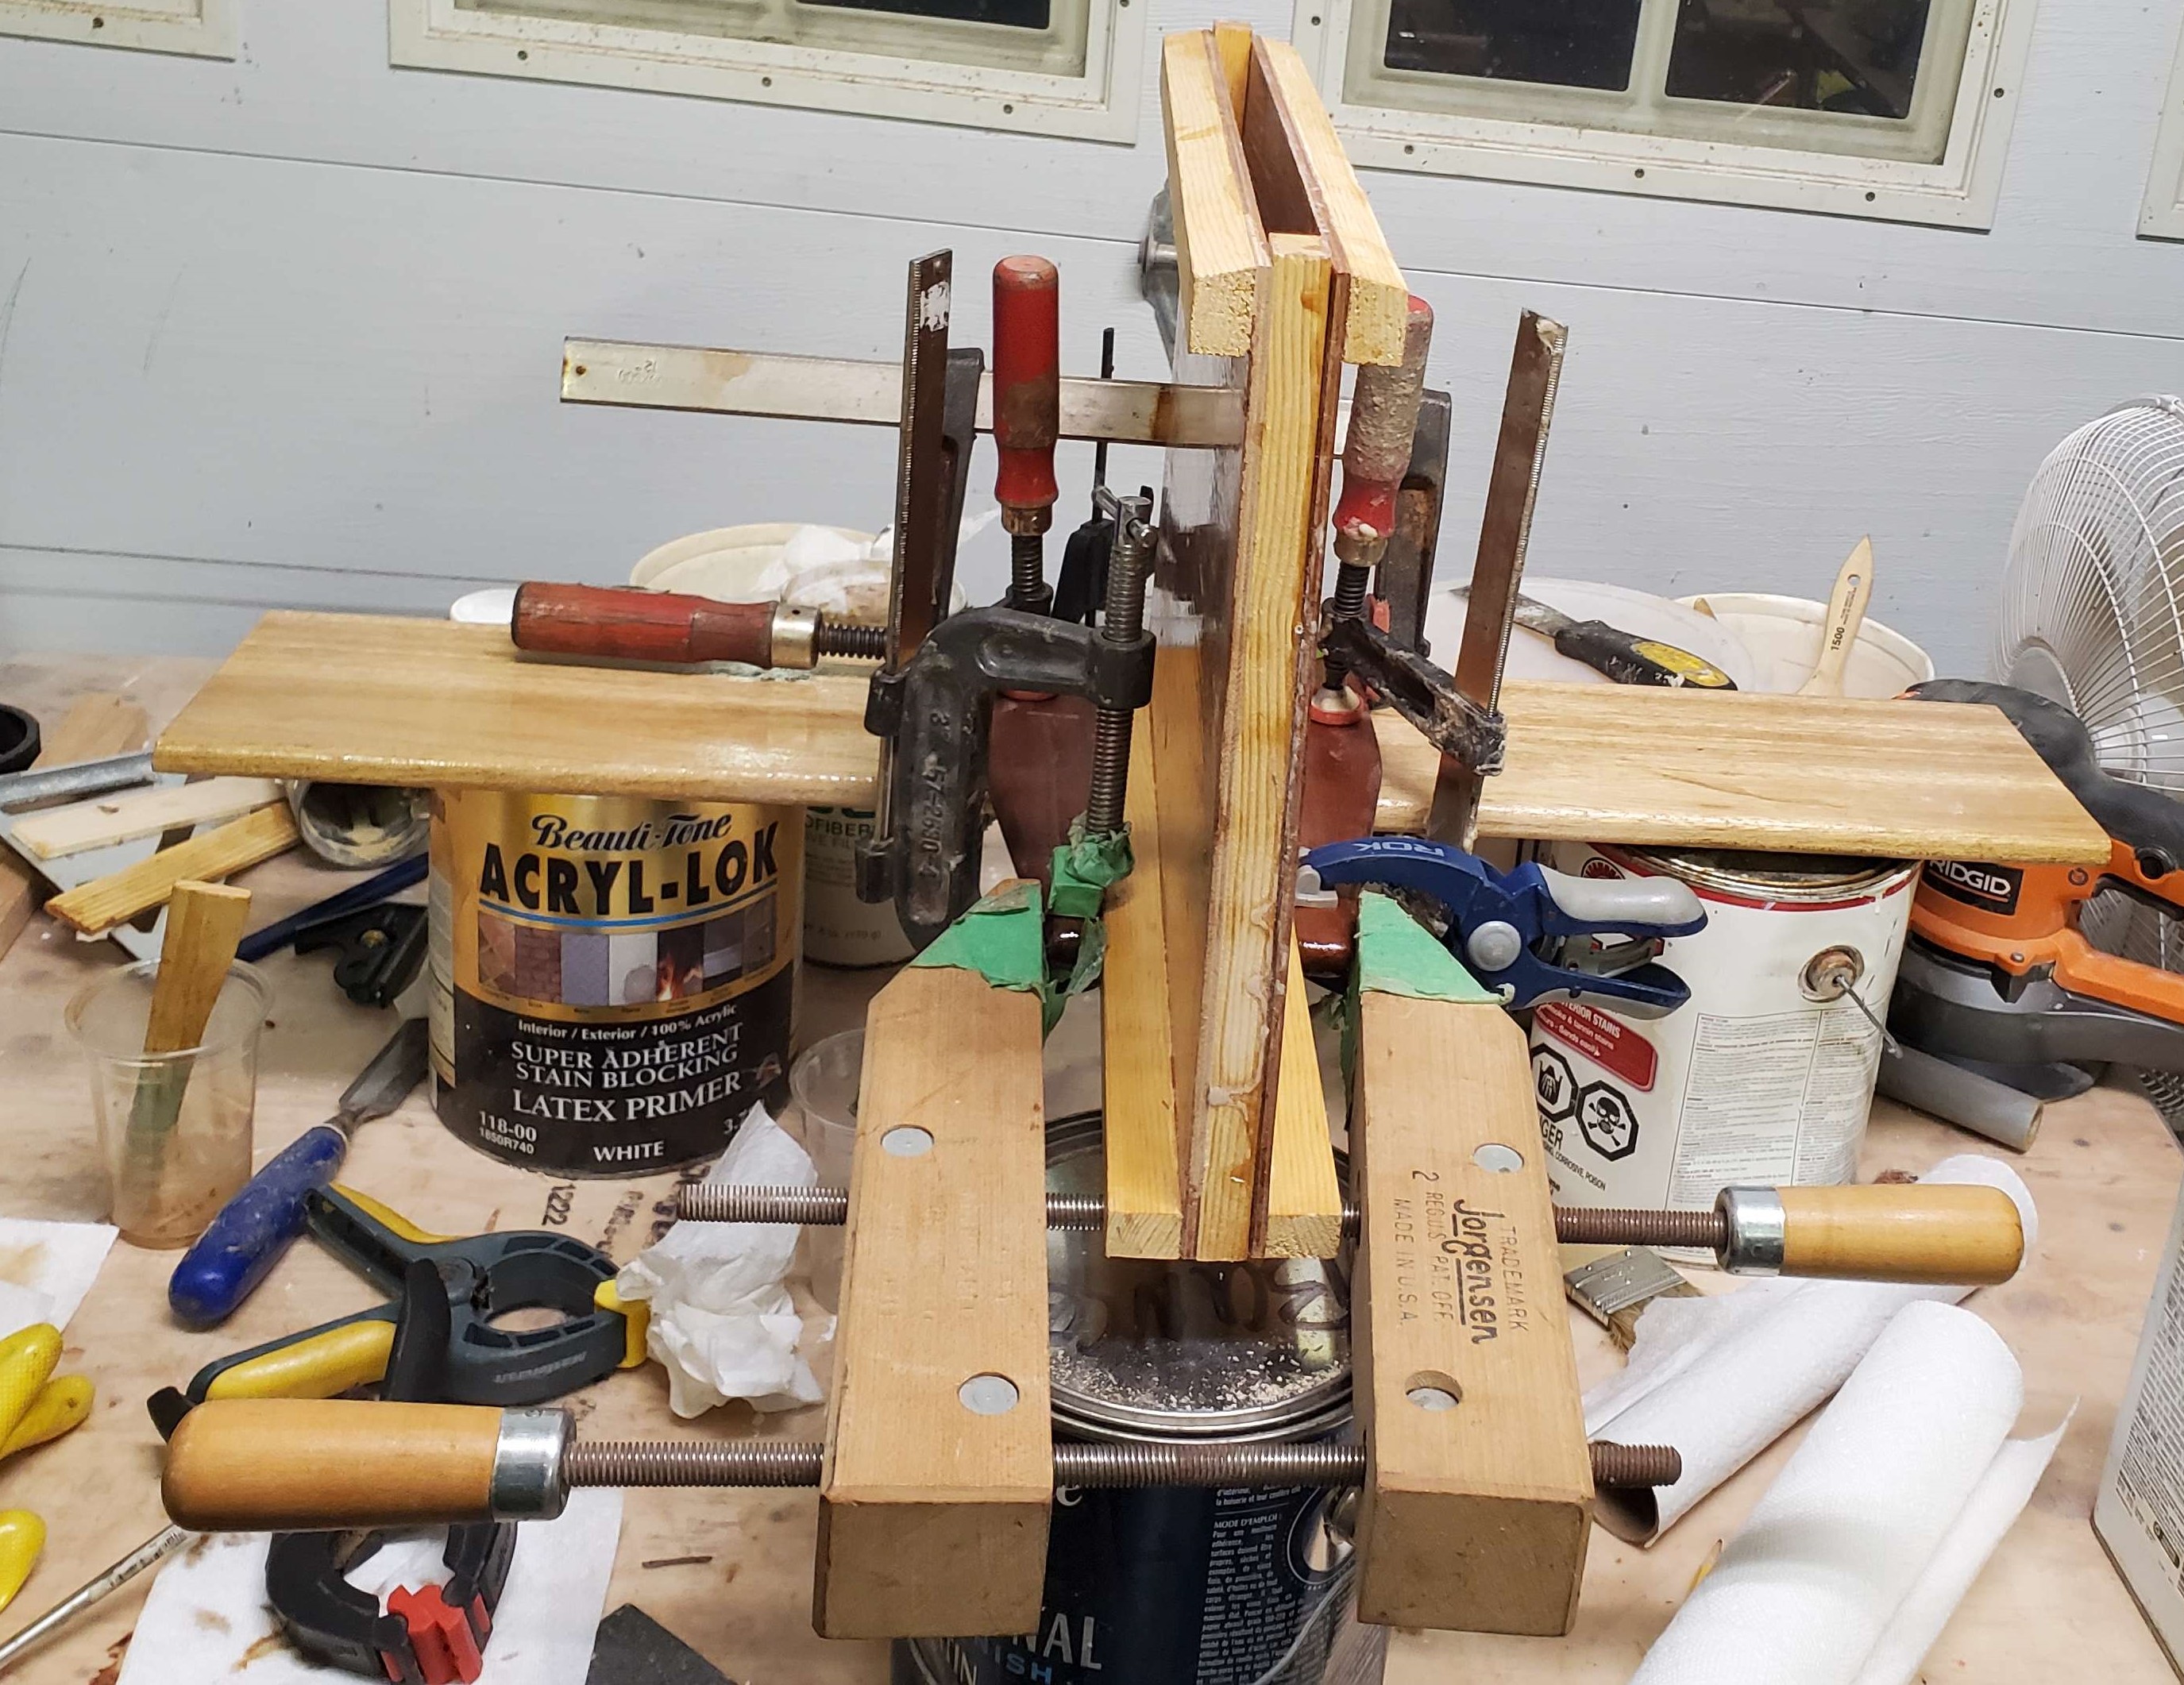
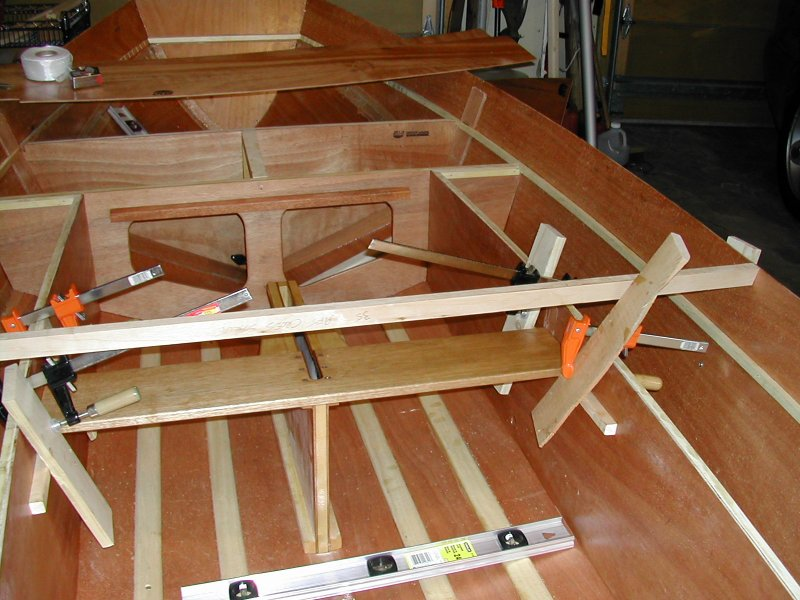
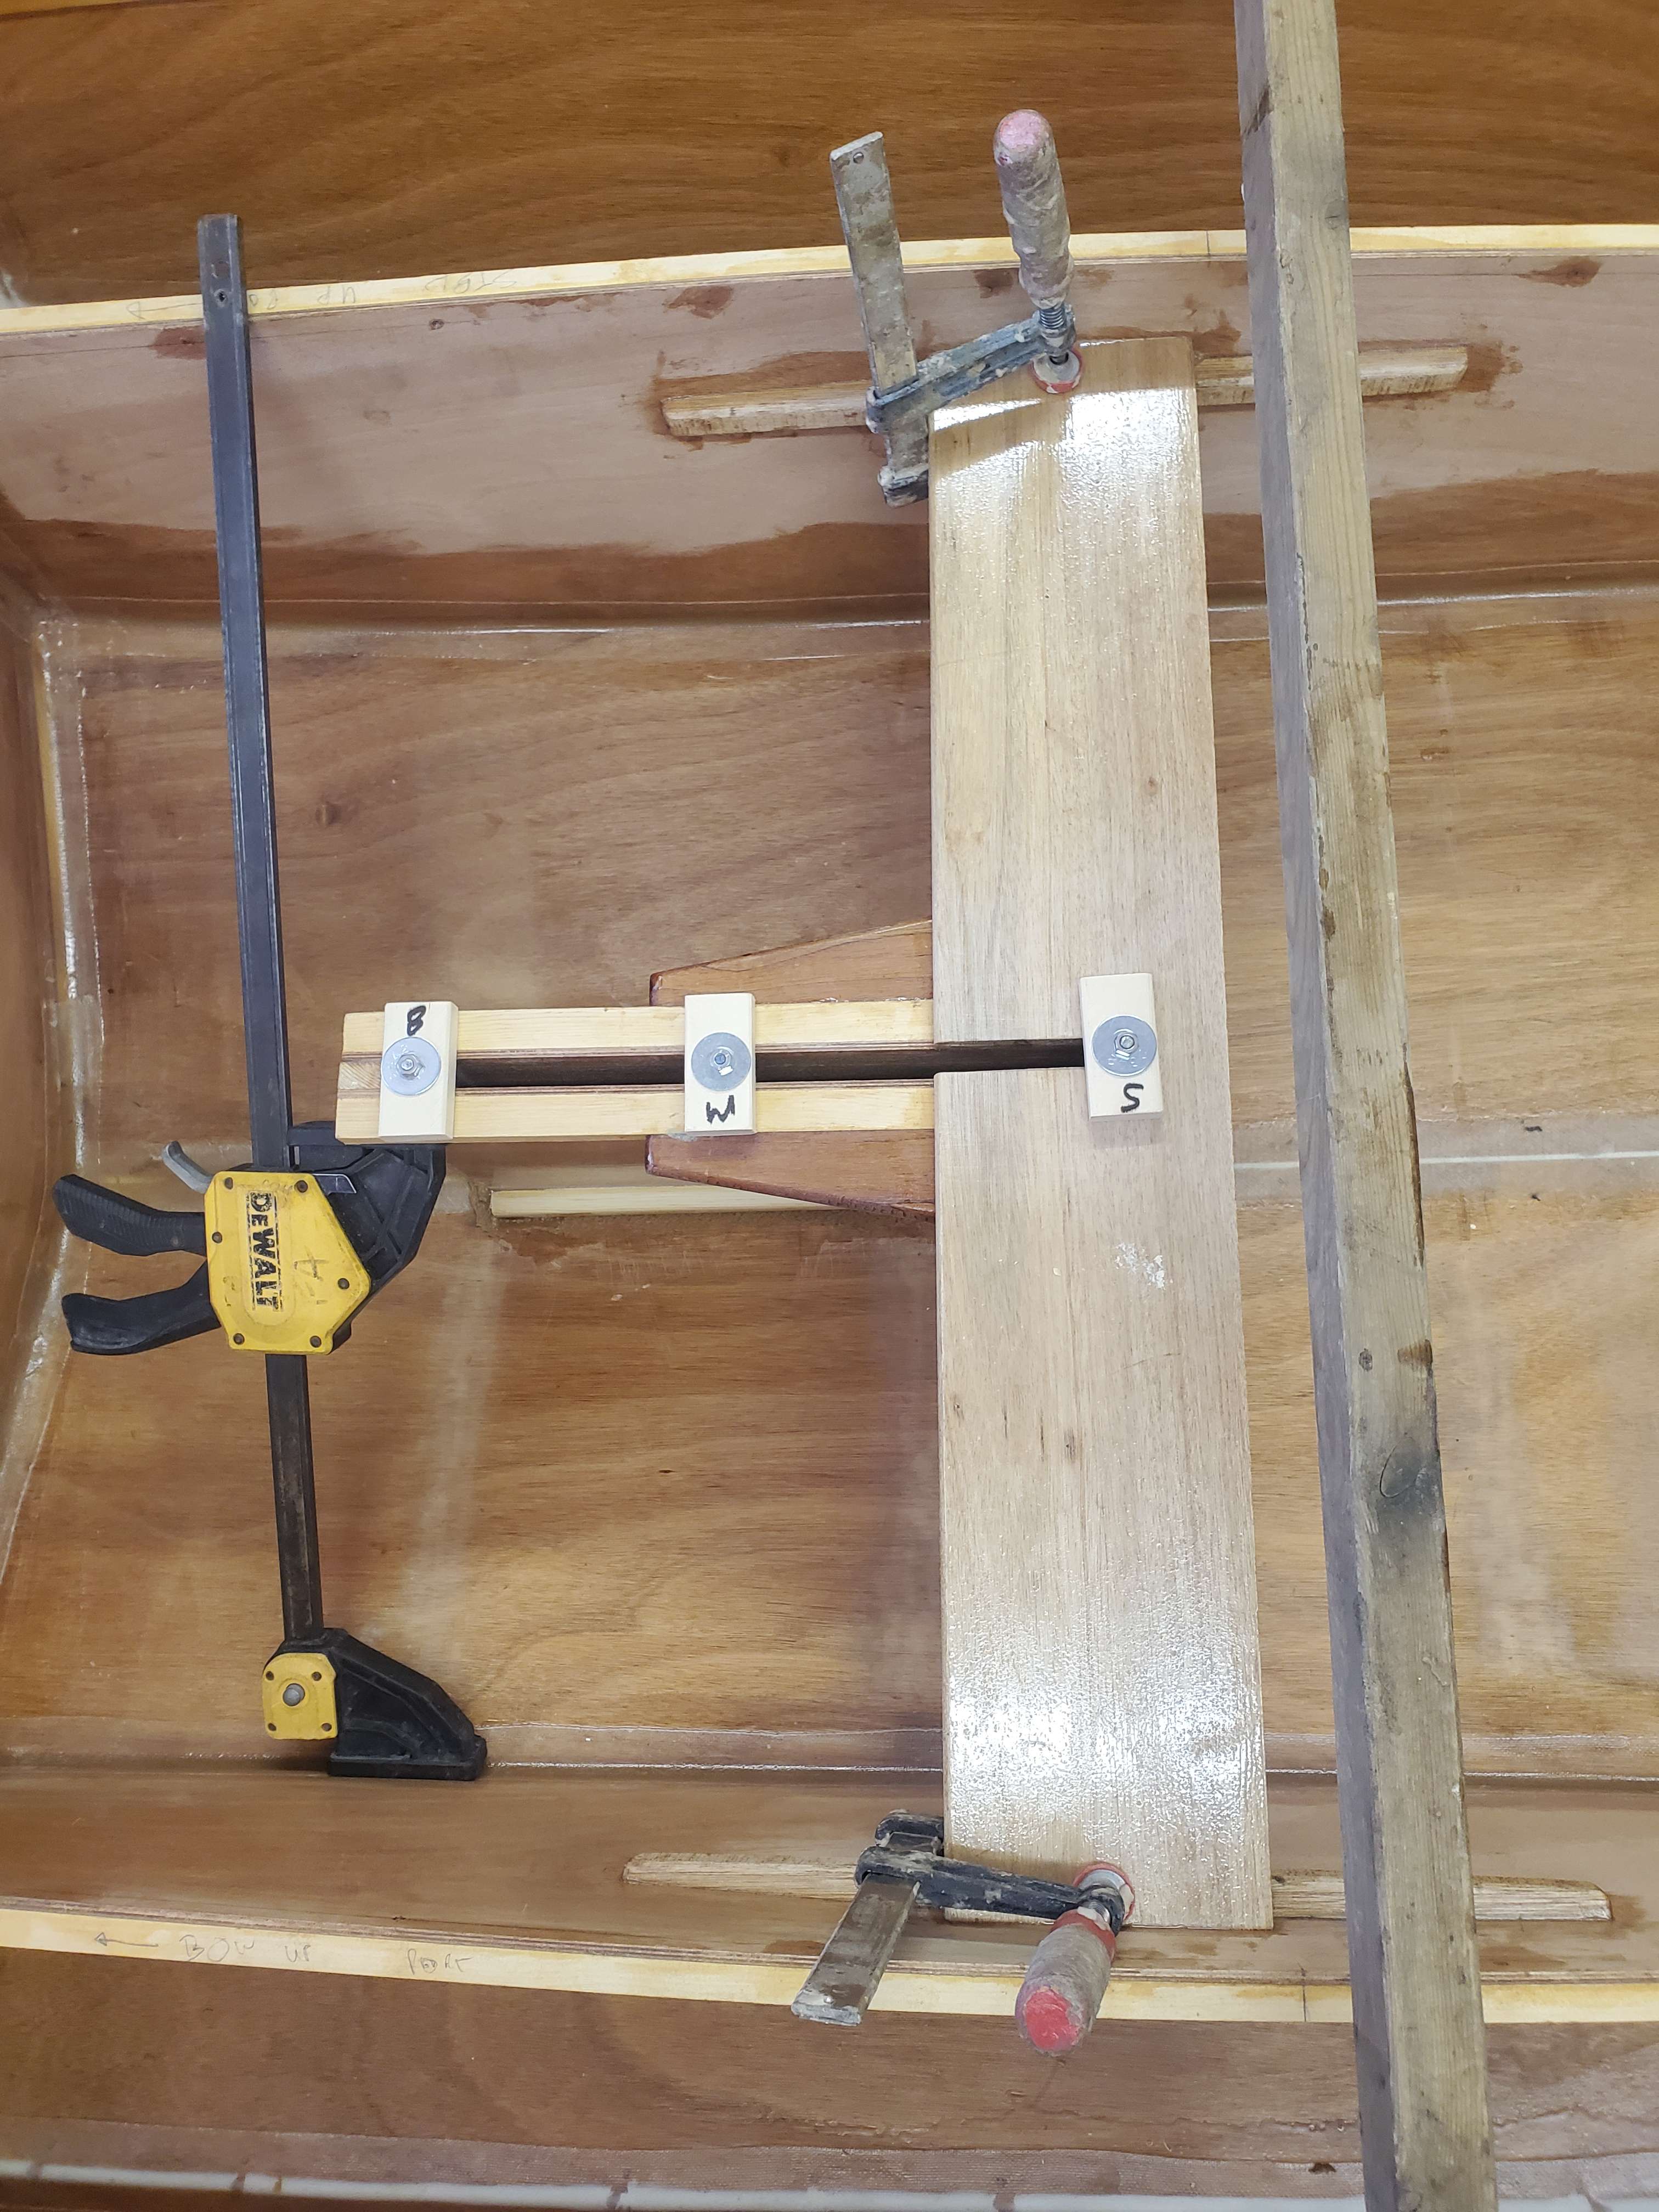
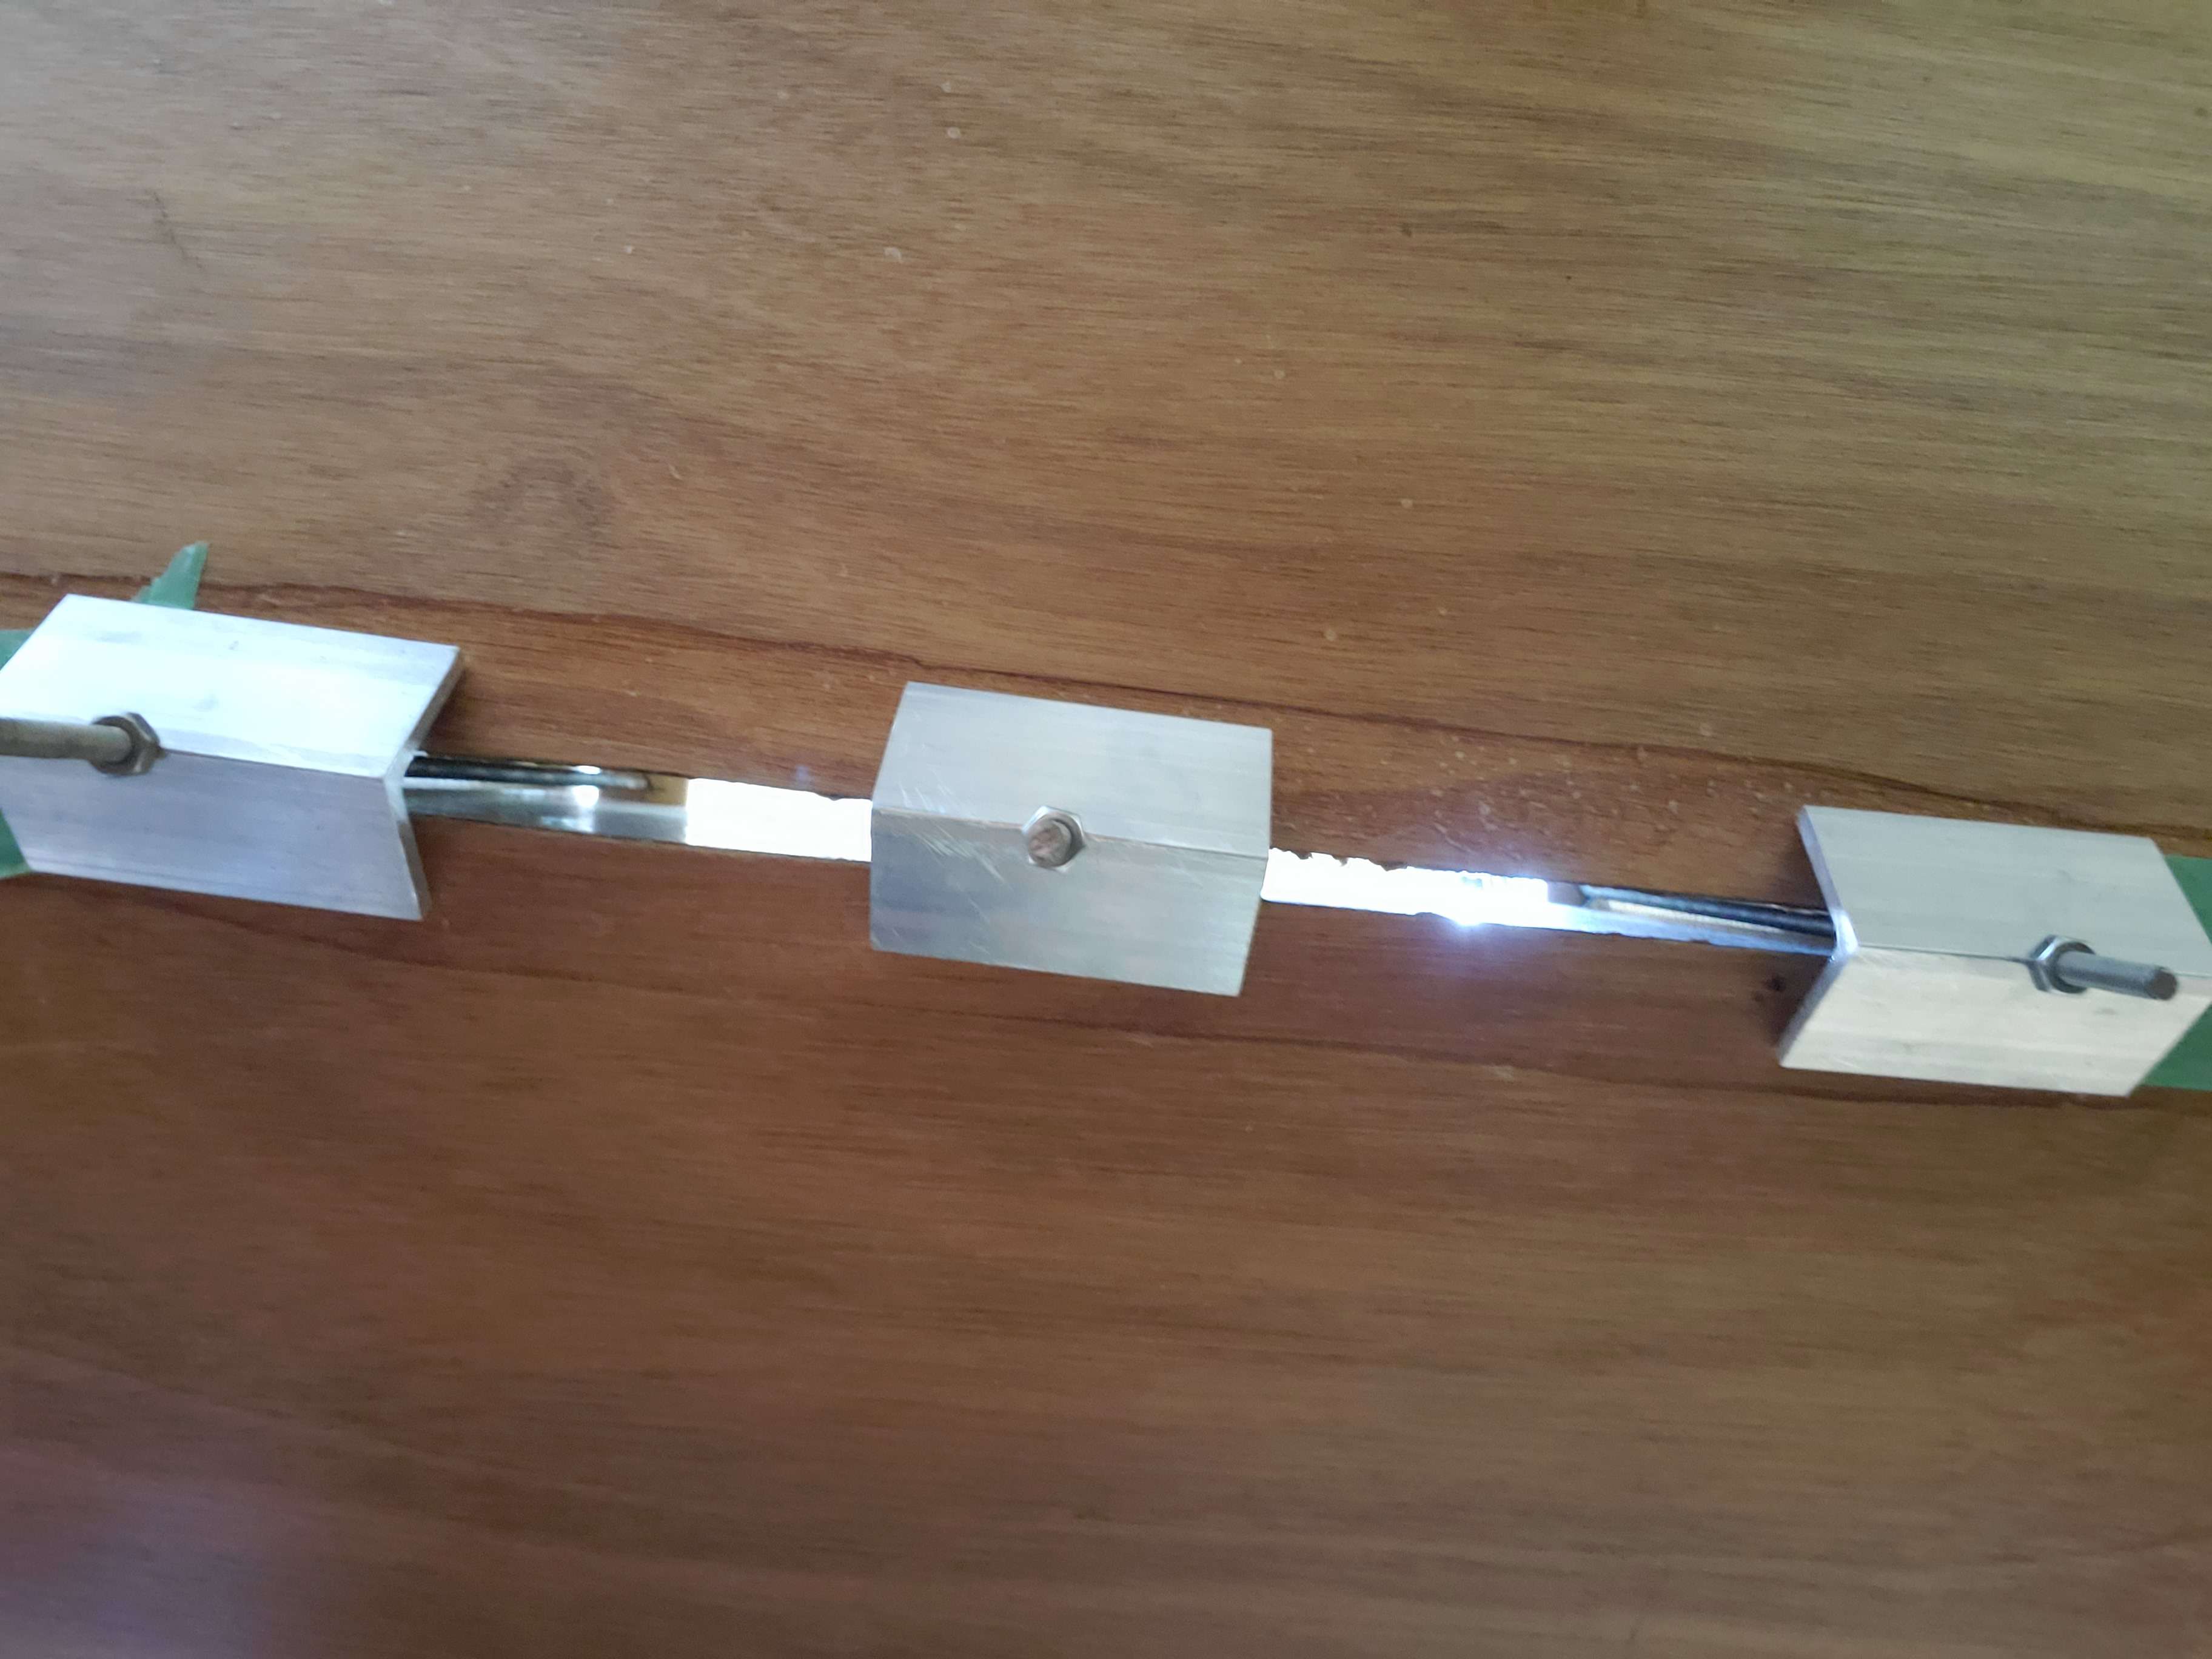
And force the dagger board case down as well. Like most steps we used filler to really seal it in, in addition to fiberglass. Below are pictures of the rig we used to make sure the bottom of the dagger board case was flush with the bottom of the hull while the filler dried.
Result
This is what your Mirror interior should look like after completion of this stage.