28. Assembling the Centerboard & Rudder
...
212 words 1 minute
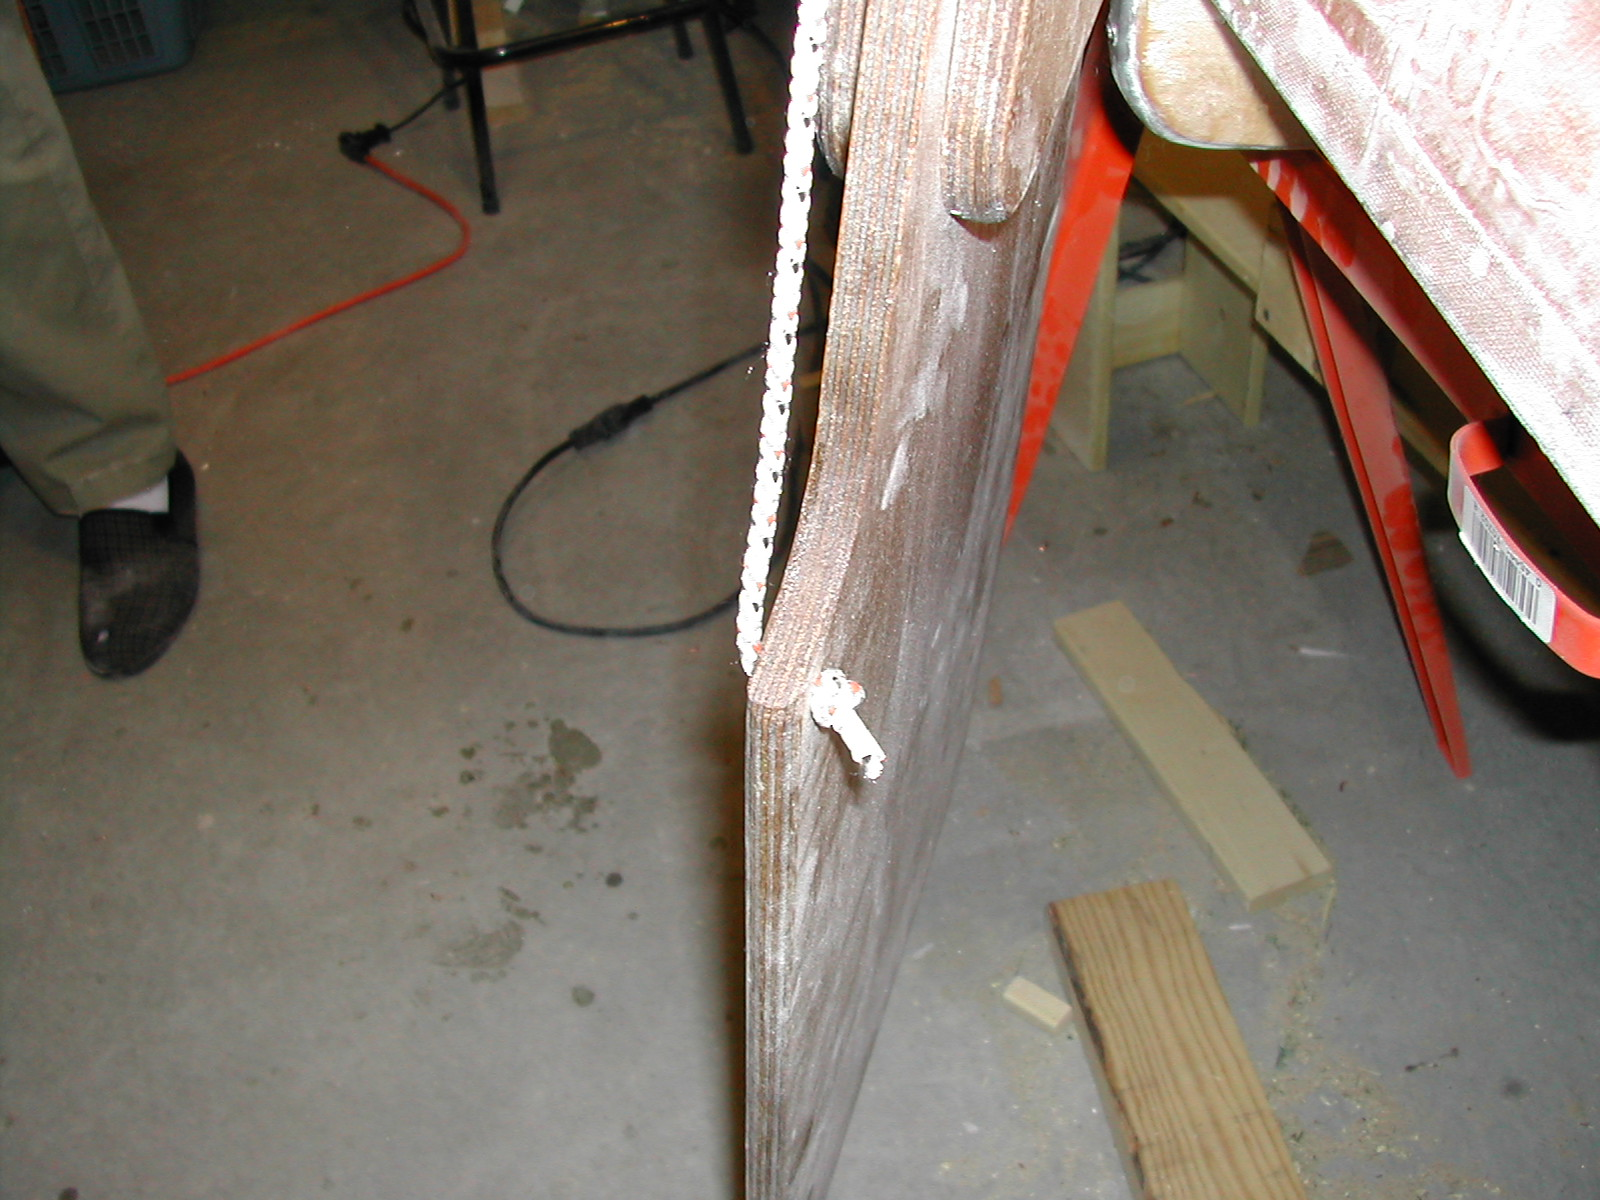
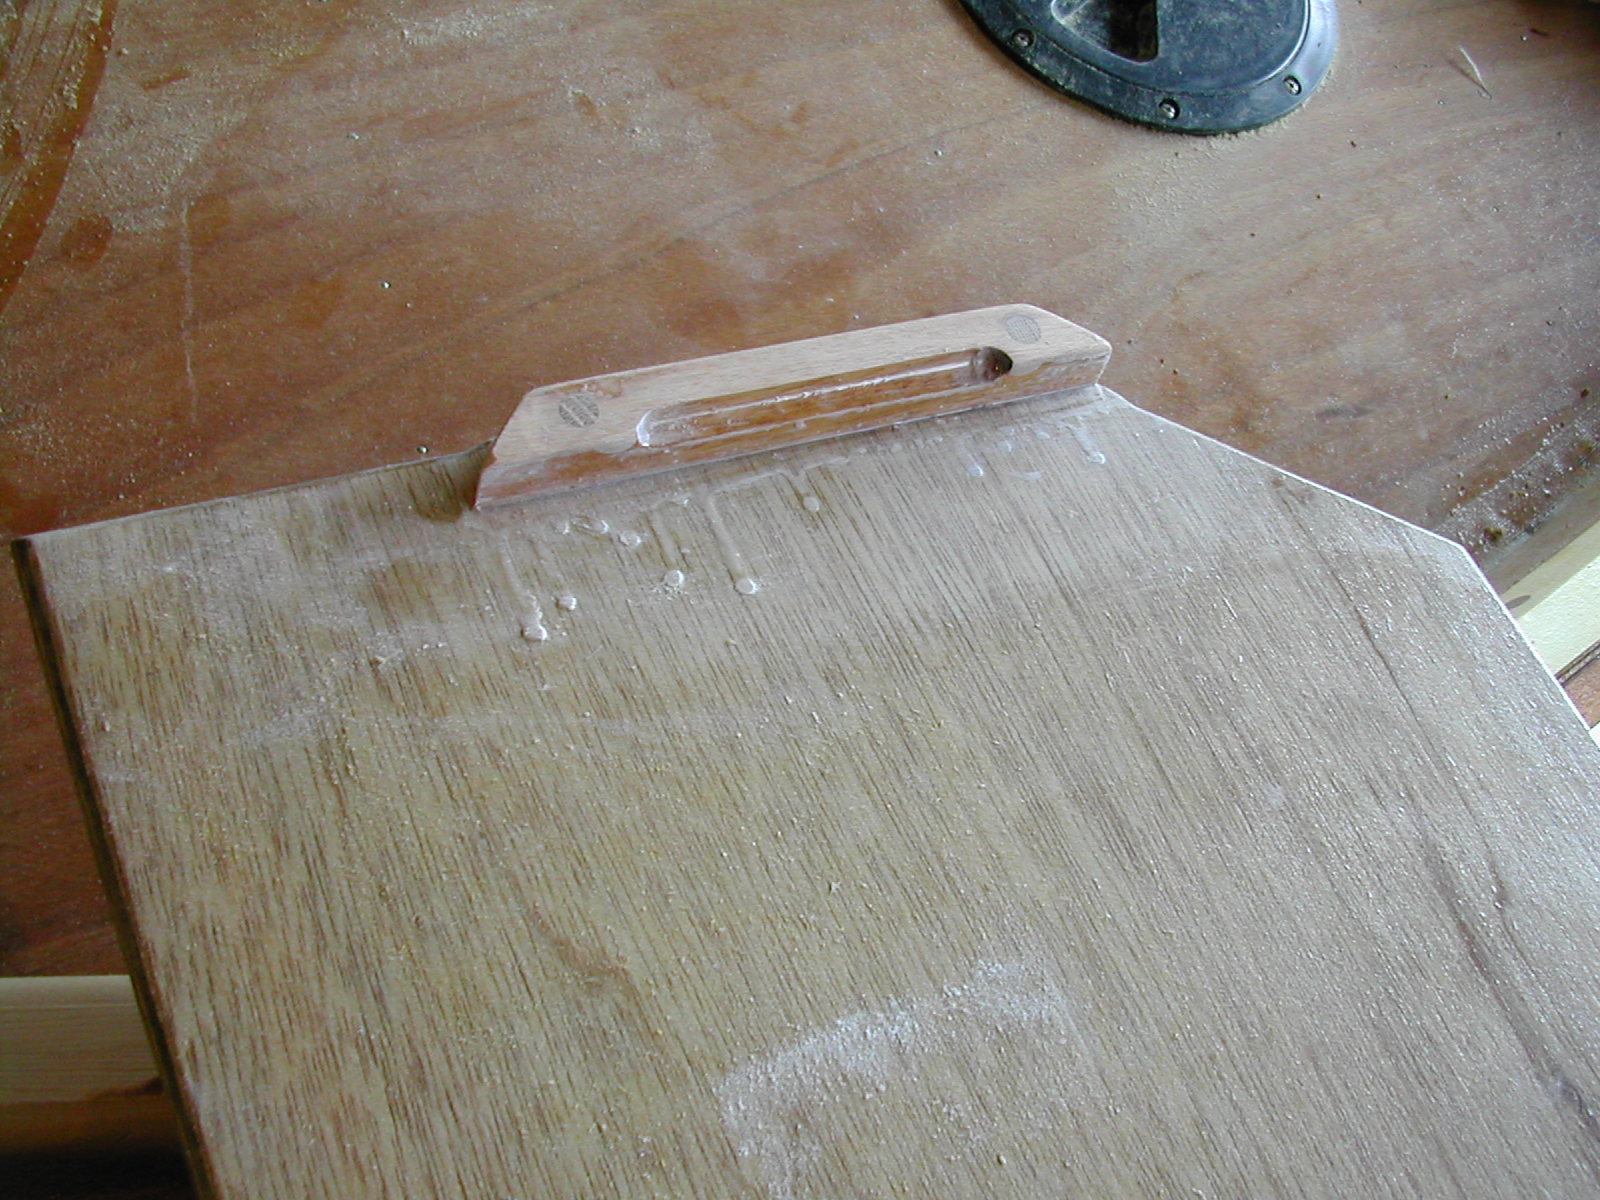
Parts #37 are installed at the top end of the centerboard to form a handle. Again, for a nice looking job, counter-sink the screws, tap in some oak plugs, then sand flush.
The rudder assembly is a little complex. Make sure you fully understand the instructions. I have supplied many photos of the rudder - and if the design has not changed (as designs appear to somewhat for these kinds of assemblies), you should not have any trouble building it.
This is the first step, which calls for one of the rudder cheeks to be glued to the rudder-packing piece.

The following pictures no longer show “constructions stages”, but the rudder fully assembled from various different camera angles.
Tiller
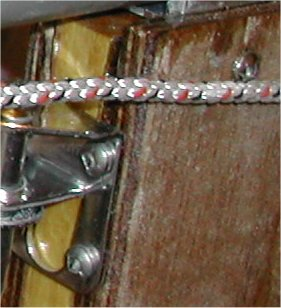
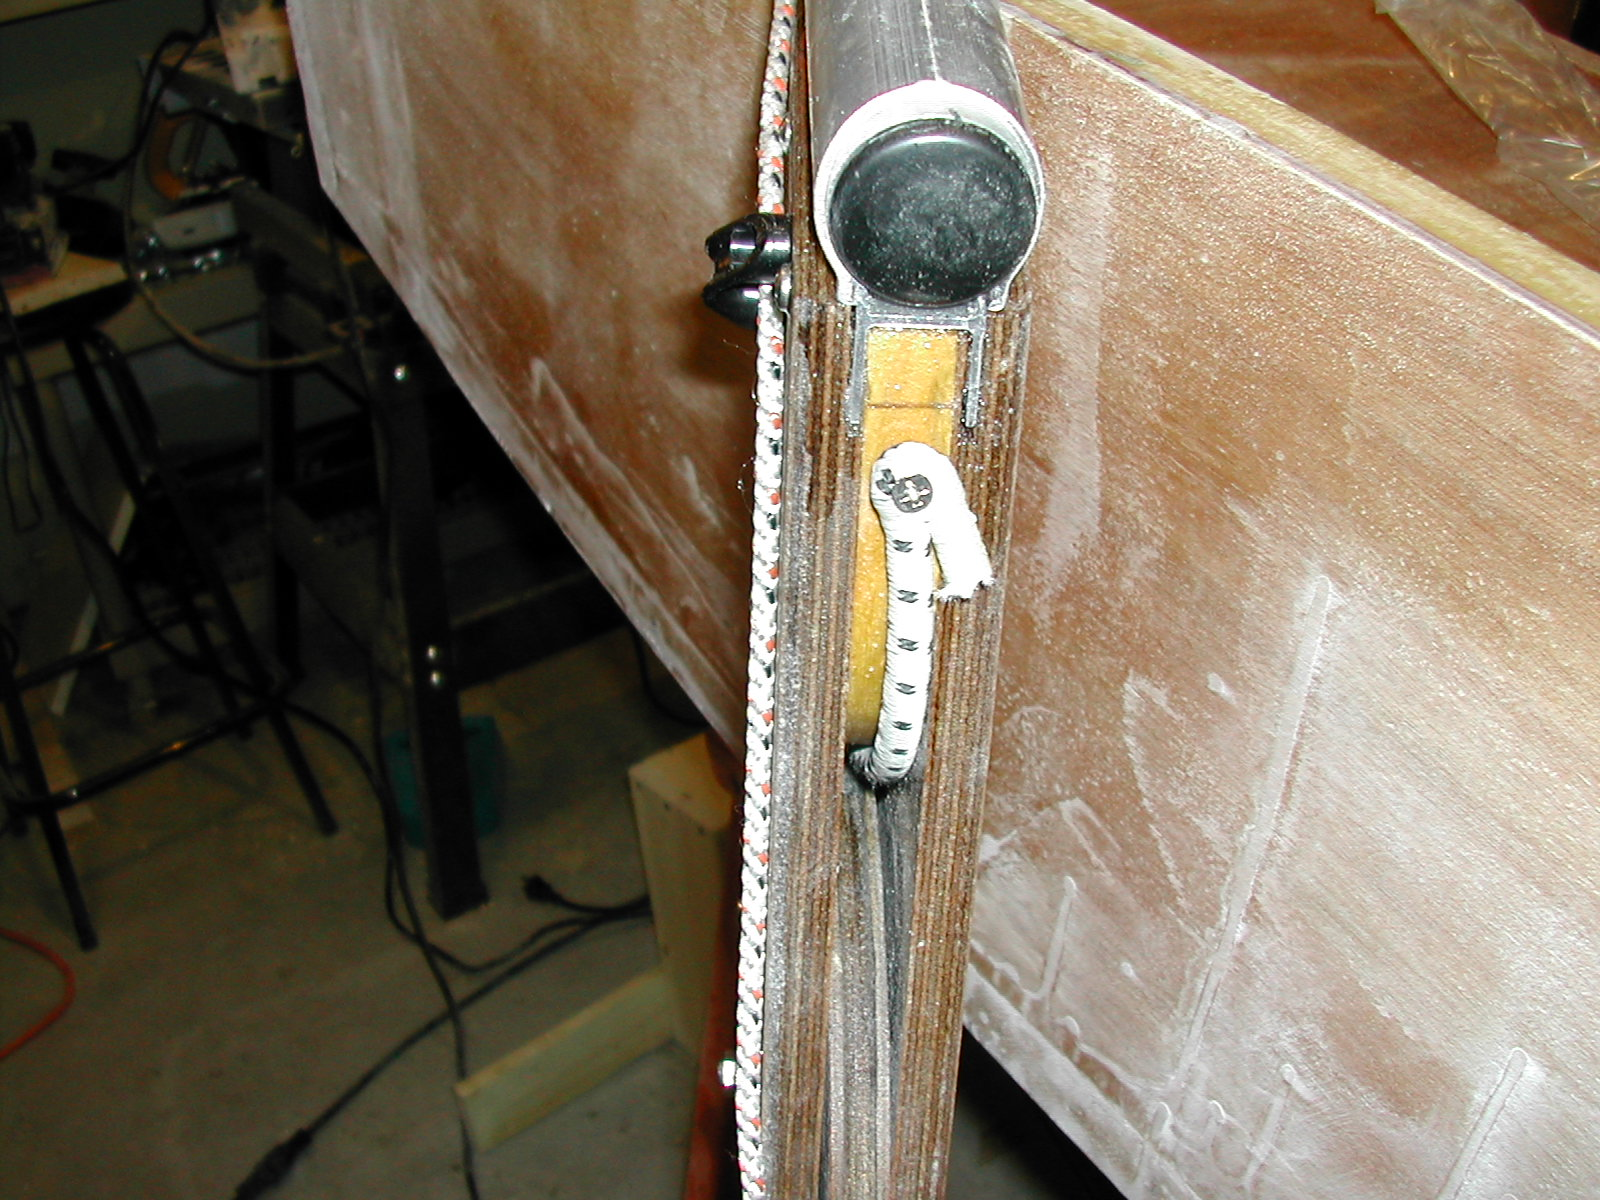
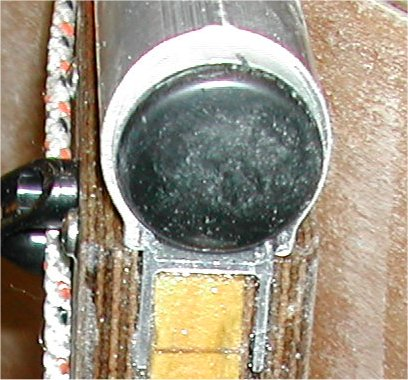
This photo shows the tiller extension clip.
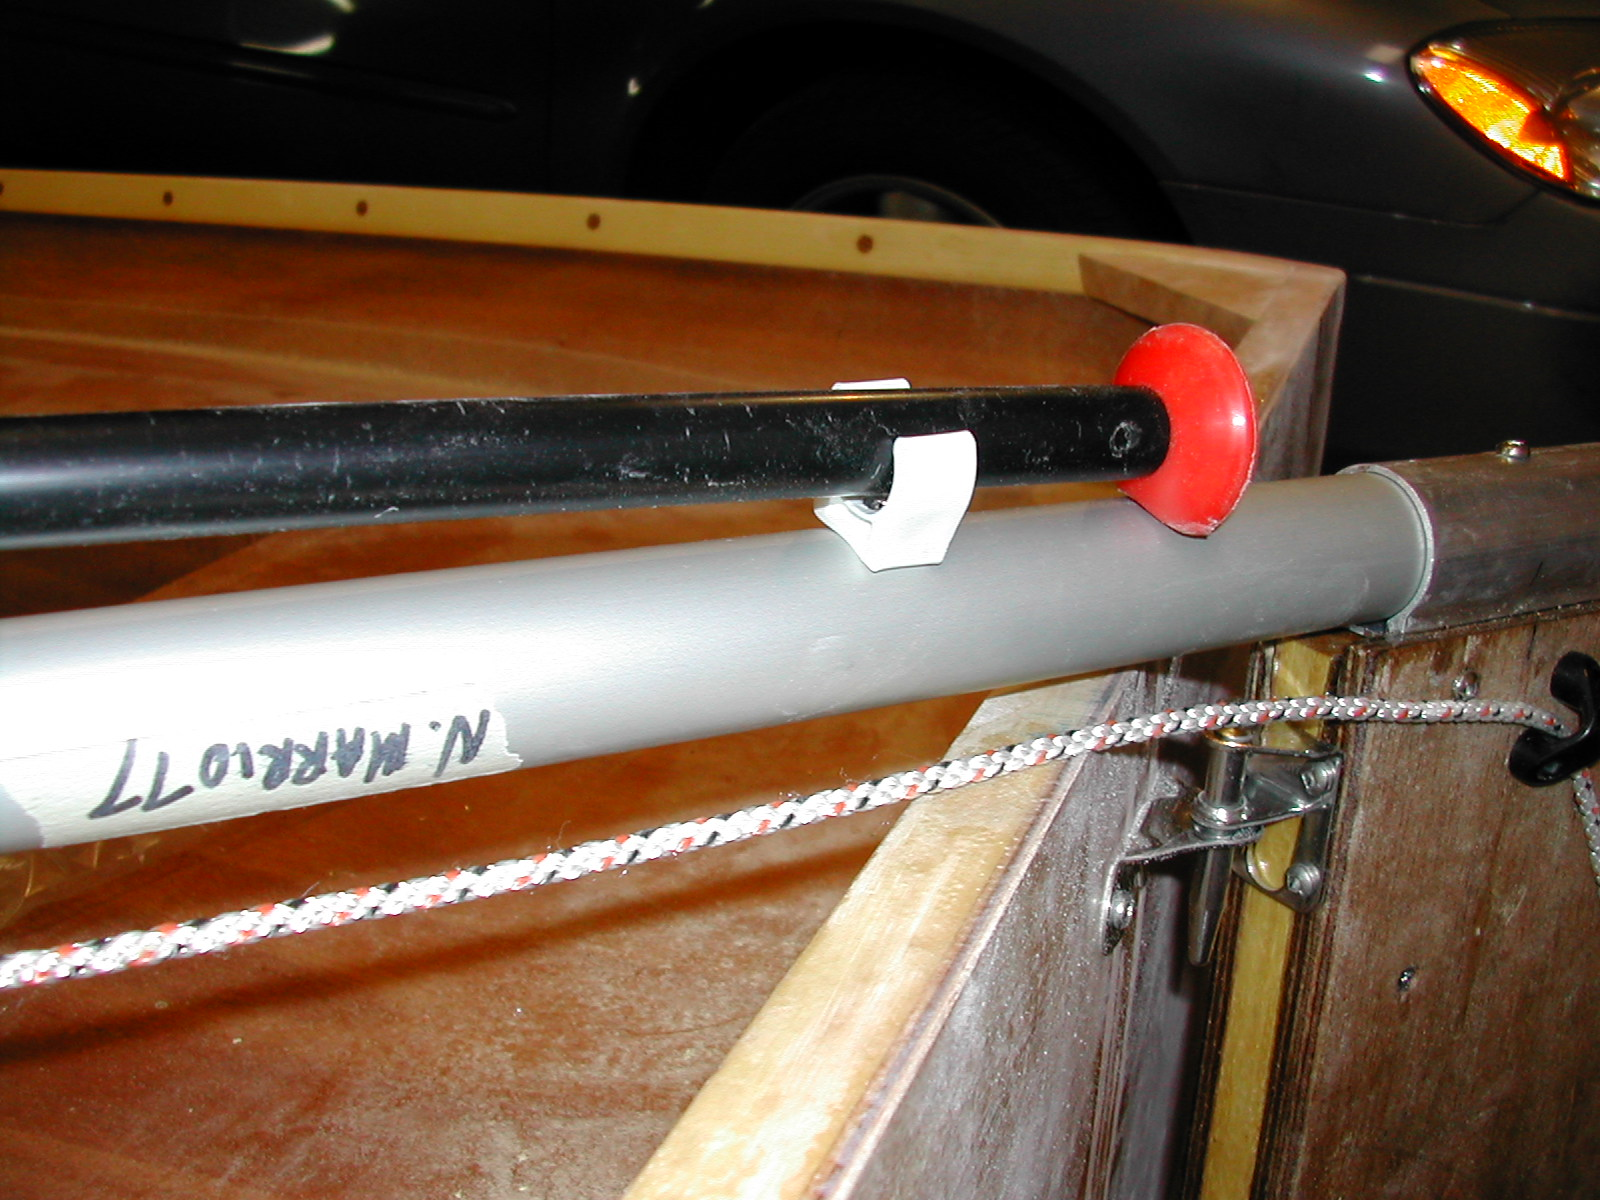
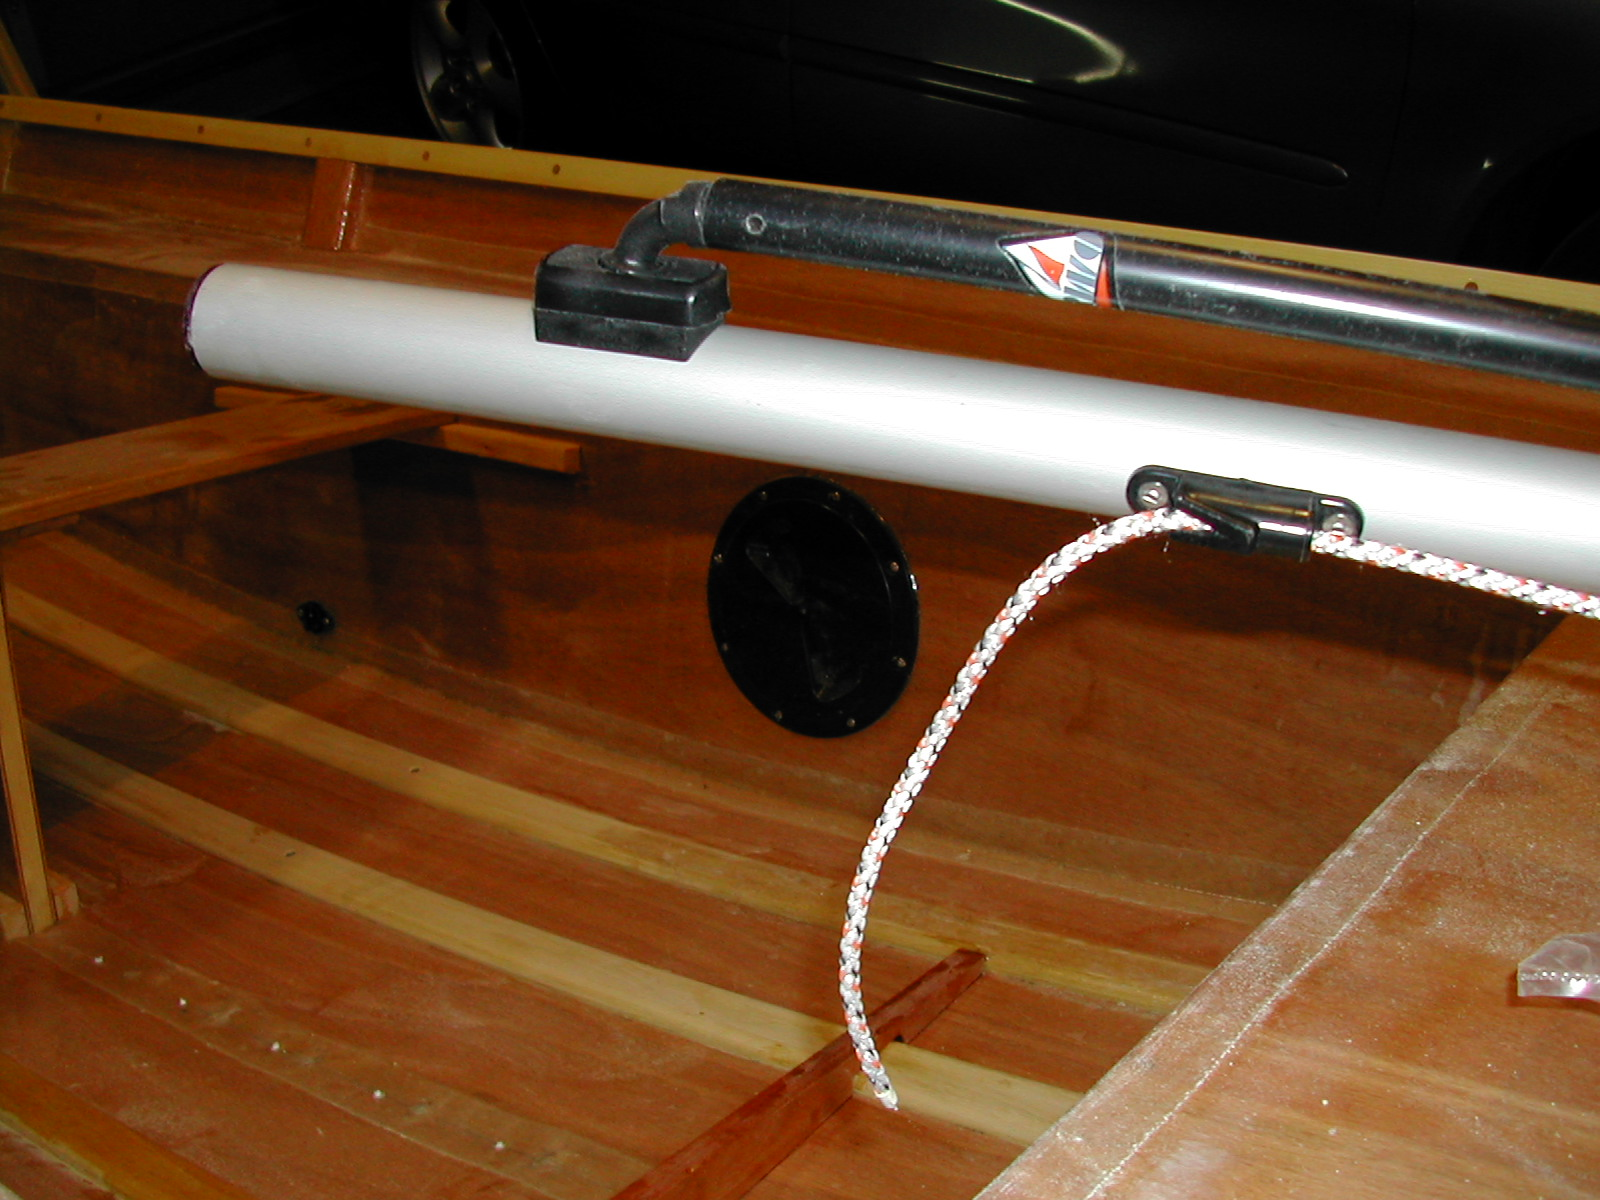
This picture shows the rudder tiller extension installed.
Rudder
A close up of the rudder cheeks and rudder packing piece is shown here.
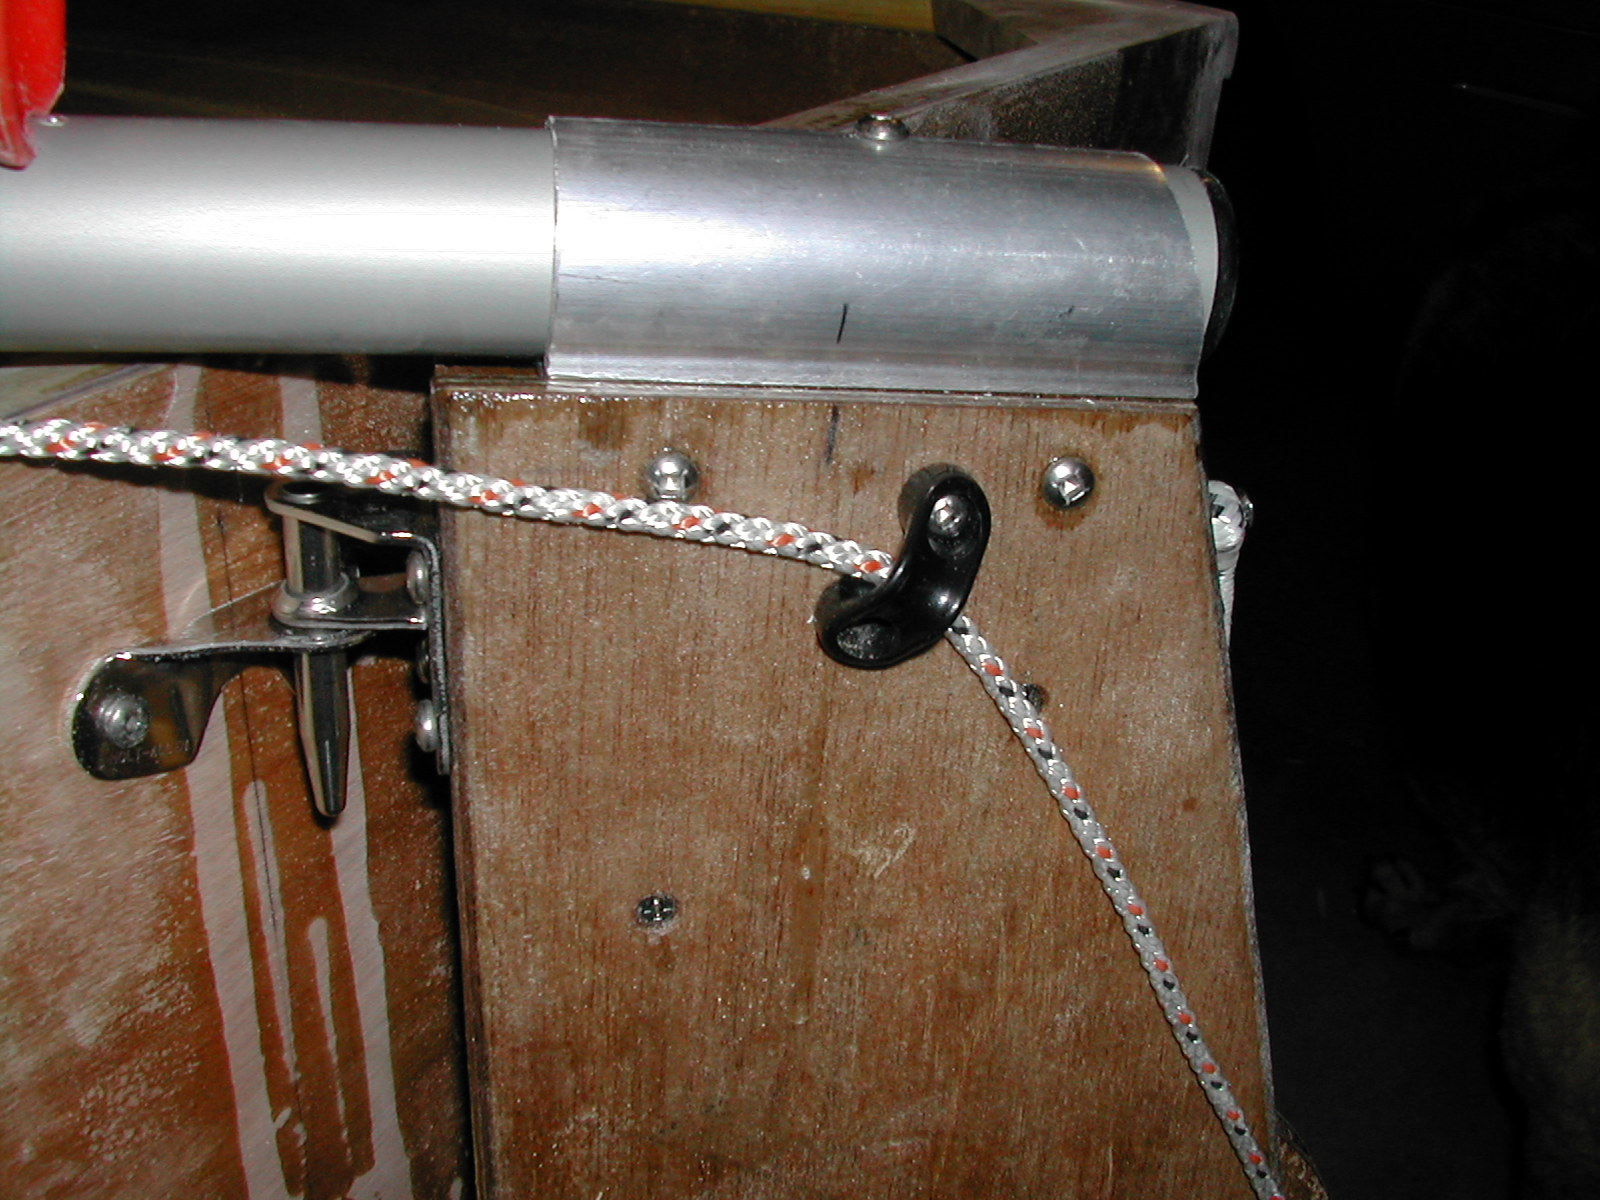
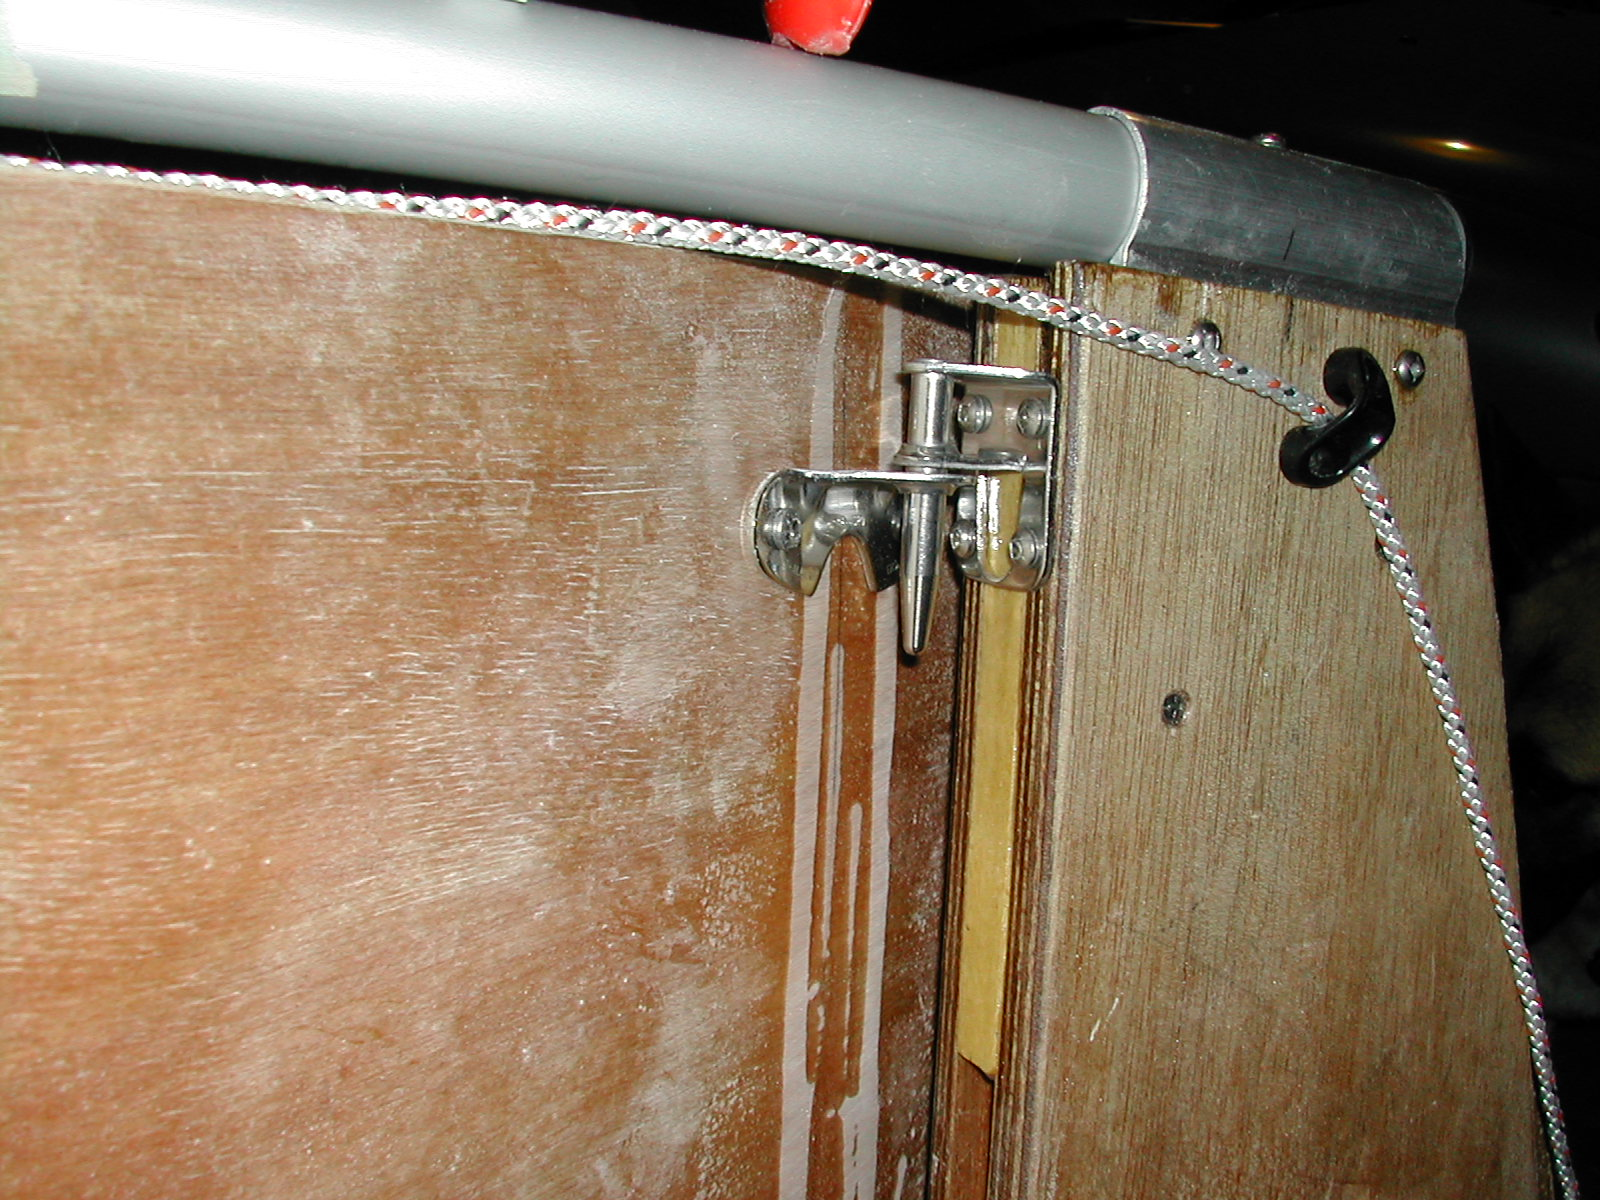
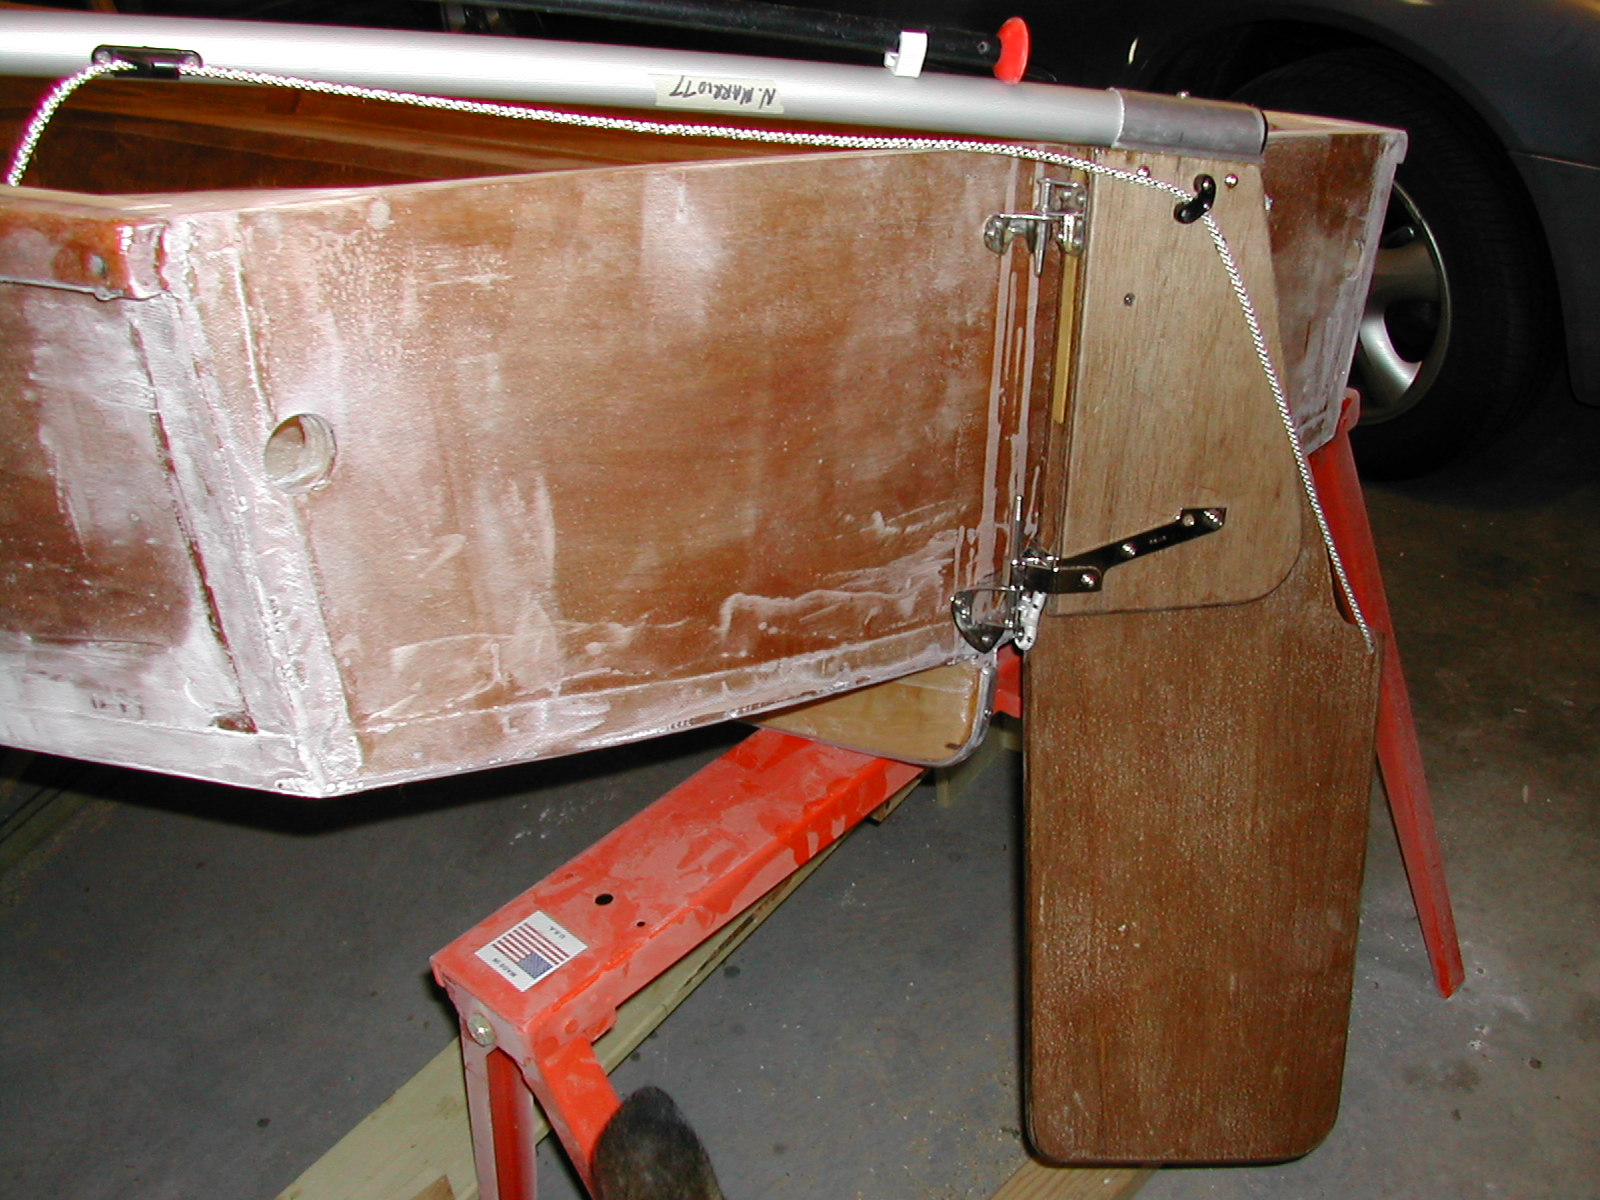
This picture shows the top hardware assembly attached to both the rudder and rear transom.
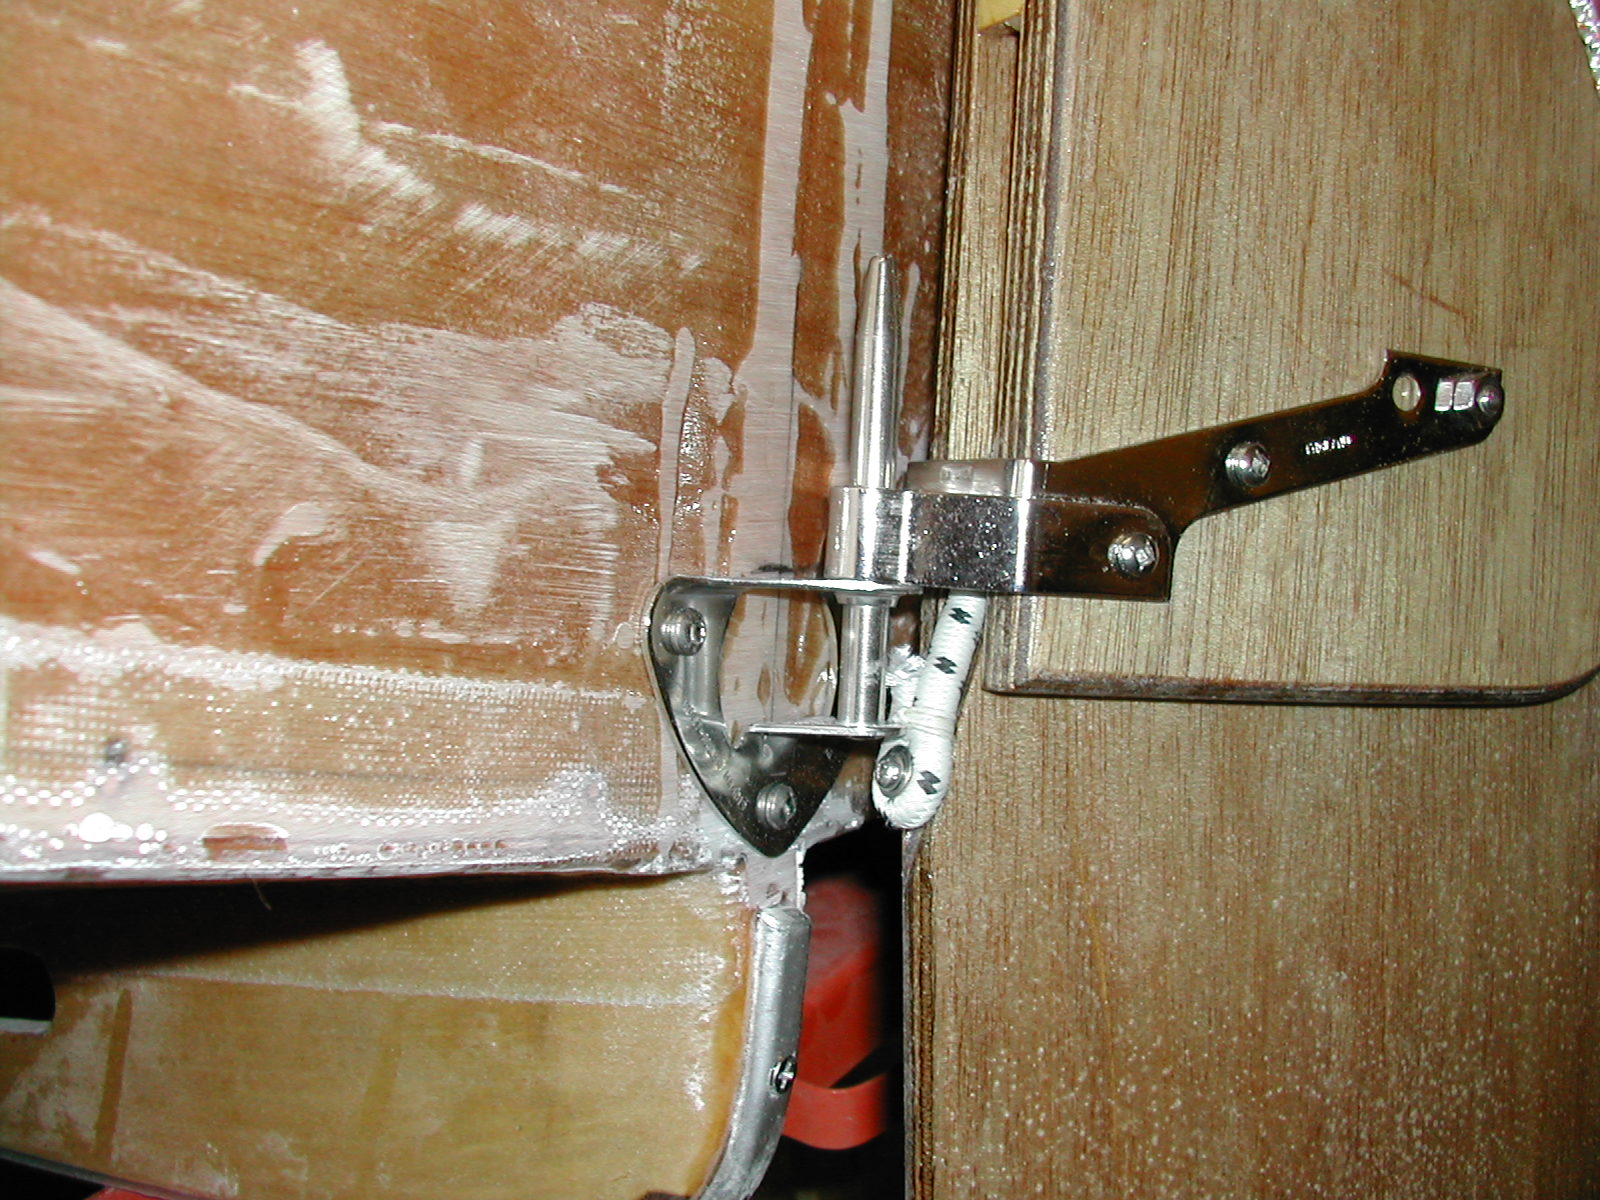
This pictures shows the lower hardware assembly attached.
This is a picture of the entire rudder assembly.
Rear Shots
A shot of the rudder from the rear.
This is a close-up of the rudder assembly also taken from the rear.
This is a shot of the retractable blade.