14. Preparation of Bulkhead & Trial Fitting
uhhh
618 words 3 minutes
Trial Fit
Once the mastweb-bulkhead assembly has dried, you will “trial fit” it into the hull. Why do they have a “trial fit” step?
Because there is a good chance that “as is”, things are not going to fit perfectly.
Make sure the assembly fits nicely against the hull sides, and that the butt-strap does not interfere with the
ability of the mast step to sit snugly along the seam.
I took lots of pictures of these two steps, as I found it a little confusing.
Flatten any copper wires that are in the way. I even carefully cut out tiny notches where these wires touched the mast web to make a good fit.
This assembly will no doubt “spring back up”, but with some pressure applied from the top, and sides, it should fit tightly.
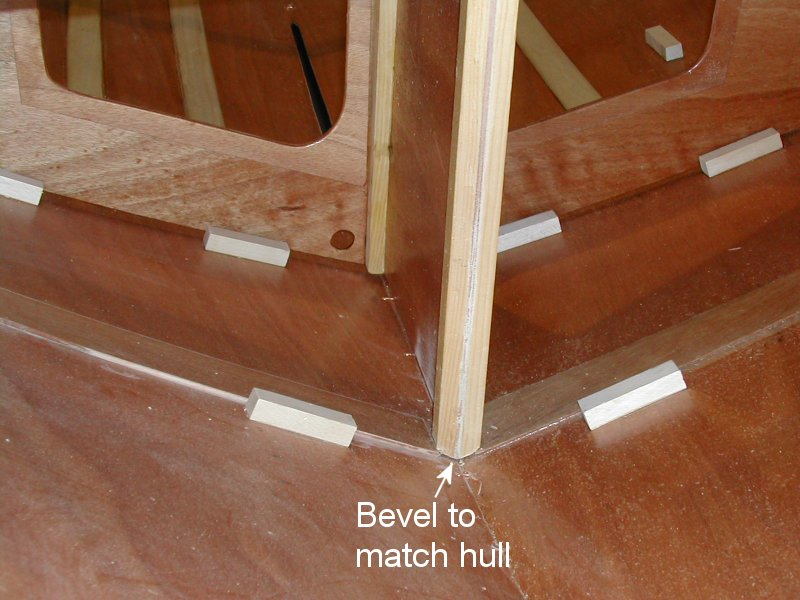
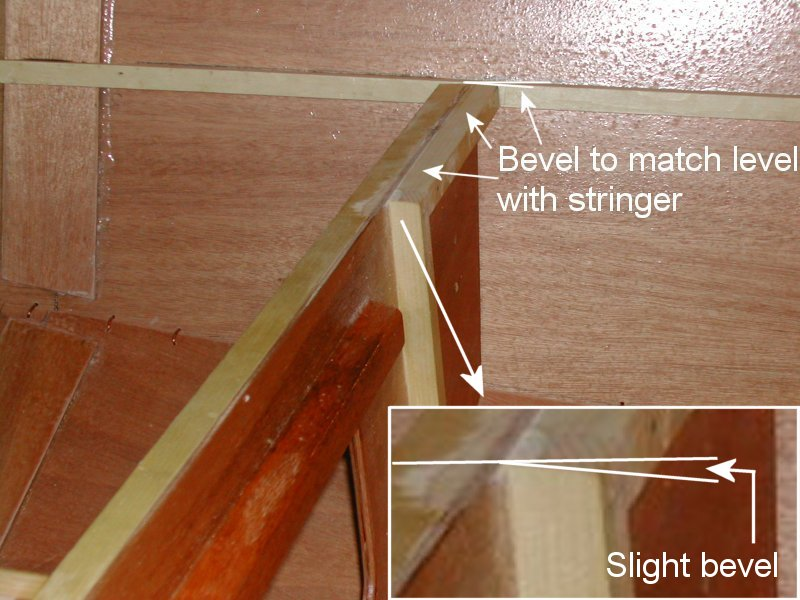
Bevel the mast web to match the angle of the hull. If the butt strap is in the way (as was mine),
notch out this section until the mast web sits nicely against the hull seam.
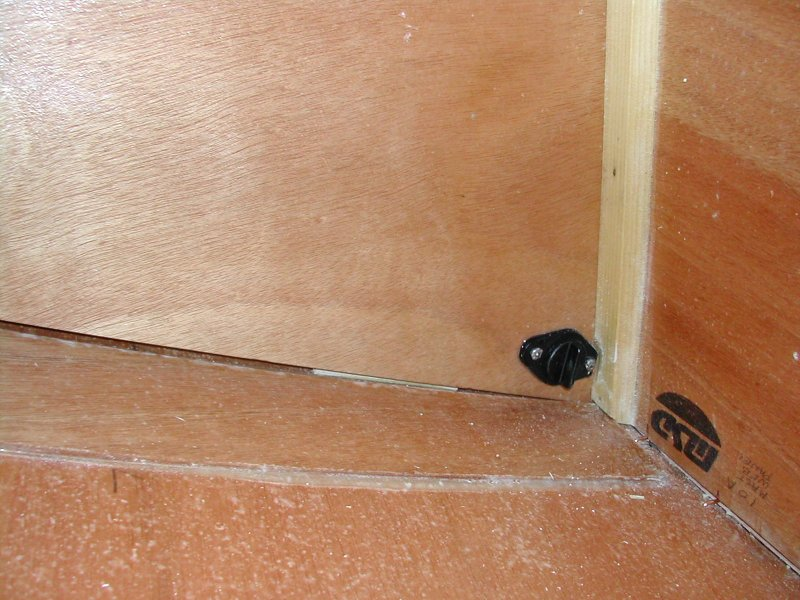
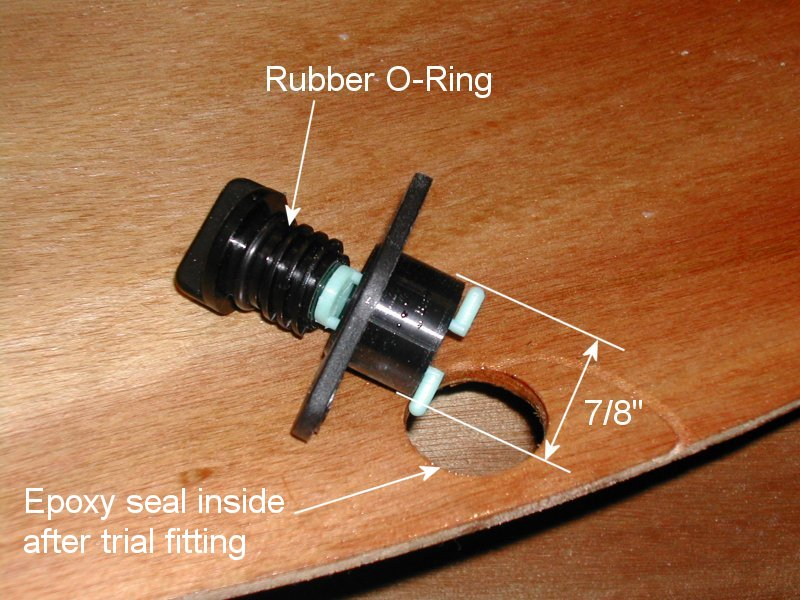
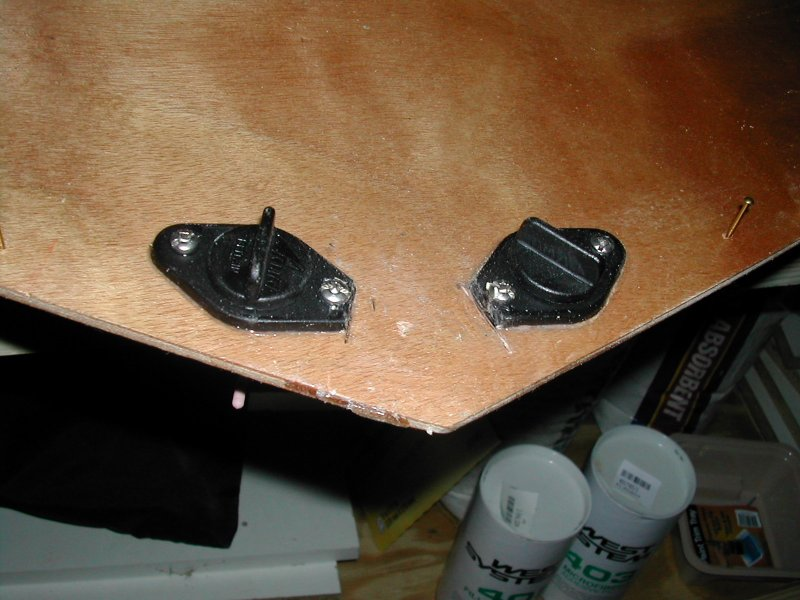
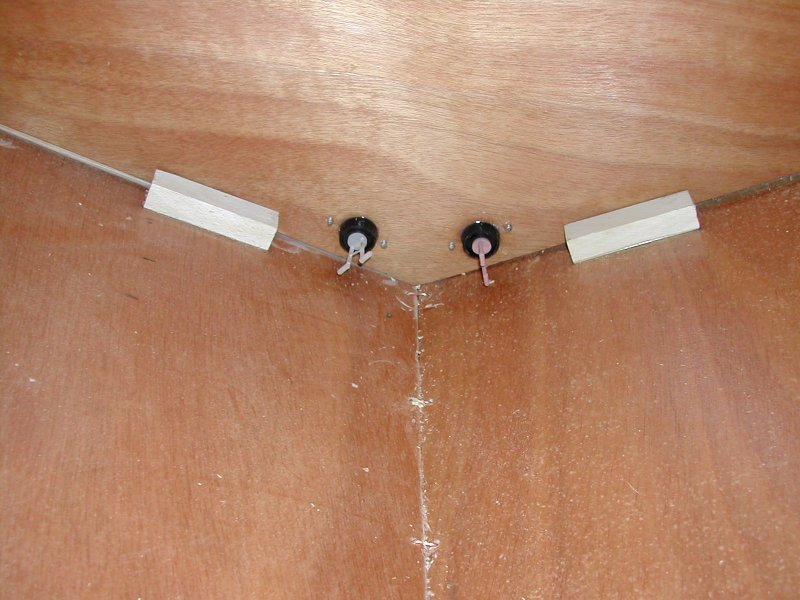
Install the drain valve now. I had to enlarge my holes slightly, as the diameter of the drain valve was larger than the opening. A dremel tool is useful here. Set the hole first with epoxy and let it dry before installing the drain with marine grade silicone.
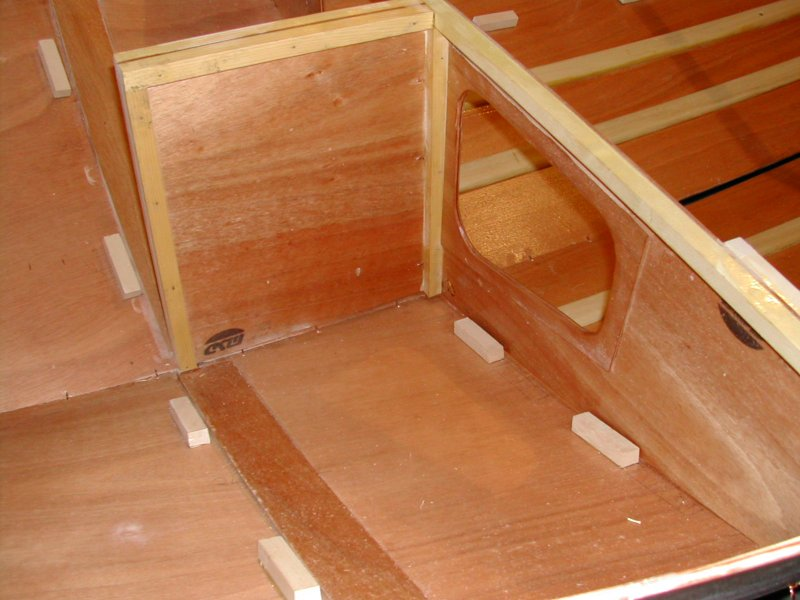
I found that once the stowage bulkhead was installed, I needed to slightly sand (power belt sander) the top of the bulkhead to make it level with the hull stringer. This is still at the “trial fitting” stage, as you need to apply tape and resin to the hull seams before installing anything.
As part of your trial fitting, you may have to slightly trim your drain plugs so that the mast web (yet to be installed) will fit properly. This is just a “heads up”. Check now before you seal in the plugs.
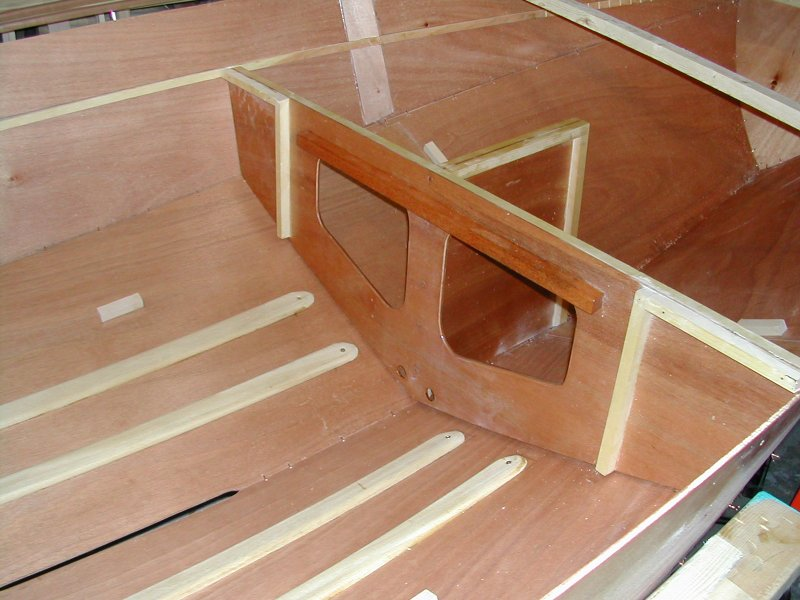
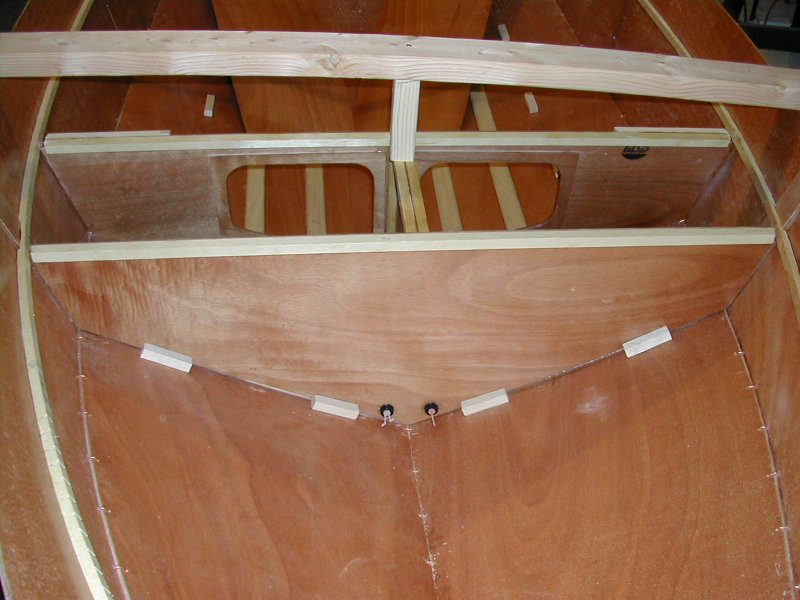
Trial fit the forward bulkhead (Part 11) as well. Notice that my mast web’s top leading edge is about 1/4 inch lower where it meets the forward bulkhead. Not to worry. Scrap wood was applied later. Of more importance is the fitting on the bottoms and sides, and against the mast web itself. This must be strong.
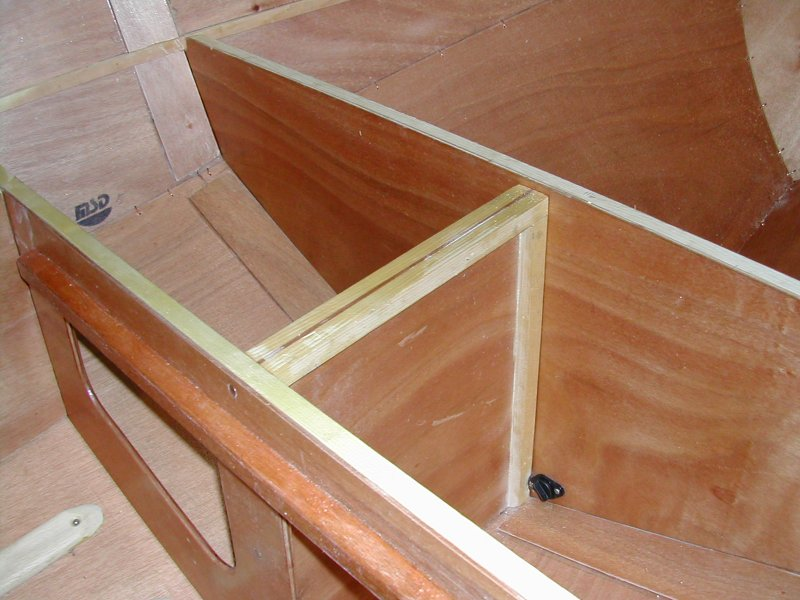
This is a shot from the bow side. Notice there is a still a slight gap where the blocks meet the bulkhead? When installing later (once the tape has been applied), you will need to push up on the hull from underneath, and have someone nail pins through the bulkheads and into these blocks to secure a tight fit.
Test Fit Clamping Rig
As with everything else, I test fitted my clamping rig to check that it would hold everything in place. This was basically just a 2x4, with clamps at each end. Scroll down a couple of pictures to see the final set-up.
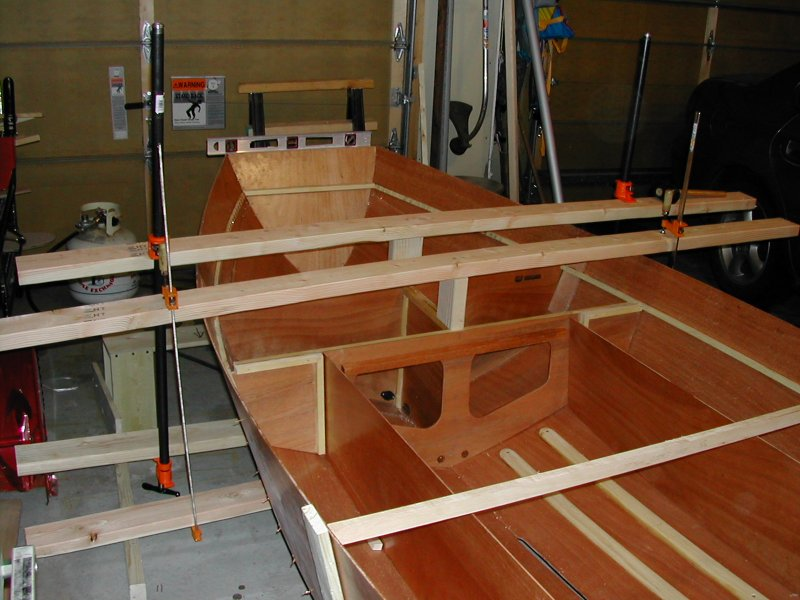
Another shot of the clamping rig that held the bulkheads down and in place. Consider doing something like this, or using weights. Note that this was also a trial fitting of the clamping rig, as the fiberglassing has not yet been completed.
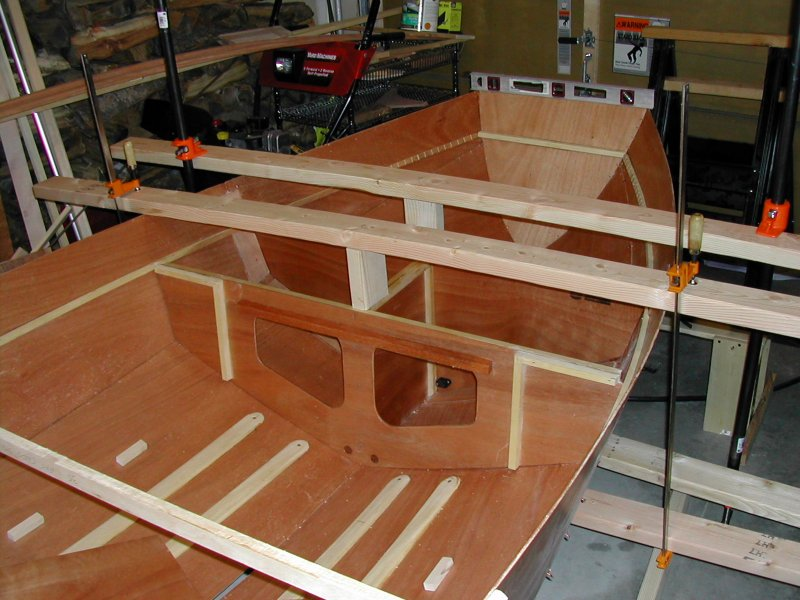
I won’t try to explain the clamping rig at the right, and will rely on pictures. In brief, by using 2x4’s and two very large clamps at either end, I was able to “squeeze” the bulkhead assembly down to the hull, and form a very nice & tight fit. The better the fit, the better overall strength your Mirror will have.
Another reason for the trial fittting. The mast web needed a little trimming to allow the drain plugs to fit.
Okay, everything goes together nicely! Remove it all, and move on to the fun stuff - fiberglassing the interior hull!