24. Fitting & Fixing Bow Shapes & Battens
...
338 words 2 minutes
Battens
Unfortunately, I don’t have pictures of this construction stage, only a few of the finished result. The battens that are installed first need their ends shaped so that they fit nicely against the inner gunwale and the fore transom.
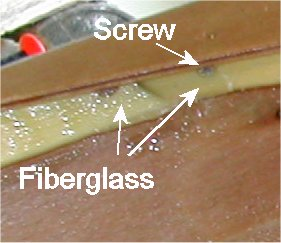
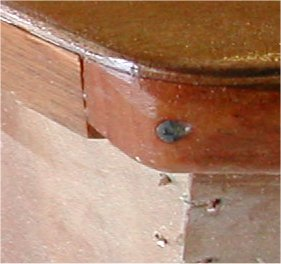
I reinforced the batten end attachment points with some fiberglass tape and resin. In addition, I added a screw for extra support. These “bow shapes” will be used when lifting your Mirror, either from the water or trailer and should be made as strong as possible.
Bow Shapes
The bow shapes (#27), once attached, are shaped to fit the contour of the gunwales. The gunwales (inner and outer) and planed and sanded flat where the bow shapes are glued & nailed. Make sure this area is sanded flat, and the bow shapes sit properly, before gluing.
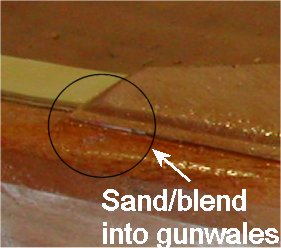
Once the glue has dried, sand the bow shape so that it blends in with the outer gunwale.
The instructions say that the bow shapes “run flush along the gunwales”. I found for my particular kit for this not to be true. However, with some sanding, you should be able to blend them in nicely.
Gunwale
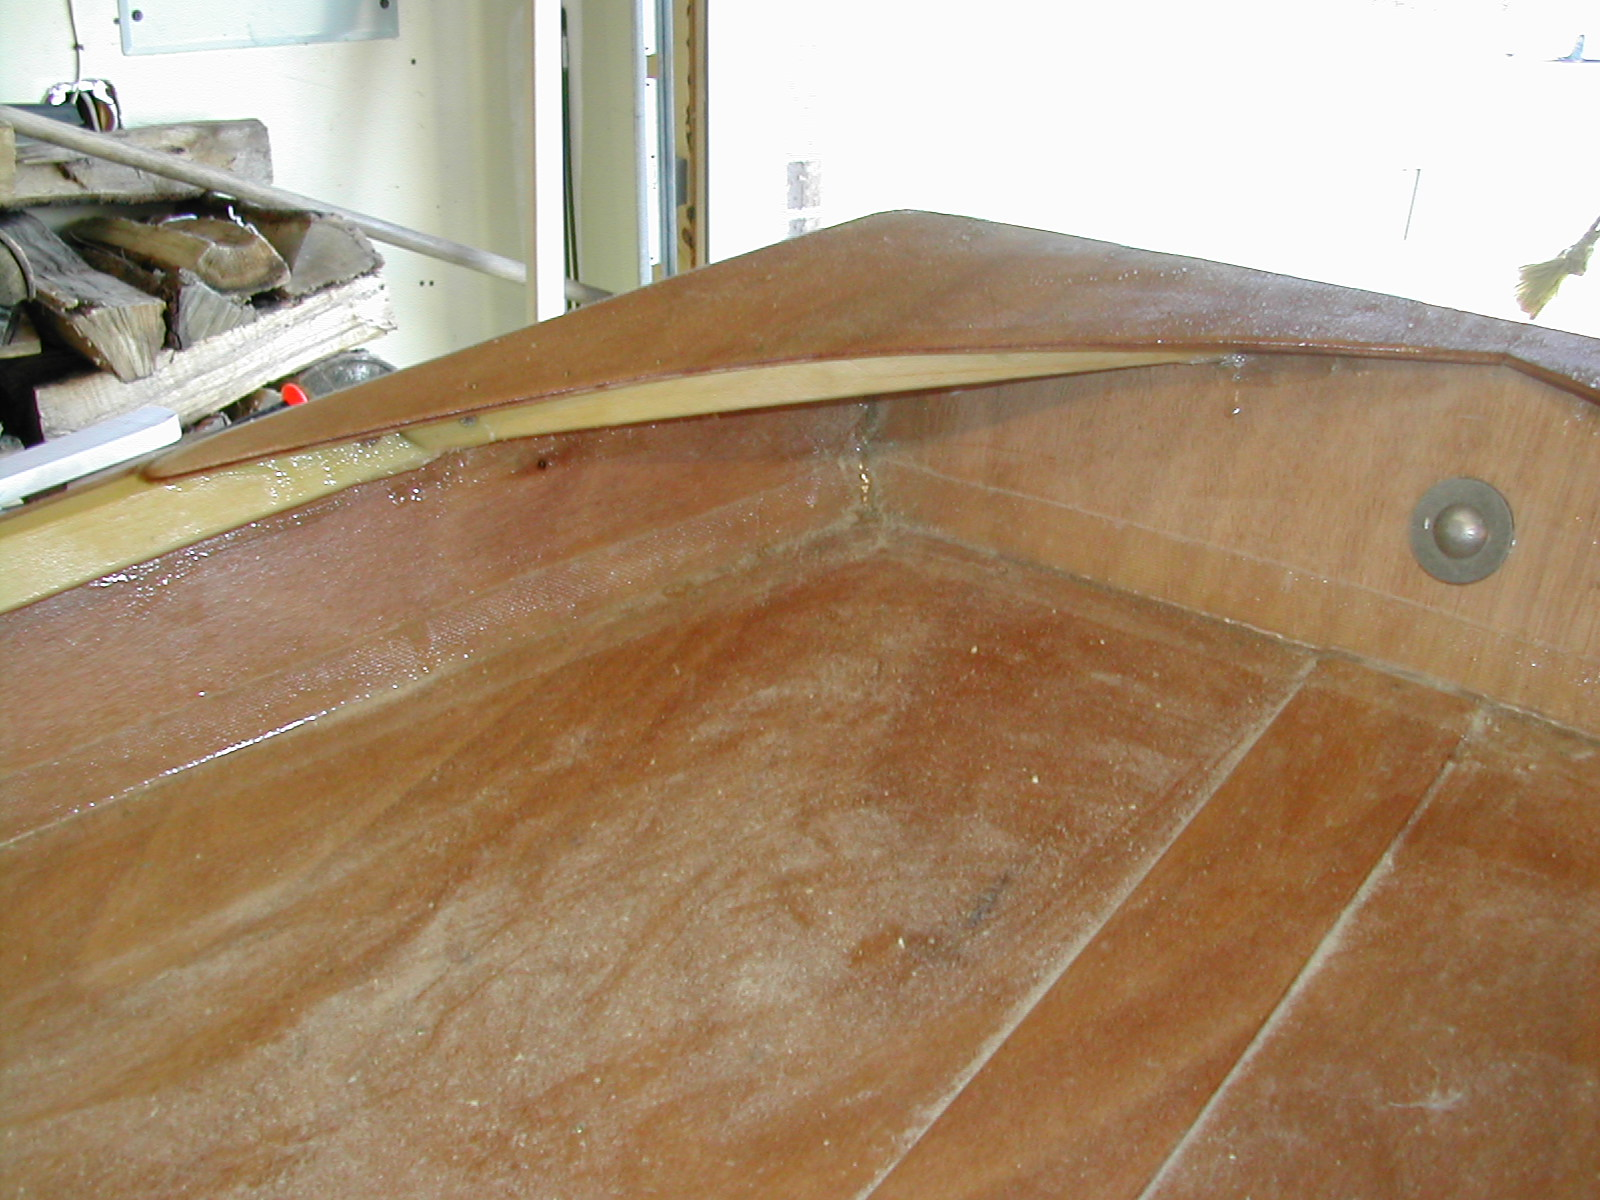
The leading edge where the bow shape is glued to the fore gunwale, is sanded flush. Also, sand the corners of the outer gunwales for match the radius of the bow shape pieces. The metal “eye” shown attached is not supplied with the standard Mirror kit, but is needed if you plan on using a trailer. Install it later, after the shroud anchors are positioned.
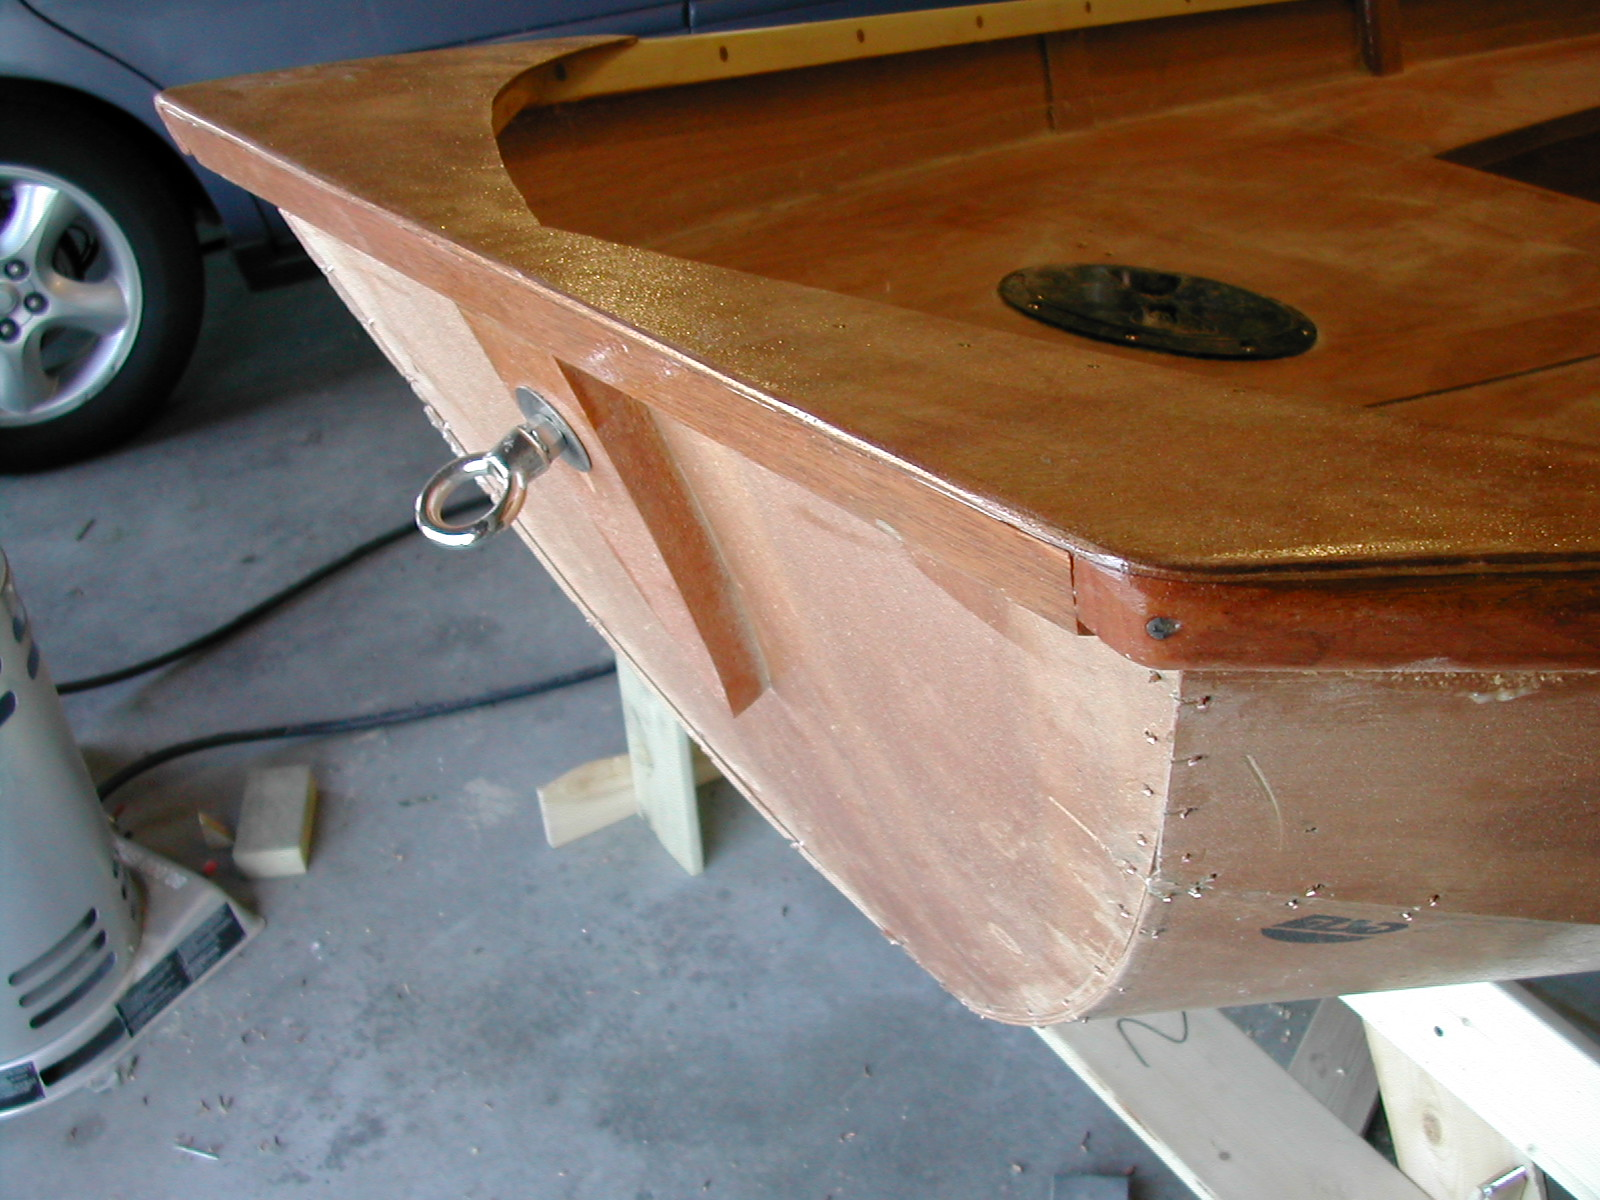
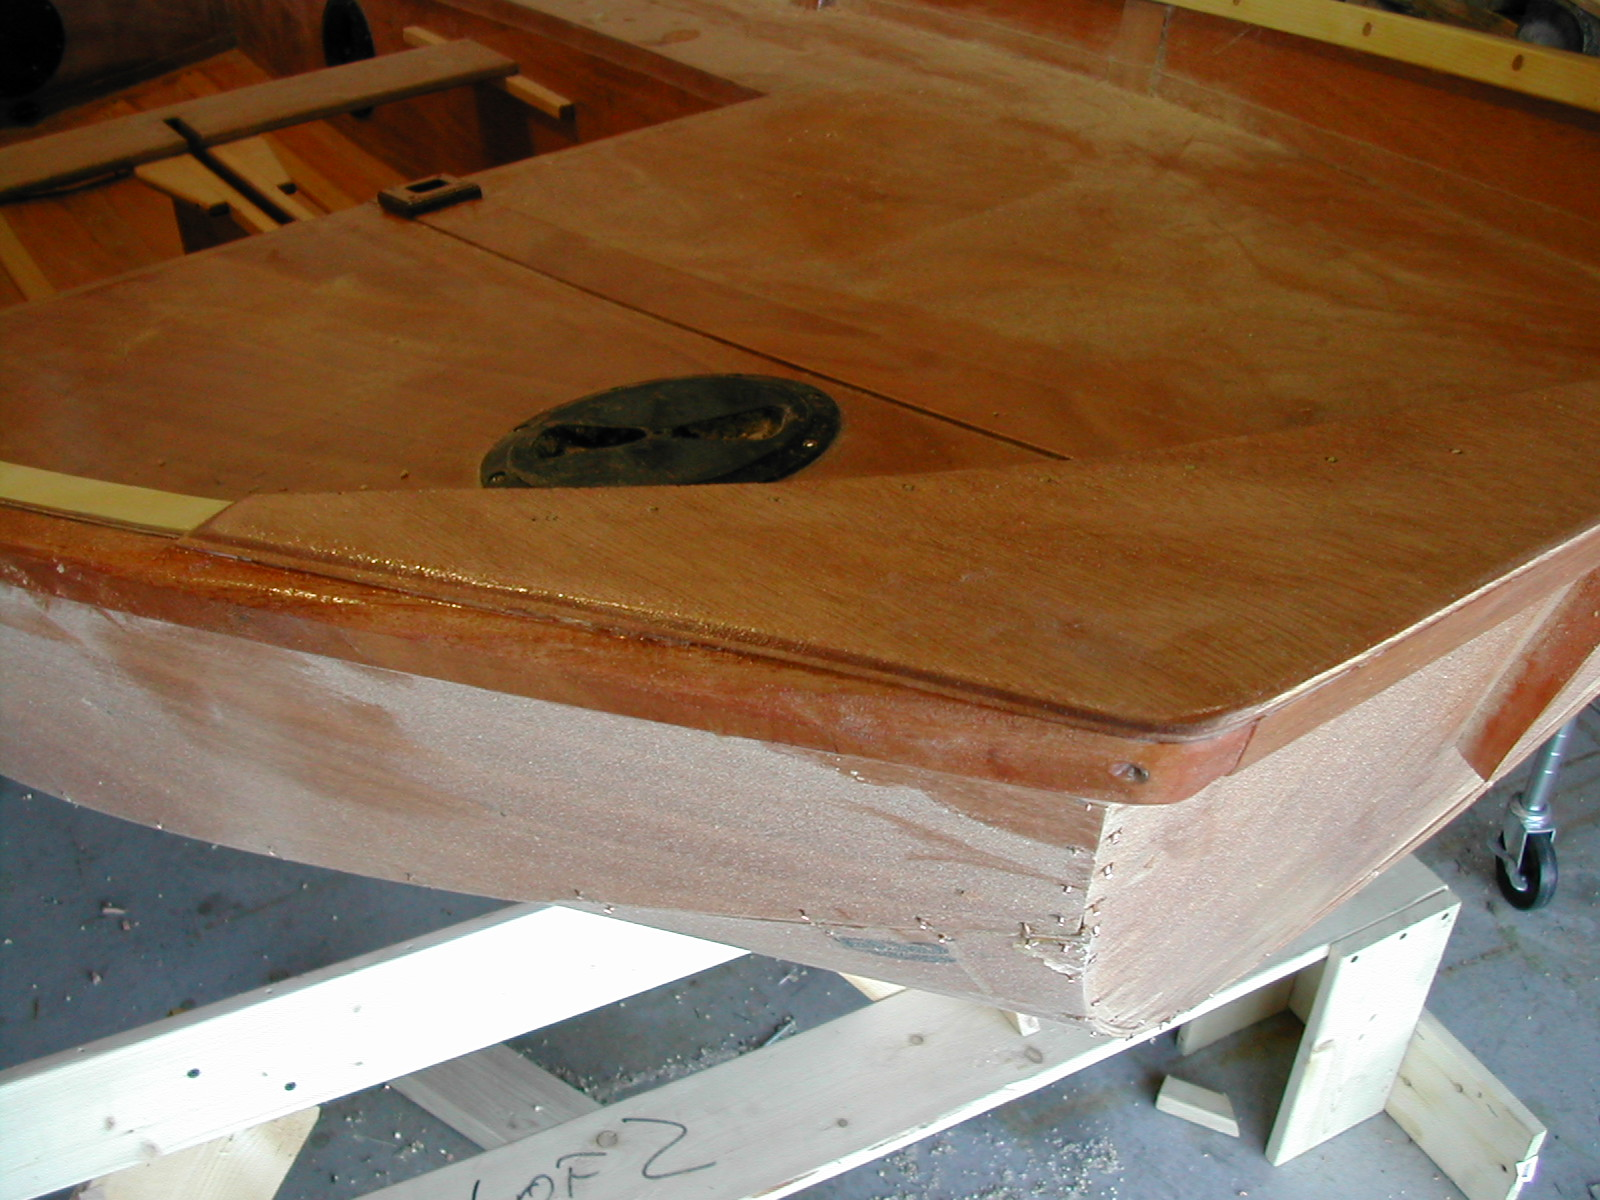
This is a close-up of the outer gunwale, fore gunwale, and bow shape before epoxy filler was applied. Spend some time on this, and use some epoxy filler if you have any gaps.
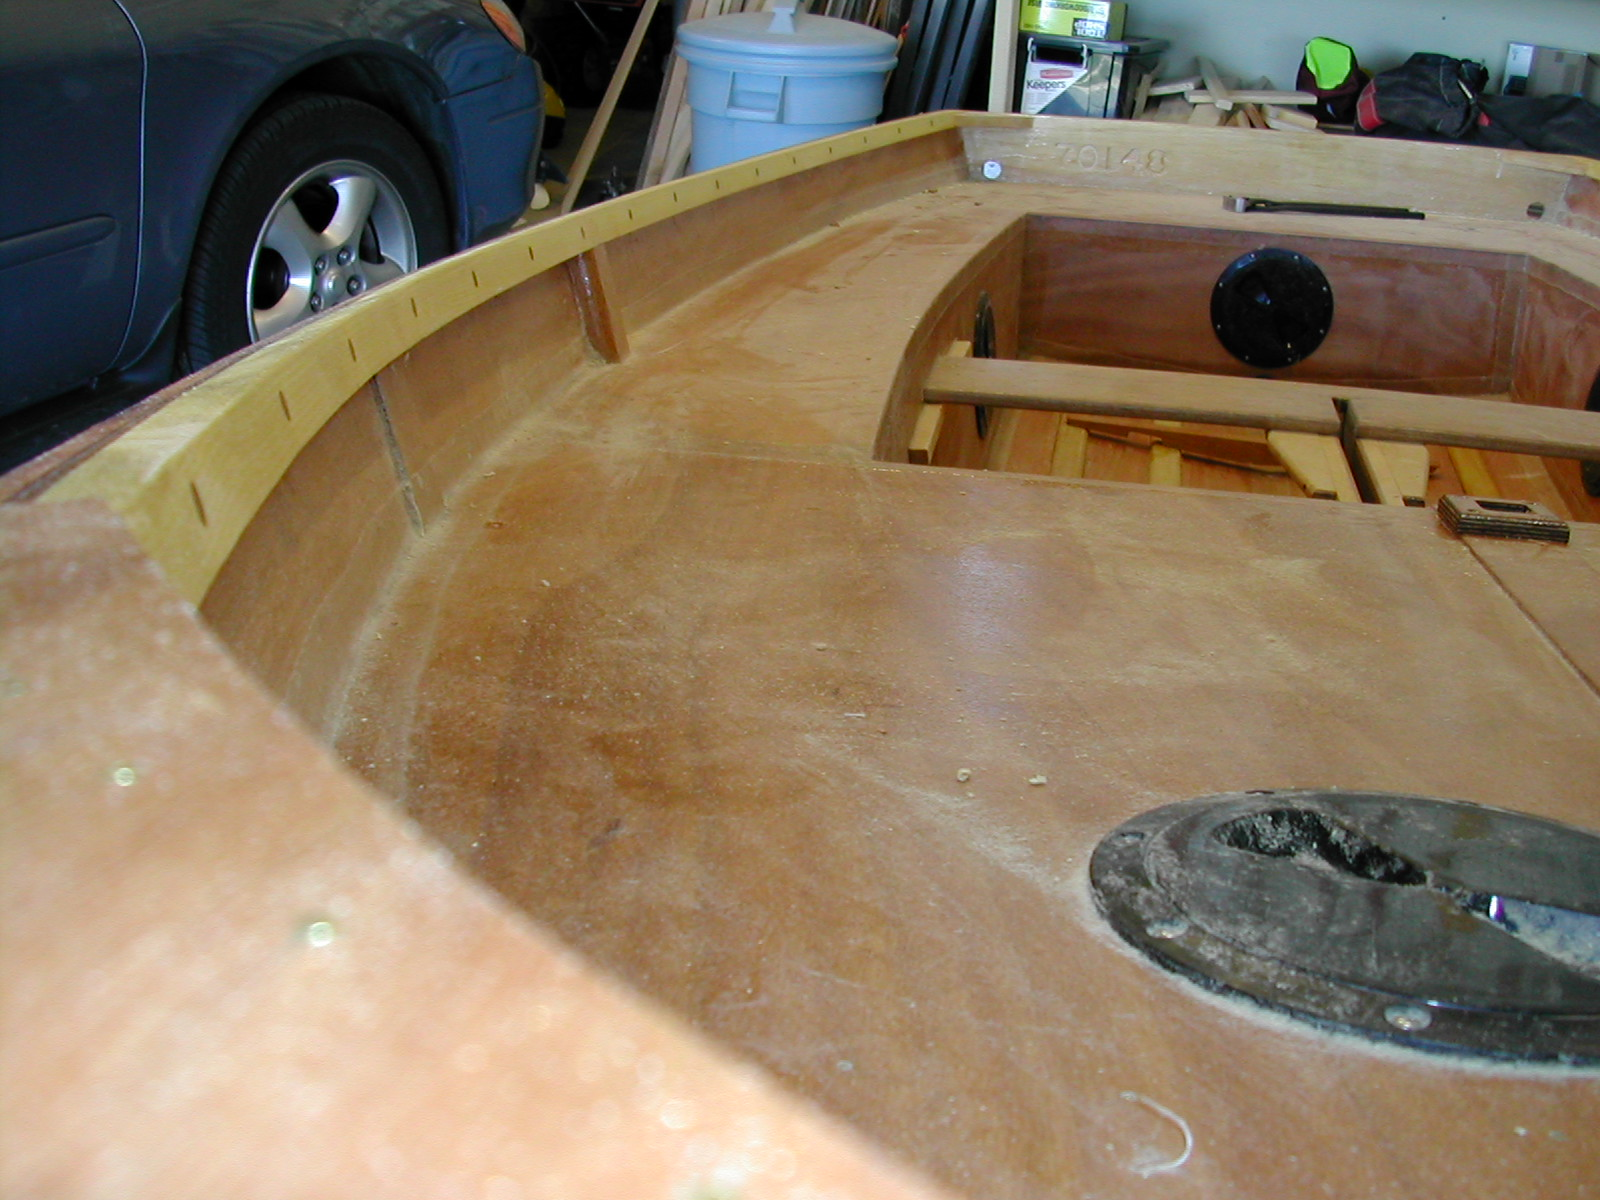
This is a nice picture taken with the bow shape in the lower left, and with a view of the inner gunwale all the way to the aft transom. Make sure to round the edges of the bow shapes are your hands will be carrying your Mirror here.