11. Aligning the Hull & Fastening Battens
...
220 words 2 minutes
Prepare Battens
Counter sink the holes in the battens before installing them
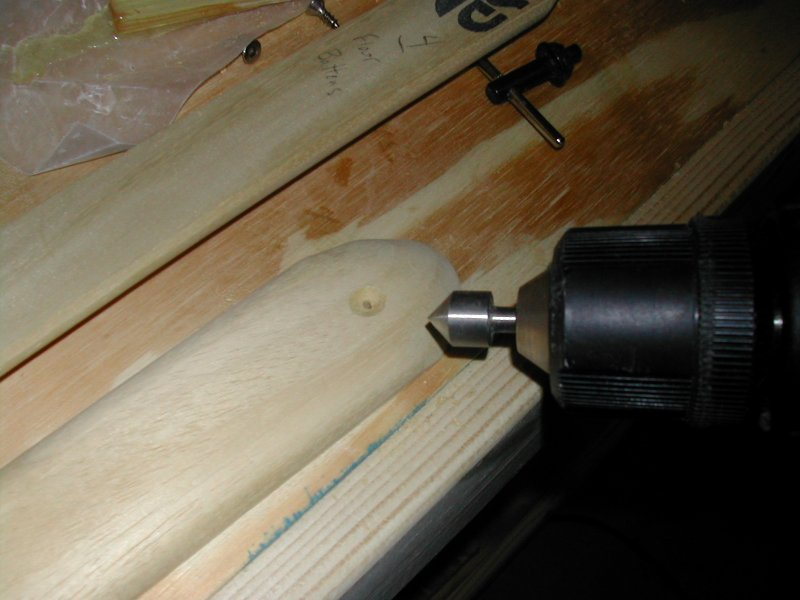
I also pre-screwed the three screws that I would be driving from the inside of the boat.
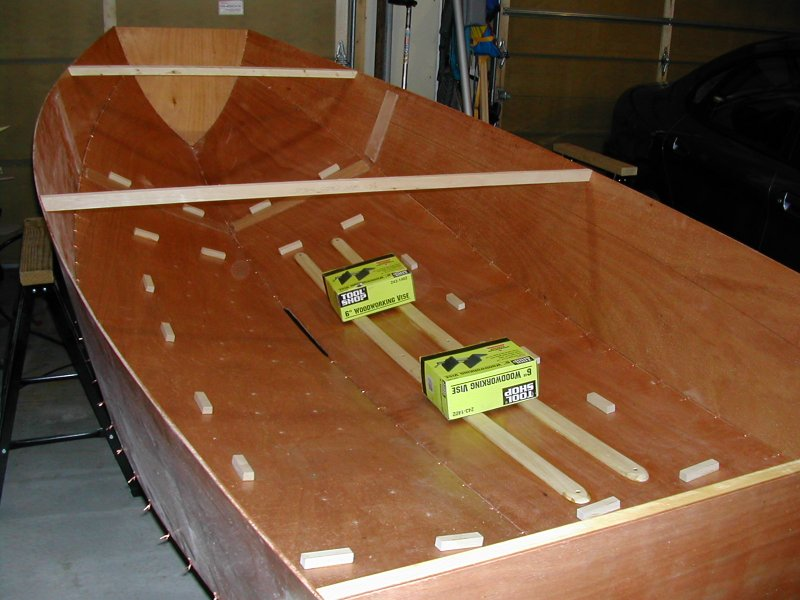
Battens Inside
Install the cross struts as per the instructions, and check your levels and measurements. Then, as directed in the instructions, fasten the battens to the hull with 3 screws (per batten) and epoxy.
To hold the battens down and ensure contact with the hull, apply some weights. Shown are some vices that I purchased, but had not yet installed on the workbench. Gallon pails of paint would also work.
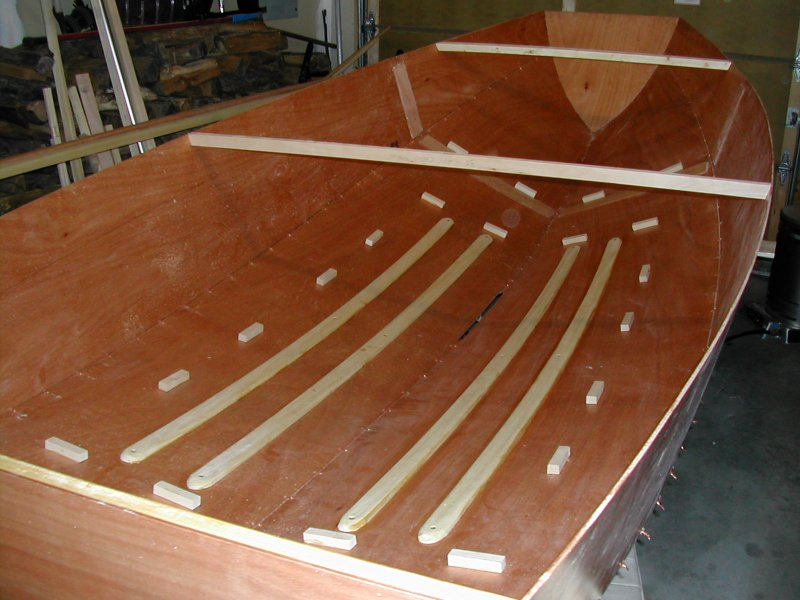
This picture shows all four battens installed with 3 screws per batten..
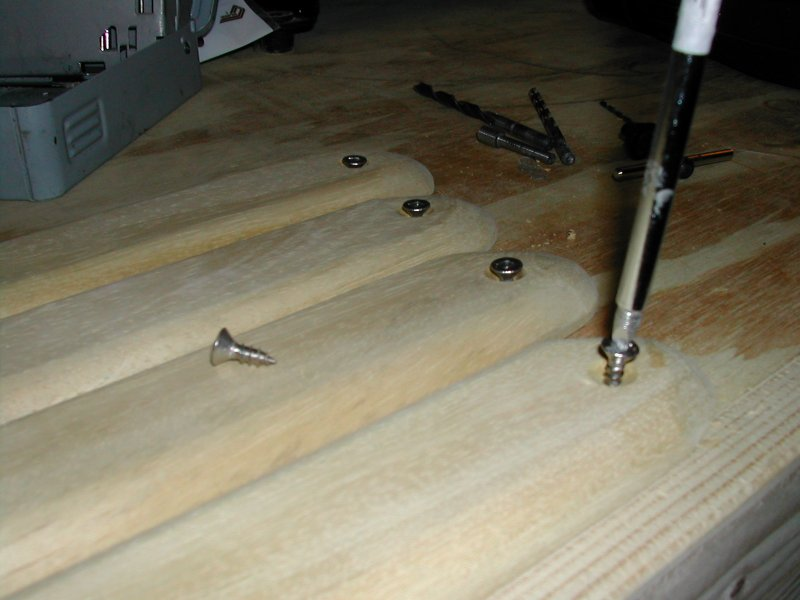
Underside Pictures
With the weights (and possibly a helper pushing from the top), crawl underneath the boat, and drive the remaining screws to attach the battens securely.
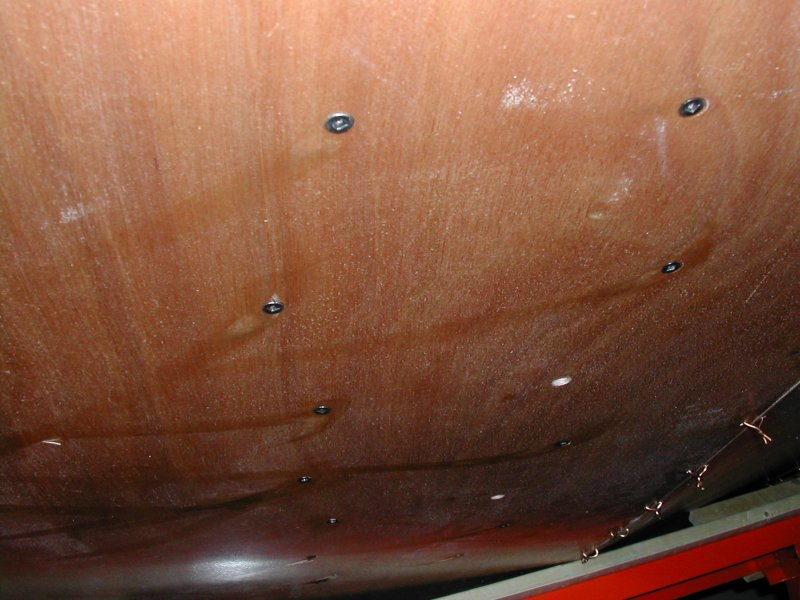
Another picture of the hull bottom, showing the screw holes in a “zig-zag” pattern. Make sure you counter-sink your holes adequately so that the screws will be “sunk” enough, but not too much that you loose strength. Any mistakes now will result in more sanding later, or more filling with an epoxy/filler mixture.

Level Check
Again, always check your levels for the next number of steps.
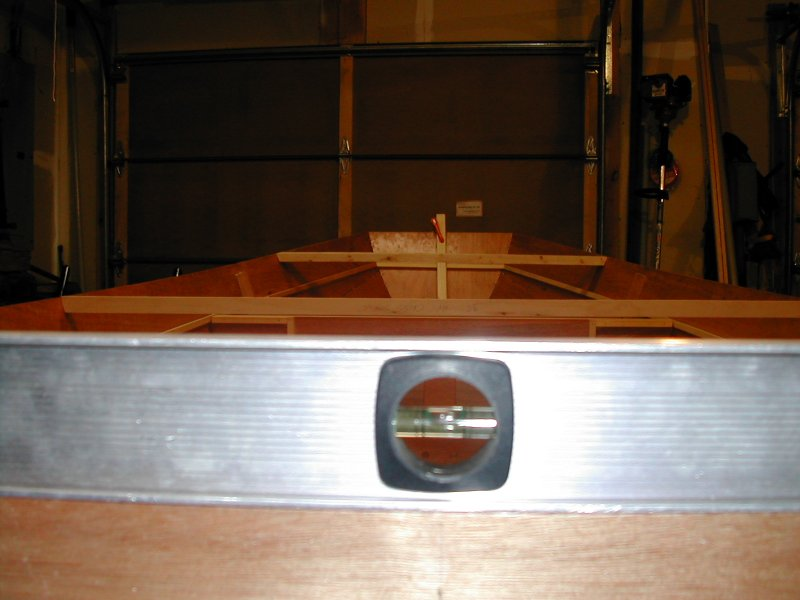
Note that the above level check shows the boat at a future level of construction.