8. Fitting & Fixing the Aft Transom
...
144 words 1 minute
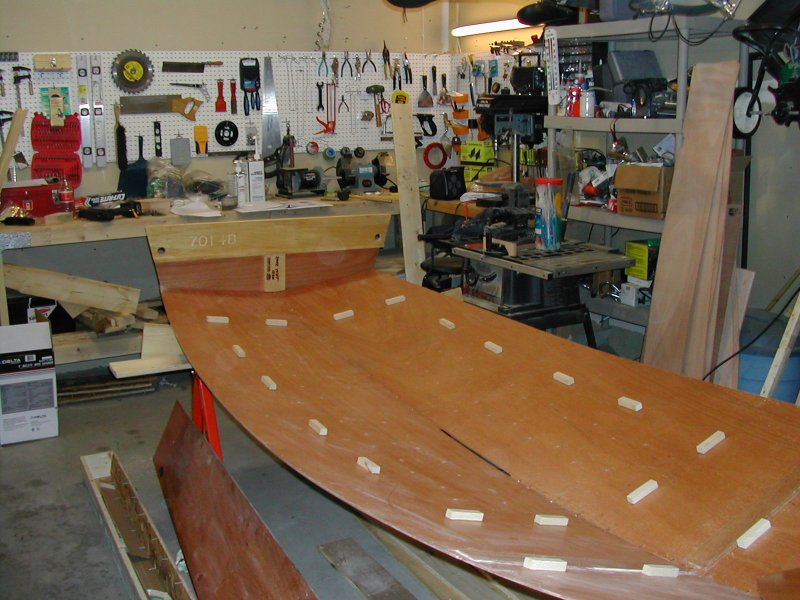
Starting Point
This picture shows the correct orientation of the aft transom.
The photo in the text instructions does not show this piece, which
(in my kit) came pre-assembled with the engraved serial number facing the interior of the boat.

Aft Stitch
As with the hull panels, 3/32" holes are drilled. Note that the transom sits
INSIDE the panels (as is also emphasized in the instructions).
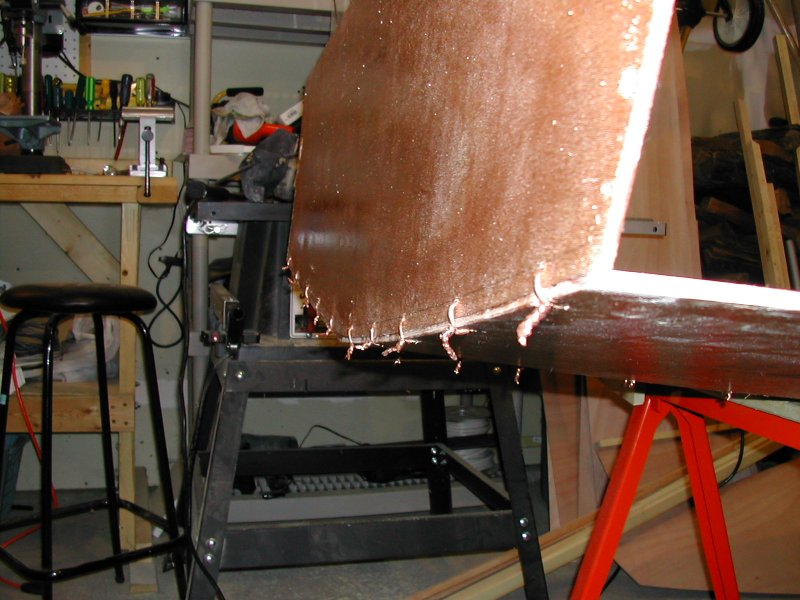
Aft Pictures
Another camera angle, showing the stitching.
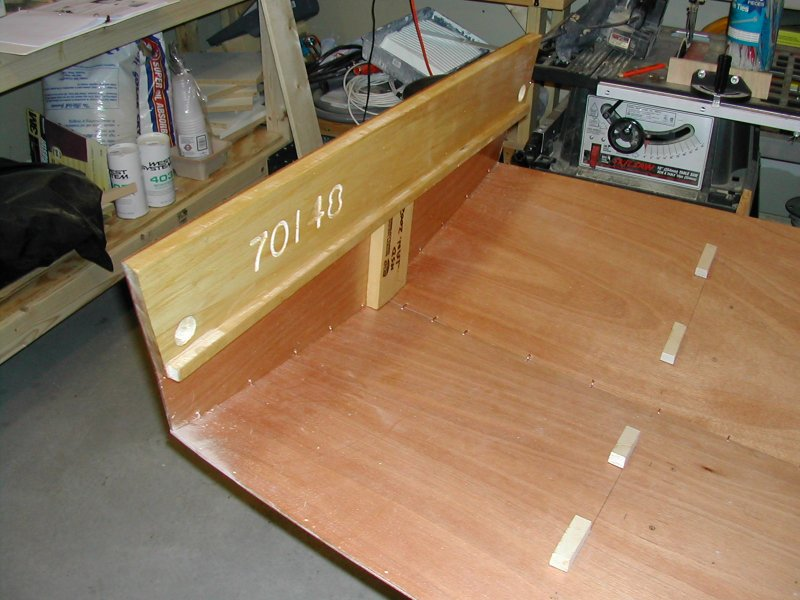
Another shot, zoomed out a bit to display the blocks that were previously glued.
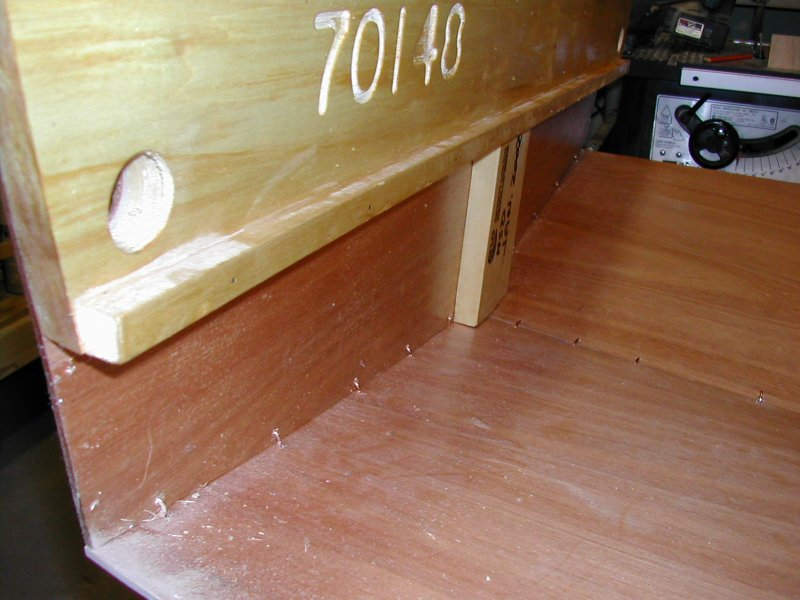
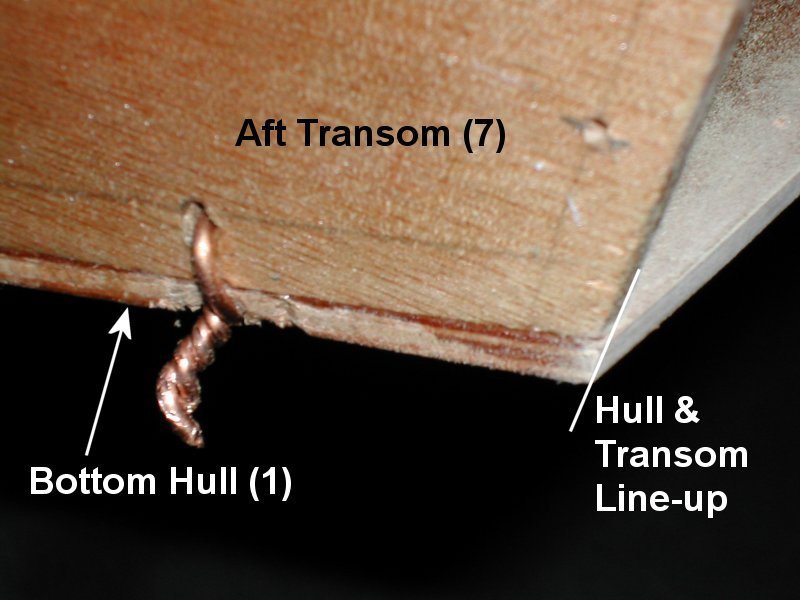
This picture shows some detail of the aft transom (Part 7)
as it is to be lined up with the hull panels (Part 1).
Note the slight bevel of the bottom hull.
Result
This is the end result once you have completed this stage. ‘Starting to look like it might be the rear of a boat!